

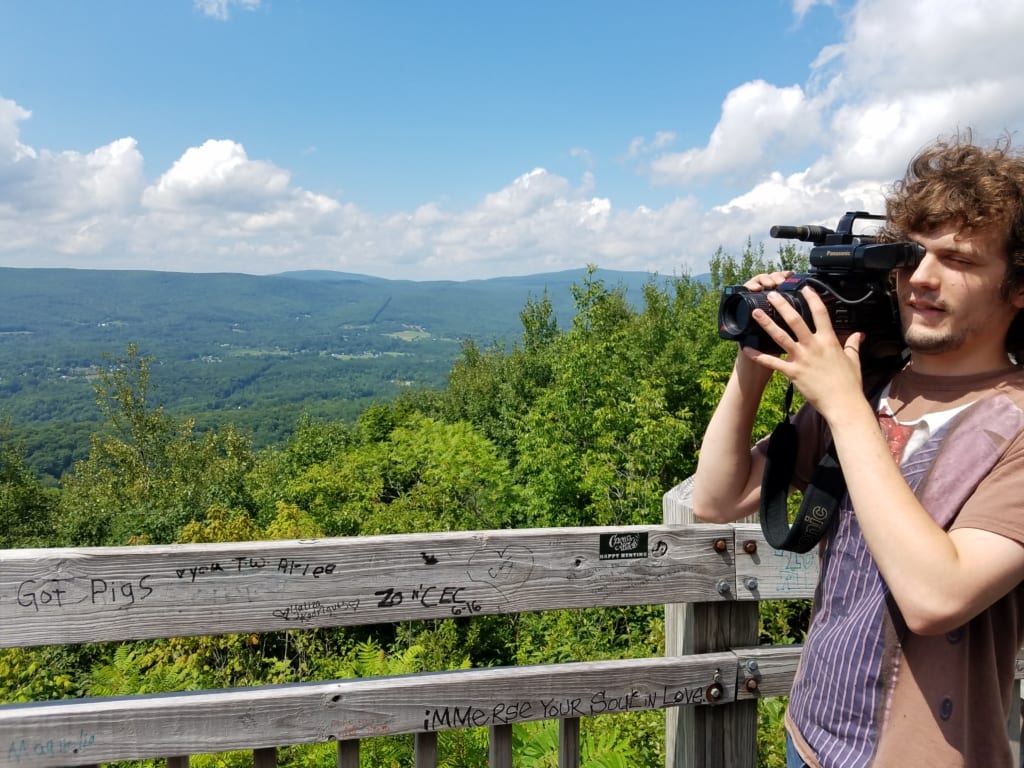
We recently spent 5 days on vacation in the Hidden Hills of the Berkshire Mountains out in Western, MA. Being from the suburbs of Boston, I was unaccustomed to, and delighted by, the rolling acres of trees, farmland and open space. Every place we visited took a half an hour drive and no matter which way you chose, it was the scenic route. Between the trip up Route 2 into the mountains, our deserted and beautiful campground and the multiple rounds of blueberry picking – we accumulated 350 photos between the three of us.
I held back from posting a photo on social media every five minutes, intending on creating a Facebook album when I got home – but nobody is going to look through 350 photos and I was faced with the question: “what do I do now?”. I wanted to share the best parts of my trip in the simplest way possible, and I wanted something tangible to remember it by. I turned to Google photos to do my sorting, and decided to also make a photo book. This is how I did it:
From phone to desktop – fast and easy.
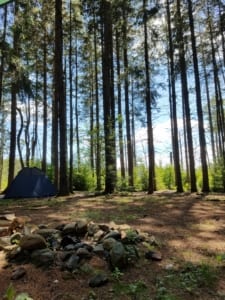
The best campground in Western MA, seriously![/caption]I’m a big fan of Google photos because it is incredibly easy to view the photos I’ve synced from my phone on my desktop.
Make sure the photos on your phone have synced online. If they have a white circular icon in the bottom right, you need to connect to Wifi and finish the sync. This was my first step, there was not a lot of WiFi in the woods!
Once you have everything synced, log into your Google account and visit photos.google.com where you’ll find all the photos from your phone. It’s that simple!
If you want to learn more about Google Photos: Free Up Space feature that removes all the photos from your phone that have already synced, you can check out our post here.
The good, the bad and the ok – how I narrowed it down.
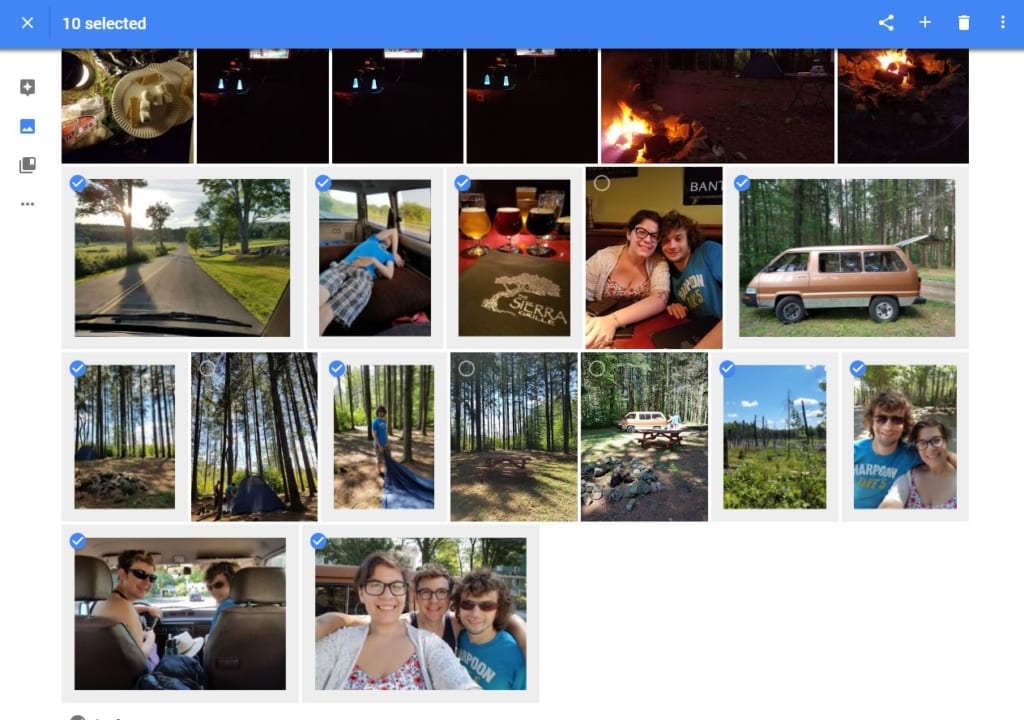
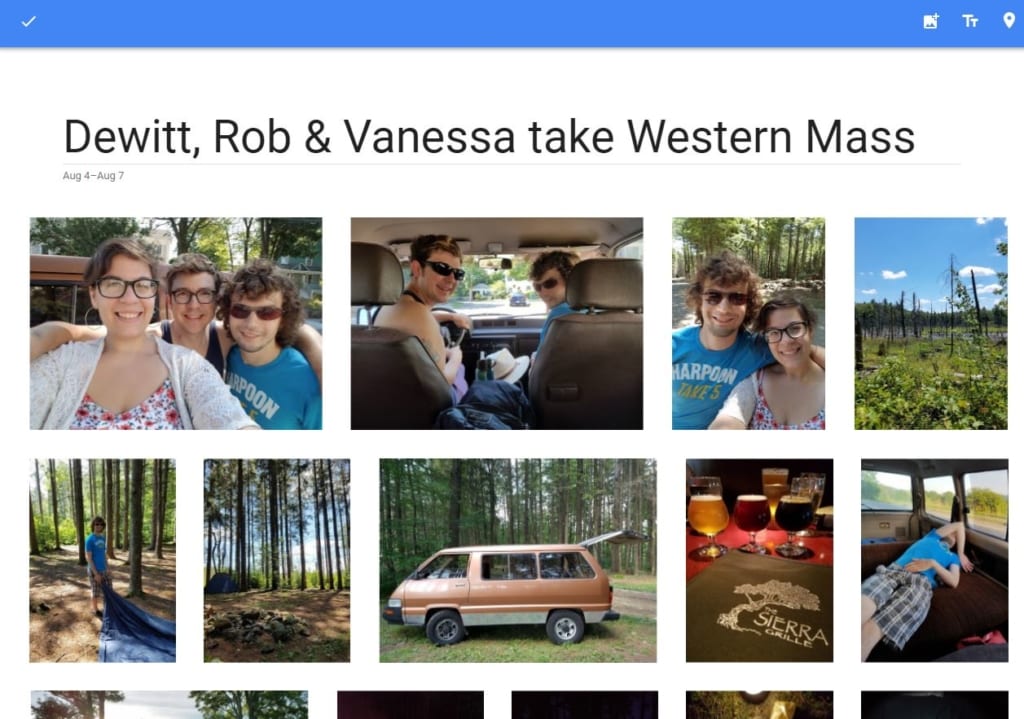
All of your photos will be in sequence by date taken and it makes it so easy to start at the beginning and work your way through your vacation, selecting your favorite photos as you go.
To select a photo, hover over the top left corner and click the white check mark that appears. It will turn blue and the photo will shrink, so you know you’ve chosen it.
This is the hardest part, because Google makes everything else easy. I kept a couple of things in mind as I was going through:
- I included all the photos I put on Instagram, because I know those were some of the best
- We had an underlying element to our trip that was important to include. We traveled in a vintage toyota van and we took pictures of it alone everywhere we went.
- There were SO MANY landscape photos and I had to be concise. I kept in mind that I was making a photo book and there would be more room to use them as backgrounds, but I narrowed down groups of photos of the same place to 2 – 3.
- I kept some of the selfies, but I omitted any photos of us that were dark, blurry or not well composed.
If you’re really struggling with this part, we wrote an in-depth guest post for Kinderart.com about photo selection that you can read here.
From selecting to sharing, getting them on Facebook.
By the time I was done I had 100 of my best photos selected. A reasonable amount to share online, but also not too overwhelming to make a book.
With your photos selected, click on the “+” in the top right and select “Add to Album”. This will take all of your highlights and put them into an album that you can name.
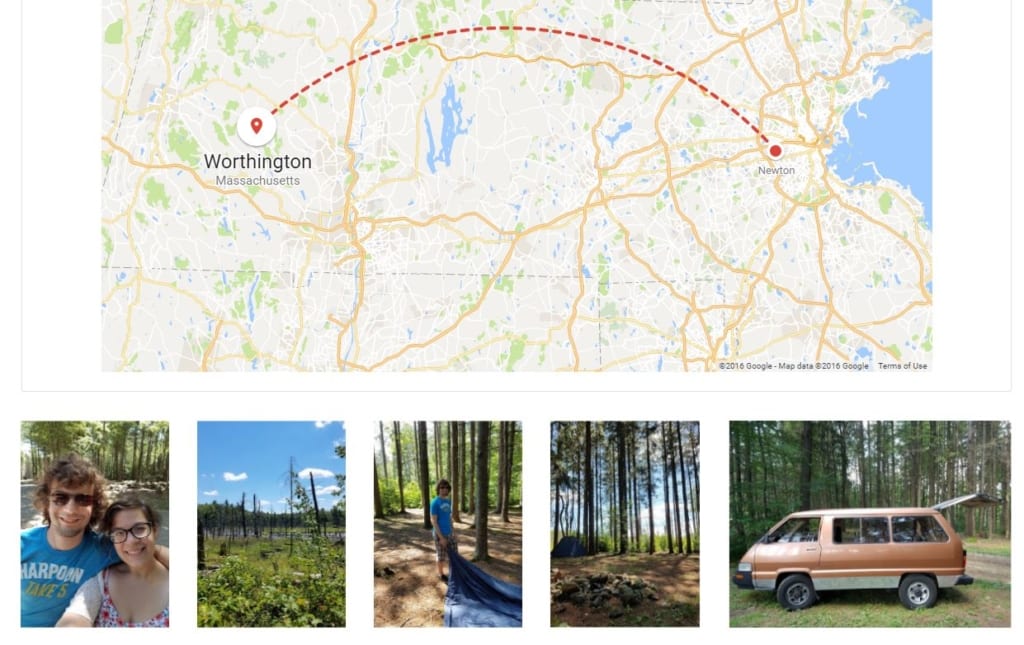
A really cool feature you can choose to use is their location feature. It uses the metadata of where your photos were taken and adds map points between your photos. In the top right hand corner of your album, click the map icon to turn this on. This is a great, “something extra” if you visited a lot of different places on your trip like we did.
After your album is created, you can do one of two things: share directly to Facebook from Google photos, or get a link to the album to share on Facebook manually. We tried both and it comes down personal preference.

- With your album open, click on the three pointed “share” icon in the top right. It will pull up an options panel. If you’d like to use the link and take it to Facebook yourself, select “Copy” and the link will be ready for you to use.
- If you prefer to share right to Facebook, select the Facebook icon and it will open a dialog box to create a status sharing your album.
- You can compose a message, and the post will display the name of your album and the album cover. When you’re ready, choose post to Facebook and you’re set! Note: this feature will only work if you are also logged into Facebook on the computer you’re using.
From Facebook to a photo book, it’s still easy.
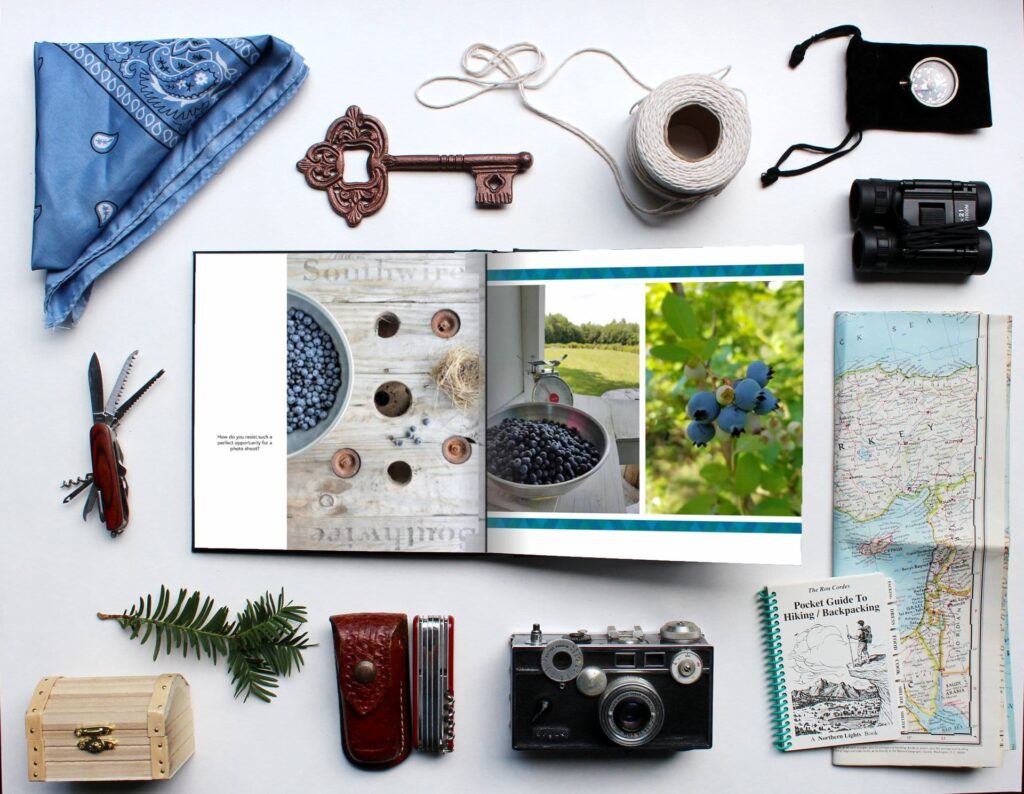
My facebook album was for my friends and for my social records, but I’m a huge fan of photo gifts. I have a collection of photo books on my coffee table and bookshelves that document all of my favorite parts of my life. It may sound like a time-consuming hobby, and it could be, but I make a point to keep my projects in mind as I’m taking and organizing my photos. If you want to learn more about our custom photo book services, click here!
For simpler books, I love shutterfly! The interface is intuitive and you can utilize all of their themed elements to create exactly what you’re looking for in a short amount of time. This is how you take your album of favorites and turn it into a beautiful book.
-
- While your google photos album is open, click the triple vertical dots and select “Download all.” This will download a zip drive of all the photos in your vacation album. Unzip the file and put the folder on your desktop.
- When you get to Shutterfly, you’re going to want to navigate to their selection of photo books, pick your favorite and get started. These are the options I chose:
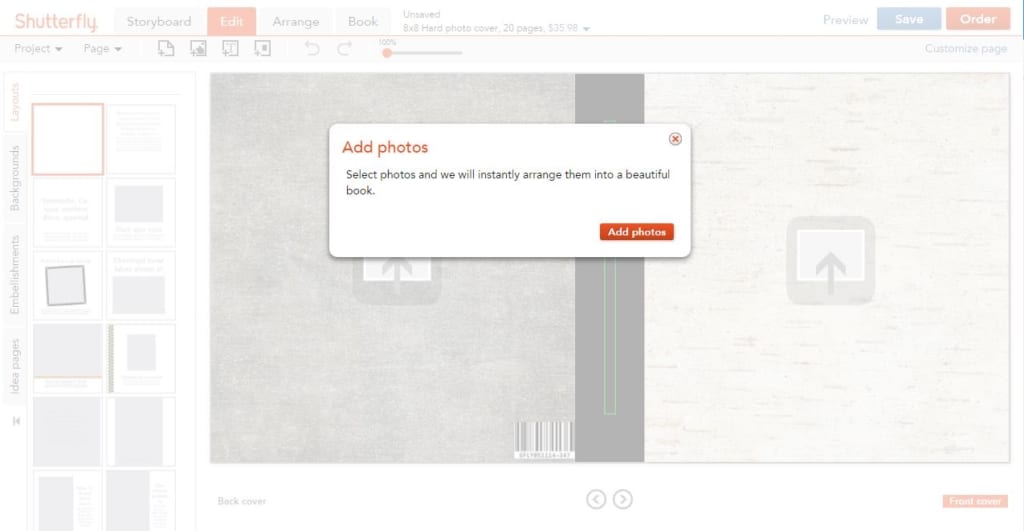
Photo books > Travel books > “Backpacking” theme > 8” x 8” hardcover > “Select this book” - Add your photos! It will ask you how you want to add them. Choose upload and select the vacation photos folder from your desktop.
-
- Once your photos have been uploaded, the sky’s your limit as you create your book. You can have your photos autofilled or you can place them one by one.
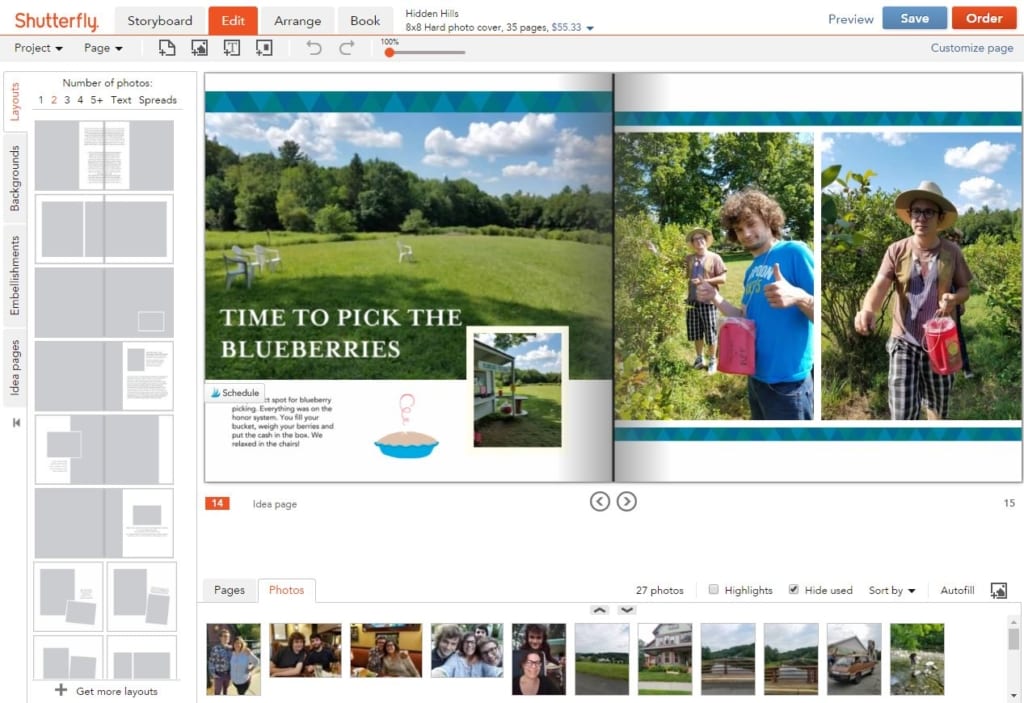
- Change your layouts from the left hand tab. Switch between different choices for backgrounds and embellishments. They even have premade idea pages based on the theme you’ve chosen.
Most importantly, have fun!
{
“@context”: “http://schema.org”,
“@type”: “BlogPosting”,
“mainEntityOfPage”: {
“@type”: “WebPage”,
“@id”: “https://everpresent.com/share-vacation-photos-create-photo-books/”
},
“headline”: “So you took 200 vacation photos”,
“description”: “We take hundreds of photos on vacation, but what do we do with them after? Learn best practices for sharing online and creating a beautiful photo book”,
“image”: “https://everpresent.com/wp-content/uploads/2024/03/blog-images-3.png,
“author”: {
“@type”: “Person”,
“name”: “Vanessa Boucher”,
“url”: “https://everpresent.com/about-us-vanessa-boucher/”
},
“publisher”: {
“@type”: “Organization”,
“name”: “EverPresent”,
“logo”: {
“@type”: “ImageObject”,
“url”: “https://everpresent.com/wp-content/uploads/2016/02/HI-RES-TRANSPARENT-LOGO-01.png”
}
},
“datePublished”: “2024-03-17”,
“dateModified”: “2024-03-18”,
“articleBody”: “This is a longer text of the article body. It can include HTML tags.”,
“articleSection”: “Technology”,
“keywords”: “photo book, digital photos”
}