


Written by Amy Hammond
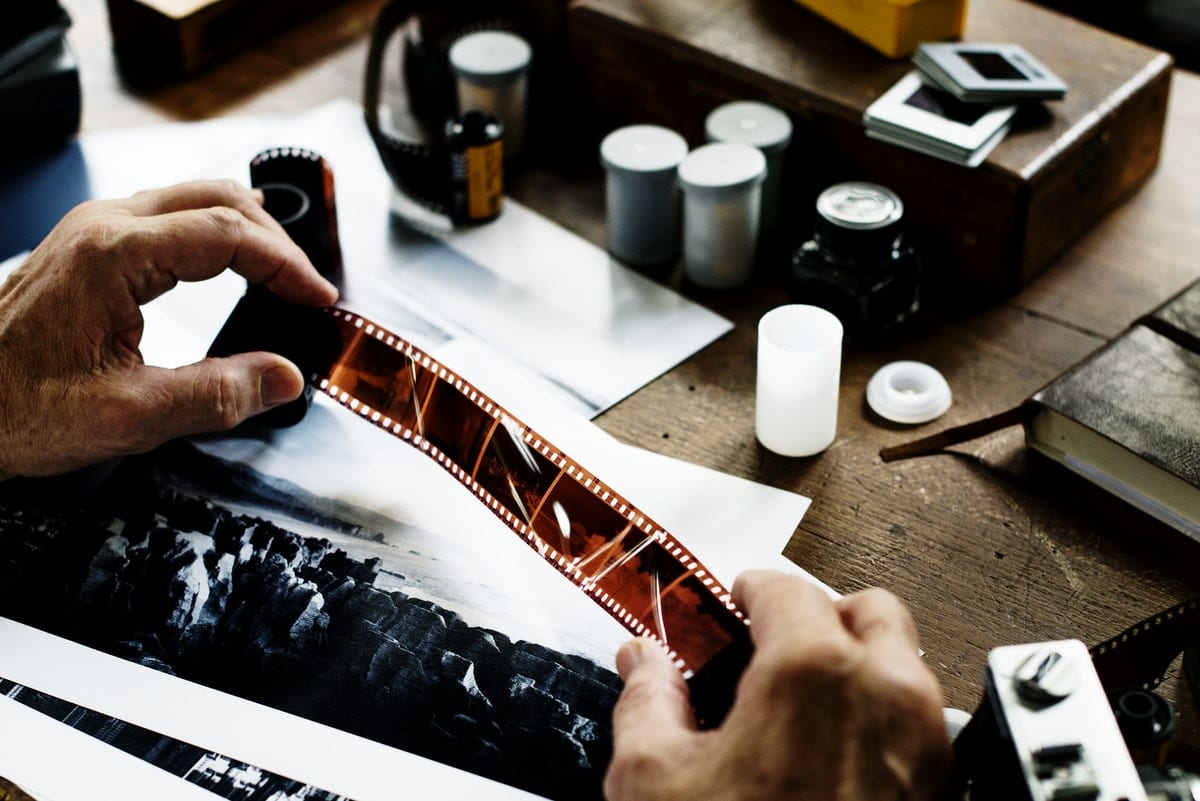
Are you looking at a shoebox filled with film strips?
However, before you prep the darkroom or begin scanning all of those stacks of old pictures and negatives, you must first learn how to clean negatives properly. After all, it’s critical to adequately deal with readily removable contaminants to care for your negatives properly.
In this post, you will discover:
- How to clean old negatives with isopropyl alcohol before scanning
- What NOT to do while cleaning your negatives to save the film from being ruined
- What you should avoid doing
- How can you make this process go faster
Why You Should Clean Film Negatives
You may wonder why you should learn how to clean negatives since the world is becoming increasingly digital. However, the realm of analog has seen a resurgence due to the fact that film cameras typically offer:
- An initial lower cost of entry.
- Superior white and black details because of its larger dynamic range, which digital cameras can’t duplicate. Film can also catch delicate details that digital photography misses.
- More forgiving focusing and exposure faults.
- Better resolution than those taken with most digital cameras.
- A more engaging workflow. With a limited number of exposures on a roll of film, film photographers must think more about their photos before shooting them. Photographers who use digital cameras have a tendency to shoot photographs first and consider afterward.
- A timeless style and appeal.
- There is no requirement for electricity or batteries. Long travels and cold weather might limit digital cameras.
In the end, a fresh print generated from a clean, well-preserved negative will often provide a clearer, better image than a digital scan of a clean photo.
However, you can have the best from both worlds. By scanning in a clean negative into a digital format, you have the versatility of a digital image with the clarity of a film picture.
Essentially, you can capture much more information with digital technology than a scanned 2nd generation print. Restoration, augmentation, and enlargements may all be done with a “digital negative.” Plus, you can save it in numerous locations to ensure that it is preserved in the event of a disaster or damages to the original.
The Tools You Need to Clean Film Negatives
When it comes down to how to clean film negatives, you’ll need a few tools on hand:
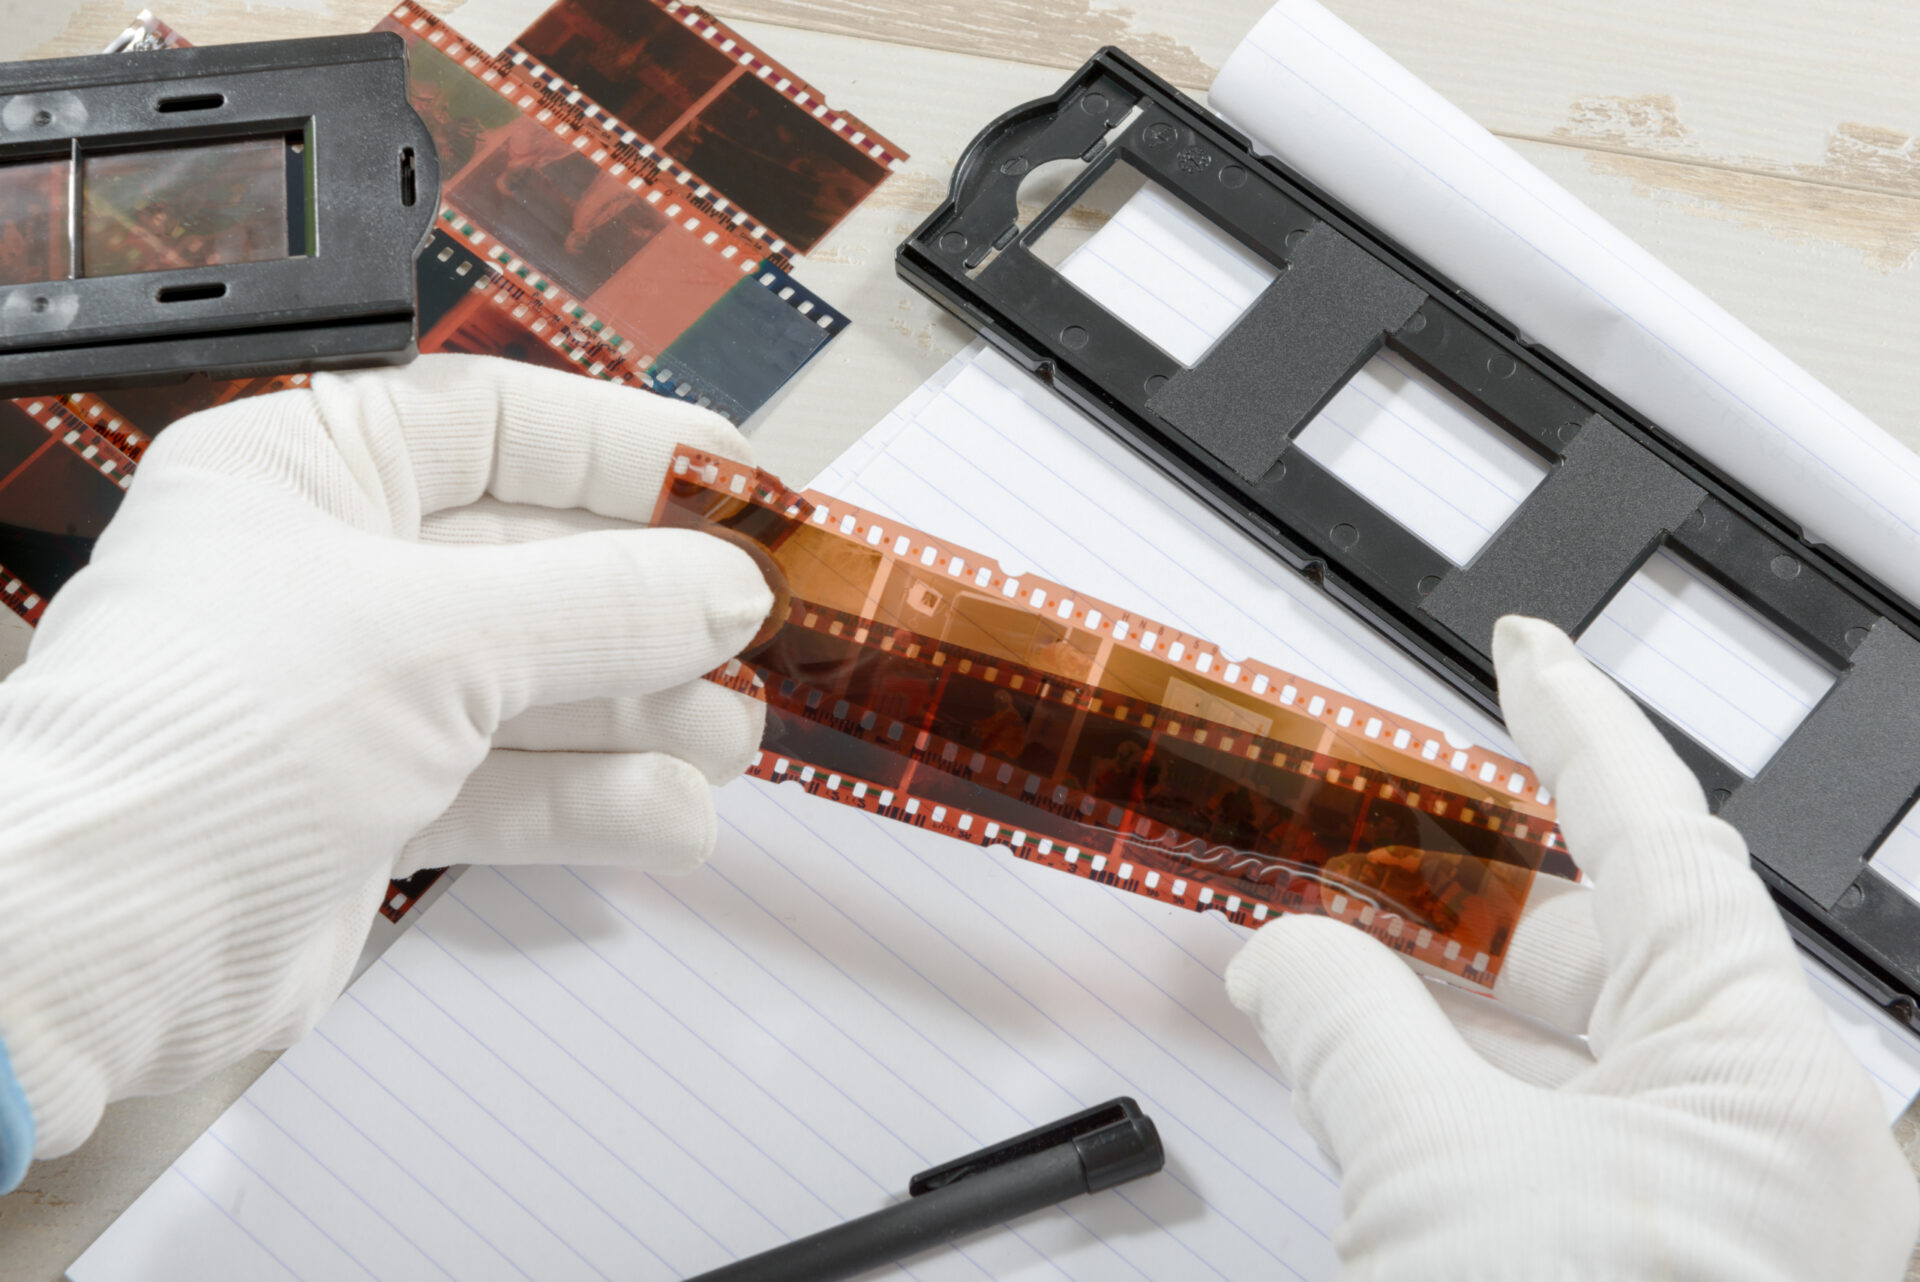
Gloves
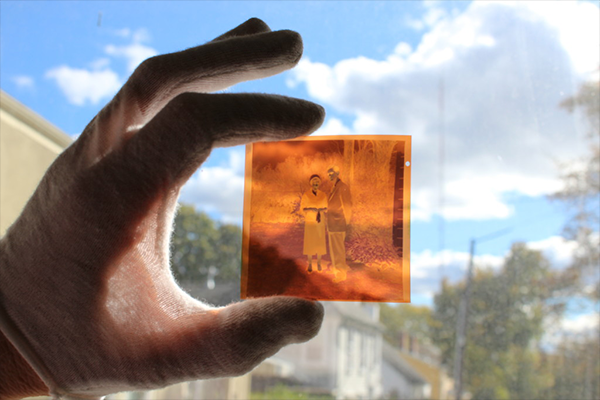
Wear gloves made of clean cotton or nylon. Gloves will protect your film from fingerprints while cleaning negatives. Ensure the gloves are lint-free and dust-free. Your negatives will not be scratched during the cleaning process if you do this. These gloves and other negative film cleaners are available at your local photographic supply store.
Anti Static Cloth
Use a dry, anti-static cloth. Because static draws dust, it’s best to avoid using other types of cloths. It’s best if the fabric is soft and clean, ensuring that your negatives will be scratch-free throughout the cleaning process. You can find antistatic cloth in photographic supply shops.
Anti Static Film Negative Cleaner
A low-cost, static-eliminating cleaner for films is typically two bristle brushes that you pass the film through. It has two brushes for antistatic cleaning and dust and lint removal from your film.
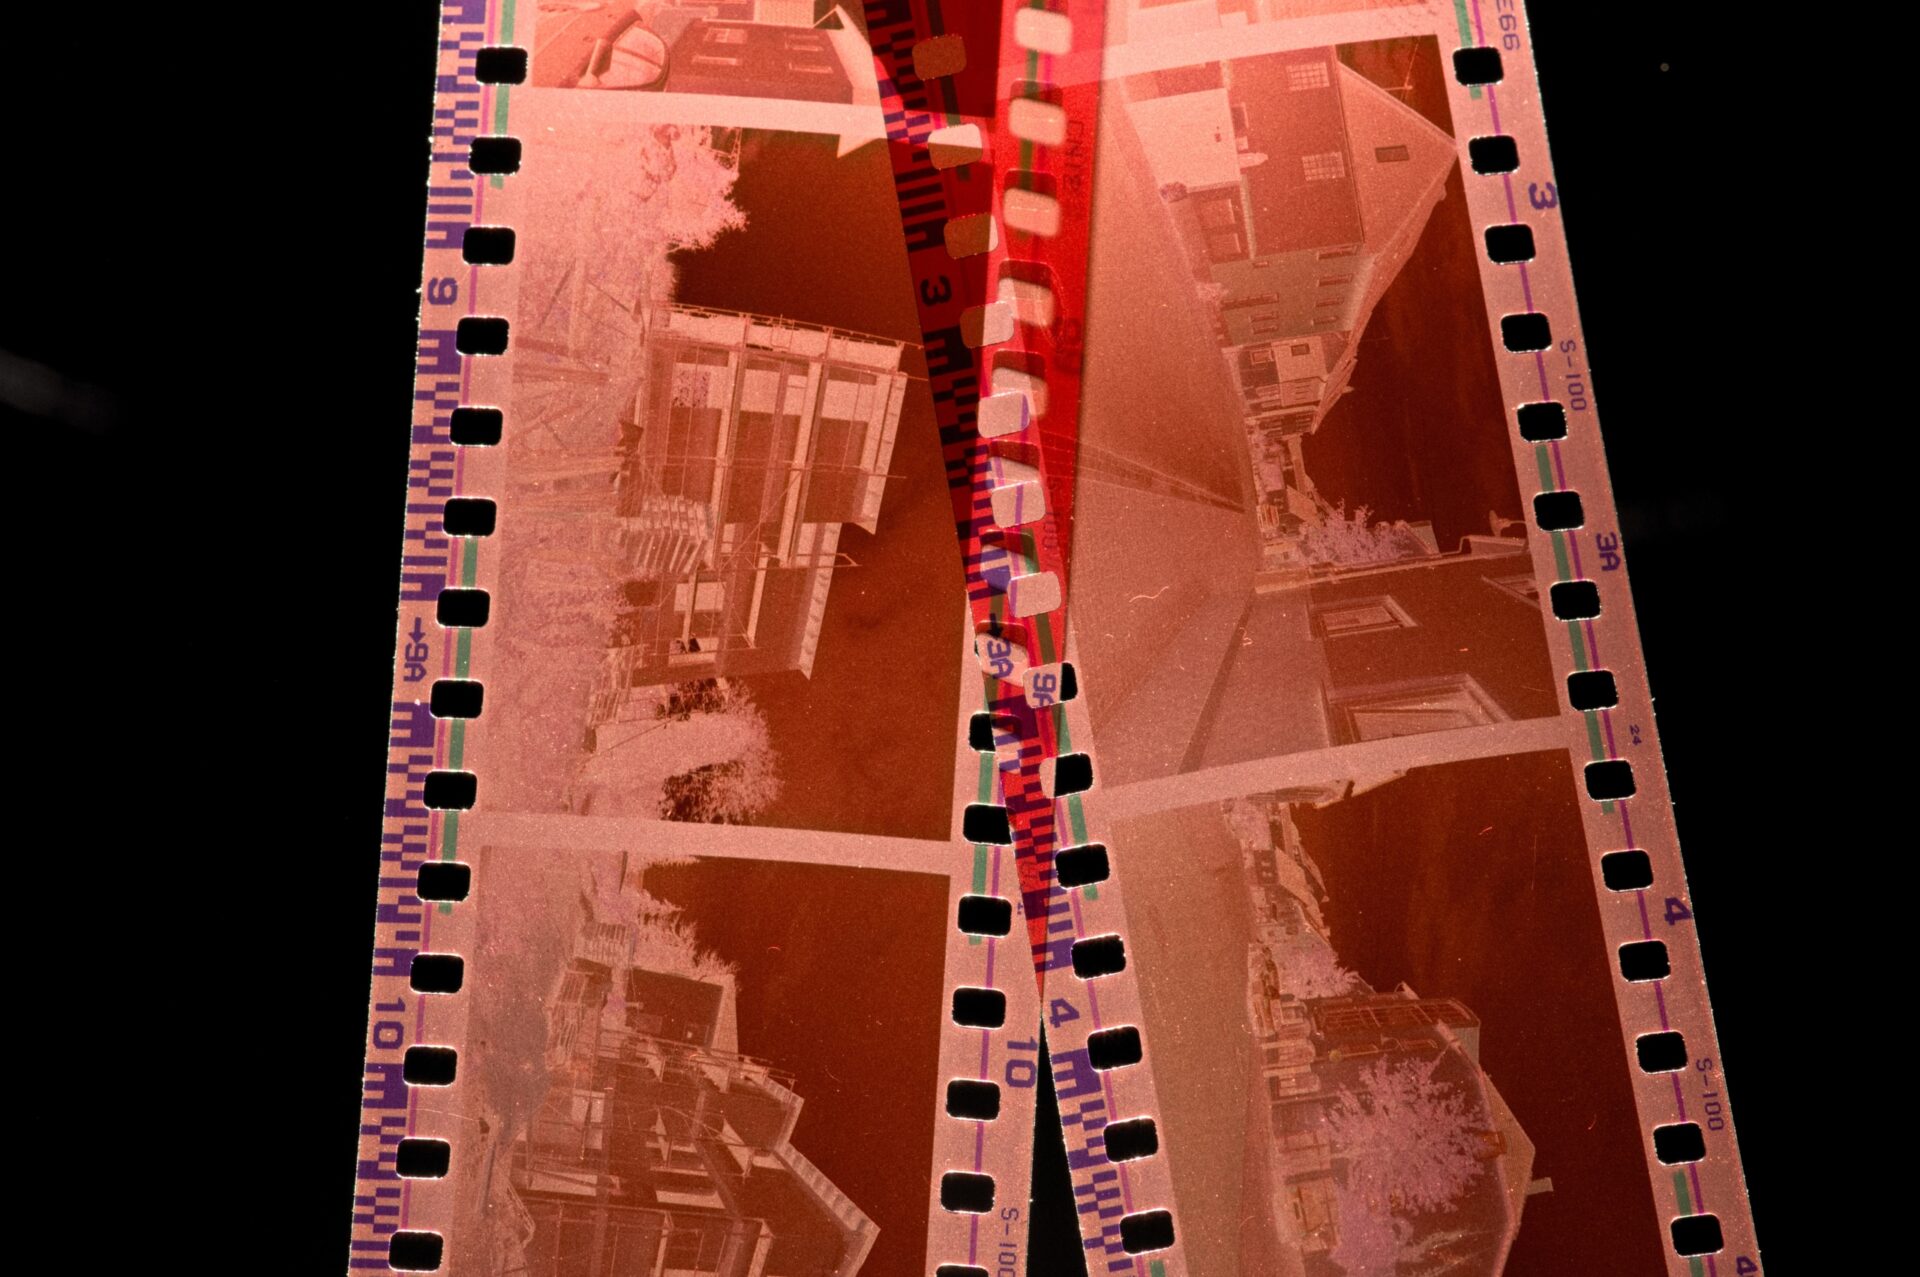
98% Isopropyl Alcohol
Ordinary rubbing alcohol will create streaks on the surface, so stay away from it. Make sure the product doesn’t include any substances that might harm your negatives. You can purchase a higher concentration from a hardware shop or a petrol station. However, do not soak your film in alcohol since this may cause the emulsion to burn. Your negative film will be ruined as a result of this.
CLEANING FILM NEGATIVES
When cleaning film negatives, make sure to put your gloves on, wet a lint-free cloth or cotton swab with alcohol, lightly wipe the negatives with the cotton ball and allow the negative to air dry in a clean, well-ventilated area.
Whether you’re using negatives to create photographic prints or digitizing them for archival purposes, below you’ll find detailed and more in-depth instructions and steps you need to take to properly clean your negatives.
Put your gloves on.
It’s critical to preserve your memories as safely as possible while dealing with them. Wear either clean cotton or clean nylon gloves, then grab your first roll. Fingerprints and natural oils from your skin will smear your negatives if you don’t use gloves. A pair of dust and lint-free gloves will also assist in avoiding scratches during the negative cleaning procedure.
Using a lint-free cloth or cotton swab, apply alcohol.
Avoid soaking the cloth or swab in water. Just a smidgeon will be enough.
Then gently wipe your negative with the towel or swab. Also, focus on a small area first.
Wear lint-free gloves as well. These may be found at photographic stores. There’s nothing worse than finding a fingerprint on a clean negative!
Allow your negatives to dry in a clean, well-ventilated area.
Ensure that there is adequate airflow. However, don’t keep your negatives near a window since they’ll gather dust from the outside.
This is a straightforward yet crucial step, as you want the alcohol to evaporate as soon as possible. Any oils, dust, or particles on the emulsion will be loosened using this method.
Using a different lint-free cloth or cotton swab, gently wipe your dried negative.
The next step is to wipe the film with a separate cloth or swab gently. Make sure the cloth or swab is completely dry before using it.
By following these four simple steps, you can then have them digitized to ensure they’ll last for generations to come.
Tips on Cleaning Film Negatives
Cleaning negative is quite simple, but there are a few things to bear in mind to achieve a flawless result:
Avoid canned air whenever possible.
When going through the film cleaning process, avoid using canned air. Even if you shake the container, liquid can spurt out, potentially damaging the negative. Canned air also includes contaminants that can permanently harm your negatives.
Don’t use isopropyl alcohol lower than 98%.
Water will remain if you use a smaller proportion, resulting in streaks, blotches, and stains.
Preserve your negatives.
After you’ve scanned the negatives to produce digital copies, store them vertically in special negative boxes or archival negative pocket sheets in a negative binder.
Keep film in a cold place, preferably below 68 degrees Fahrenheit. Stay away from the light. It would be best if you avoided excess moisture and humidity changes. A cool closet is an excellent choice.
EverPresent Can Help
It’s best to have your negatives scanned by a professional to ensure the process has been done correctly. Thankfully, you can rely on EverPresent.
From 35mm negatives to the rarest formats, professional negative scanning services are available to you. Our digitizing professionals scan millions of photographs every year, and we’re particularly proud of our negative scanning services. Whether you choose our standard photo digitizing service or our advanced offerings, our scans are superb. Contact us today either at one of our 40+ locations, or you can use our convenient home pickups and mail-in services.