

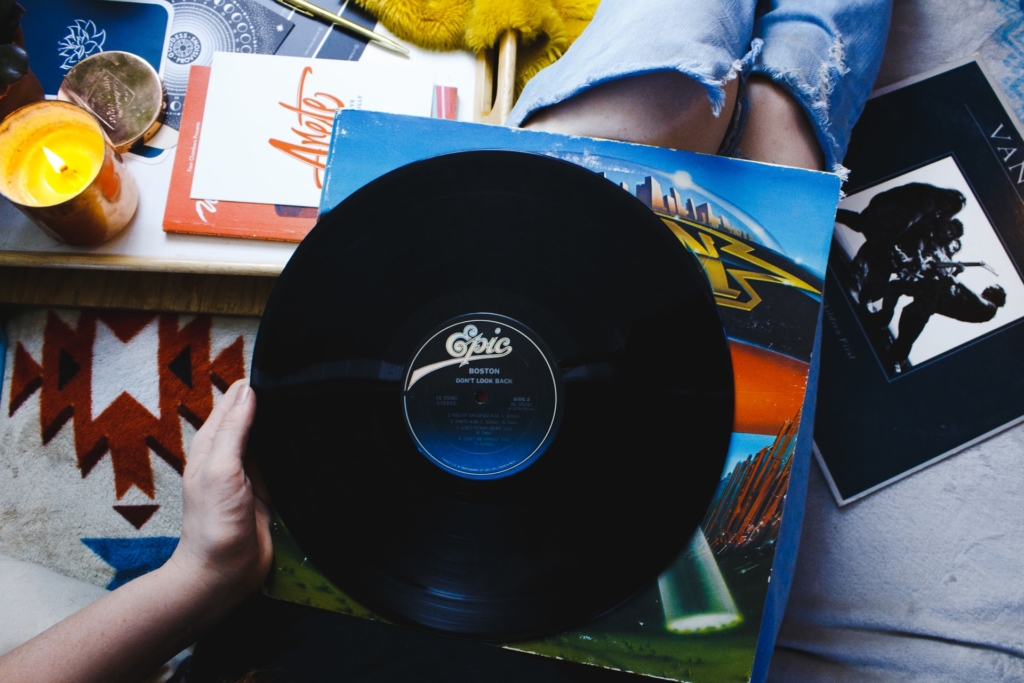
Vinyl has experienced a resurgence in recent years. Since tapes and CDs appeared, vinyl found itself going firmly out of fashion. The attraction of vinyl is not just the higher quality sounds but the entire experience.
Even modern artists have adapted and produced some of their top hits for vinyl. The artwork on the front of the sleeve and in the insert are just two of the reasons why people love vinyl.
Taking proper care of your vinyl will keep it running like a dream for decades to come. Here’s how to clean vinyl records correctly.
Why You Need to Clean Your Vinyl
Did you know that playing dirty records could cut their lifespan? Knowing how to clean old records preserves them and ensures they don’t come to a premature end.
The more dust and dirt that settles between the grooves on the record and your stylus, the more you’ll hear the surface noise. If your records make a popping or hissing sound while playing, it is a sign that your records are falling apart.
Playing on regardless can lead to the grooves wearing down and becoming damaged. Learning how to clean vinyl is crucial to enjoying many more years of quality listening.
How to Clean Vinyl Records
What is the best way to clean vinyl records? You have got several solutions for getting all the dirt and dust out of the grooves. There are also some ways you shouldn’t clean your records, especially using certain home remedies.
Let’s go through the best way to clean records, and some of the methods you should steer clear of.
How Do You Clean Vinyl Records with a Vacuum Cleaner?
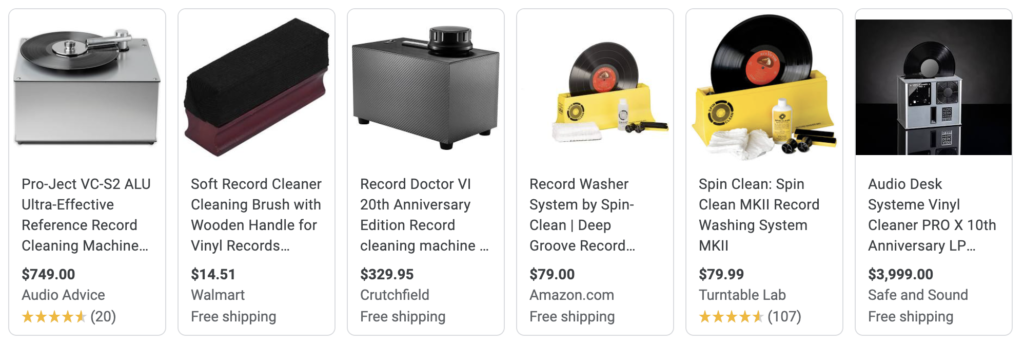
Easily the best way to deep clean a vinyl record is to use a special record cleaner. These vacuum-powered devices are made especially for cleaning vinyl old and new. They work by sucking up the dirt and dust that have settled in the grooves while maintaining a low pressure to protect your prized hits.
Just switch it on and go over your records. These cleaners are designed to mitigate physical contact to avoid scratches and scuffs.
Never attempt to substitute a dedicated vinyl vacuum cleaner with a normal vacuum cleaner. These will put undue pressure on your records and are not accurate enough to remove all the grime that has accumulated within the grooves.
If you don’t have a vinyl vacuum cleaner, consider some of these other methods.
Use a Record Washer for Your Vinyl
Another option is to use a record washer. The main advantage of using a record washer is they’re much cheaper than vacuum cleaners, which can be more than twice the price.
Manual record washers come with a system filled with brushes and rollers. All you need to do is insert the record into the cleaner and rotate it a few times. It’s that easy to clean your record.
Record washers exert additional pressure onto the vinyl, but they’re still more than sufficient for most collectors. Extremely dirty vinyl records sitting in the basement are perfect for record washers at a fraction of the price.
How Do You Clean a Record By Hand?
Not everyone has a fancy vacuum or washer available for their vinyl. If you’re not a collector and just like to listen to vinyl occasionally, there is a way to spring clean your records by hand.
A brush and a simple cleaning solution are all you need. It couldn’t be easier to use the DIY option when you have no other alternatives:
- Brush your record lightly on both sides
- Wash the record using your cleaning solution
- Dry the record with the addition of a microfiber cloth
- Repeat the process until clean
Unlike the above options, it will take longer to do everything by hand. The key is to avoid becoming frustrated and to refrain from putting too much pressure on your records. Let’s go into more detail.
Step One – Brush the Record
You cannot just use any brush to clean your record. You need a record brush, which are designed to clean the record with soft, anti-static bristles. There are plenty of options for record brushes, with high-end options designed for exceptionally dusty vinyl.
Start by gently brushing the service in a circular motion. Always make sure you are following the grooves with the brush. Only apply light pressure to avoid damaging the grooves. The brush is just designed to remove larger pieces of dust.
It is recommended that you brush your records every time you play it, as part of general maintenance and preservation.
Step Two – Wash the Record
Some people have been known to use a combination of water and standard dish soap to create a cleaning solution. While this can work temporarily, it will wear away the protective coating on your vinyl. Over time, it will cause permanent damage.
Instead, invest in a dedicated record cleaner. These cleaning solutions are gentle and designed for vinyl use. You should always avoid any solution with isopropyl alcohol, as it will also wear away that vital protective coating.
So, what is the best cleaning solution for vinyl?
Take the lead from The Library of Congress. They use a solution called Tergitol, which is a mild surfactant, plus deionized water. Tergitol-based record cleaners can be found online.
Just add a couple of drops to deionized water, which can also be found online, and lightly spray the disc. Allow the solution to remain on the surface of the vinyl for five minutes before taking your record brush and brushing the solution away. Again, follow the grooves as you brush.
Remove any remaining residue by brushing with deionized water only.
Step Three – Dry the Record
There are no special tricks to cleaning records with a microfiber cloth. Use one of these soft cloths to pat the record dry. Some people prefer to leave their record to air dry for a minimum of thirty minutes, but this is not a requirement.
The benefit of allowing your records to dry before returning them to their sleeves is to ensure maximum dryness and to avoid damage to the sleeves. Older vinyl records should have additional attention paid to them to prevent mold growth.
Avoid Home Remedies
The online world will provide recommendations for various home remedies. Any type of home cleaner is unsuitable for cleaning vinyl. They contain harsh agents that will cause irreparable damage to the protective coating and service.
Specialized record cleaning kits exist for a reason. Although it may be frustrating to have to invest in extra cleaning agents, we can guarantee that knowing how to clean a vinyl record in this way will preserve your collection for many years to come.

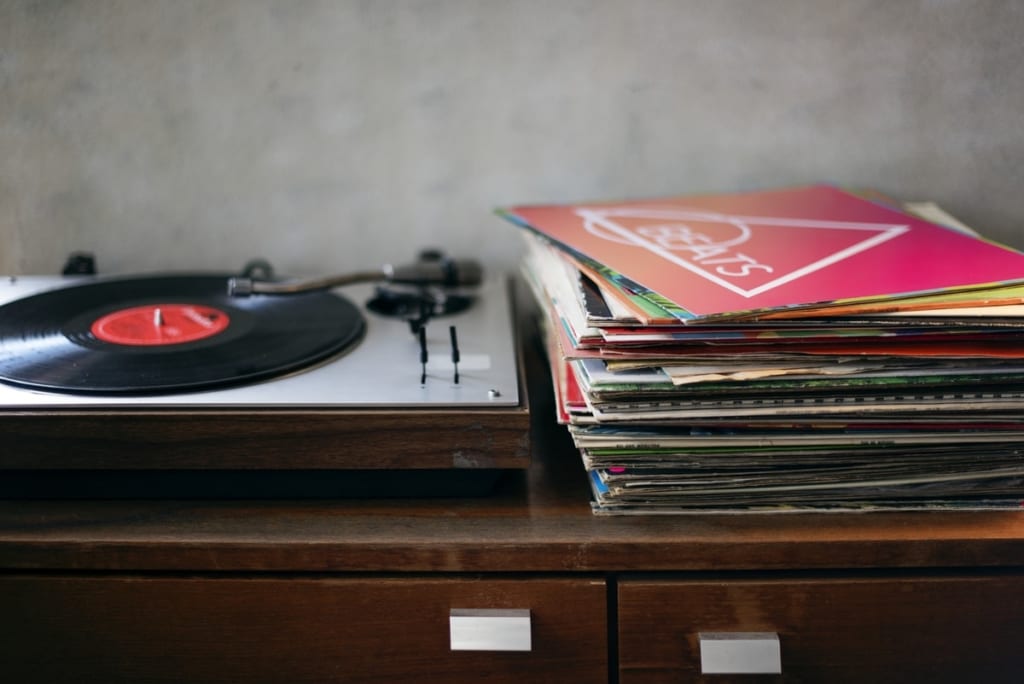
5 Tips for Proper Record Storage
Now you know how to clean a record, you need to invest in proper storage. Dirty, grimy records get that way because people failed to store them correctly. Maximizing the lifespan of your vinyl starts and ends with storing records properly.
In addition to how to clean records, here’s how to keep your vinyl in pristine condition when you’re not playing them.
1. Store Them in the Right Place
Vinyl is more sensitive than you think. They need to be stored in the right place. A cabinet sitting in front of a west-facing window will not only damage the vinyl but also cause the sleeves to fade.
Direct sunlight and heat causes warping over time. If you have ever played a vinyl record only to find that it starts to skip and jump, sun damage could be the reason.
Records must be stored in a cool, clean space at all times. Try to keep them away from little-used areas, such as the attic or basement. These areas are not properly climate controlled and pests, dust, and other conditions could put them at risk.
2. Store in an Upright, Vertical Position
Vinyl is always stored in a vertical, upright position for a reason. It’s all about the pressure you exert on the vinyl itself. Uneven pressure can lead to unexpected warping. This is why you always see collectors using special upright crates for storage and transportation.
Never cram your records together, even if you’re suffering from limited space. Again, this can put undue pressure on the vinyl within. It can also cause premature fading of the sleeve, due to the friction.
Your records should have enough room to breathe without falling at a slant.

3. Keep Your Records in a Sleeve
Some people use paper sleeves when they have lost the originals. When sleeves were manufactured, they were not designed to last more than a few years. Before vinyl was seen as a vintage, collector’s item, they were designed as a mass-market product.
Paper sleeves increase the risk of shedding and dust buildup. Truthfully, they offer little protection during storage.
If the original sleeve has already deteriorated, purchase a wax or a plastic sleeve to stop shedding. You should also place a secondary outer sleeve to provide an extra barrier against dirt and dust.
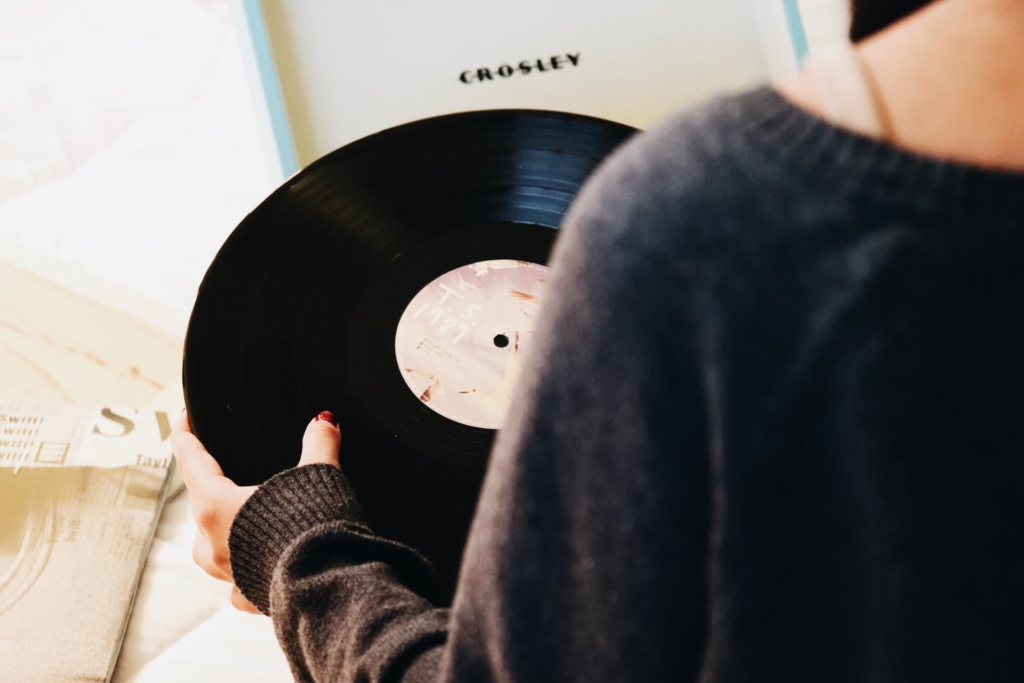
4. Handle with Care
Always hold your records by the edges. Unlike CDs, you cannot simply wipe a dirty thumbprint away and be good to go. The grooves are sensitive, and any contaminants could cause permanent damage.
Hold your records by the edges when moving your records to your vinyl player and back again. Your fingers may not only have dust on them but also oil. The skin contains natural coatings of oil, causing gradual damage to the record.
Unless you happen to be a DJ, your fingers should never come into contact with the top or bottom of a record.
5. Never Leave Records on the Turntable
It can be tempting to leave a beloved record on the turntable if you know you’ll be listening to it again the next play. The cardinal rule of owning vinyl is that nothing should be out of its sleeve longer than necessary.
Your turntable likely also contains dust and dirt. Even if you’ve got a cover to place over the top, the only place a record should be is in its album sleeve.
While it may seem like a hassle, your vinyl collection will last much longer if you practice this habit.
Conclusion
Now that you know how to clean vinyl records, you may be wondering will they last forever? Unfortunately, all records will eventually suffer from degradation. Anyone who owns older vinyl should be thinking about the preservation of the anthems of their times.
EverPresent understands the fears of music lovers, which is why you can take advantage of a safe, reliable, and ultra-high-quality vinyl to CD transfer. Protect your vinyl forever and ensure that you can continue to enjoy your favorite tracks for generations to come.