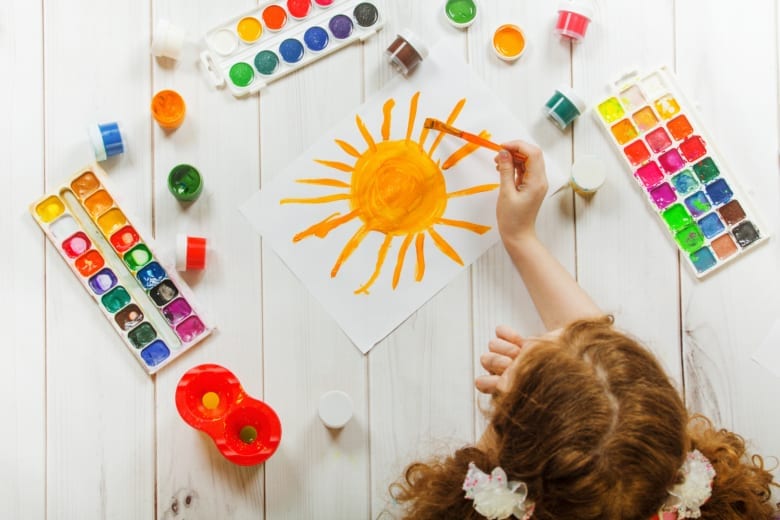
It’s the first day of school for the families in our neighborhood and we’ve heard the same question over and over from our clients – what do I do with all of their artwork? Below are some easy tips and fun projects that will give you the tools and confidence you need to sail through this school year while you share and organize your art!
Digitize & Organize it!

Even if your kid’s not Picasso, the idea of throwing away his cray-pas self-portrait from 1st grade is incredibly hard, but keeping everything organized and storing everything can be impossible. The best way to preserve your children’s artwork and avoid the constant clutter, is to digitize it and toss it. As you digitize, you can also organize everything into folders by child and year. For those who simply can’t throw everything away, pick a few favorites for each year to keep and digitize the rest. Here are three ways to digitize:
- DIY – Scan or Photograph: If most of your artwork is the size of computer paper or smaller, you can get a good scan of it from your home printer/scanner. Even if it’s a little 3-D, as long as there’s no tacky glue, you can press the lid down firmly for a good scan.
Photography is the perfect DIY option if you don’t have a scanner or have oversized, 3-D art that you don’t want to outsource. Remember, if you have multiple children, you’ll probably want to separate their artwork into piles before you start photographing. At the beginning of the school year try creating a folder for each child with their name and school year. Set a few reminders throughout the year to do the photographs, it can even be fun to include the kids in the photo shoots! You can find tips for photographing your artwork at home here! She even has some great collage templates you can use
- Outsource it!: For artwork that requires oversized large format scanning, if you are buried in piles of artwork, or if you just don’t have the time, it’s totally OK to outsource your digitizing to a local company who has the experience and time to get it done. Bonus, they can probably print books for your kids that they will love going through into adulthood AND help you organize!
Display it!
It will give your kids a sense of pride to see their art on the walls, and there are so many ways to do that! There are some great interactive options for art display that allow you to cycle out the old artwork into storage as they make new art. Once you’ve taken the time to organize and you’re ready to digitize, you can throw the originals away. We recommend the Container Store for the safest way to store the art. This 12″ x 12″ acid free container is a perfect example!
Use the whole wall!
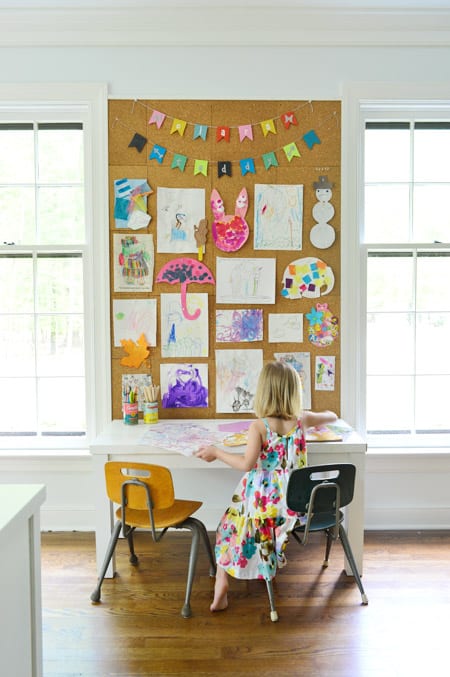
For the ambitious DIY-er, this cork board wall is a great way to utilize unused wall space in your kids bedrooms or playrooms. They can hang their favorites as they create them, and you can too! You can learn how to create this in your home here.
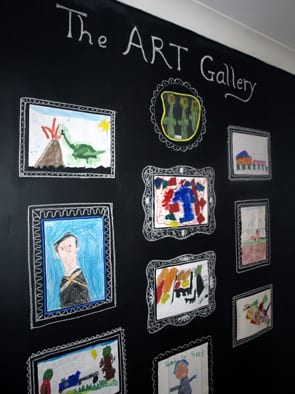
Chalkboard walls are not a new trend and we keep seeing them around because they’re fun to use and easy to make! Not only can your kids MAKE the art for the walls, but they can draw the frames as well! Here is a great walk-through of creating a chalkboard wall in your home.
A traditional gallery wall
If you’ve ever made a gallery wall, then you know there’s more that goes into it than just framing some photos, but it’s SO WORTH IT. This is what we’d recommend if you don’t feel compelled to save everything and you’ve only kept your favorites. Gallery walls are also a great option if you’ve already been building a collection and have a good idea of what you’d like to display. You can always change it up as you cycle in new art.
There are so many different ways you can design a gallery wall, this is also a fun project to get the kids in on as they’ll have creative ideas to display their own art. We’ve found some of our favorites and linked you to all the instructions.
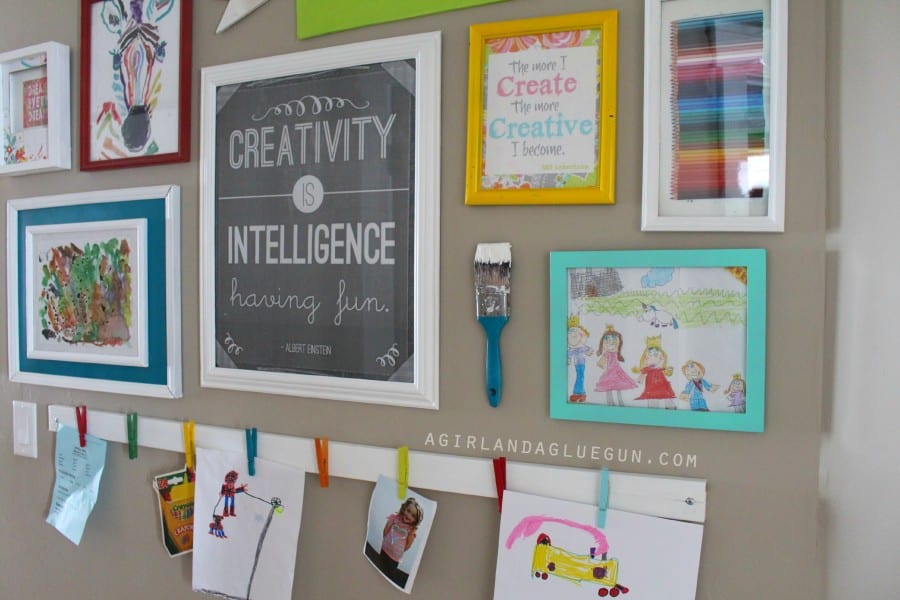
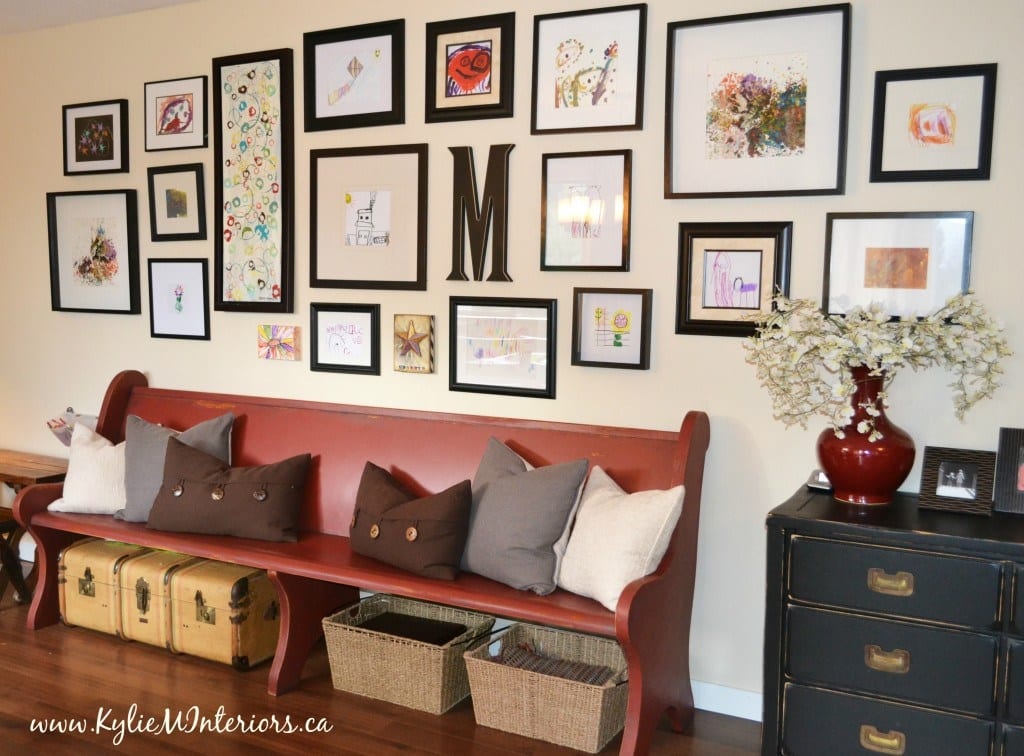
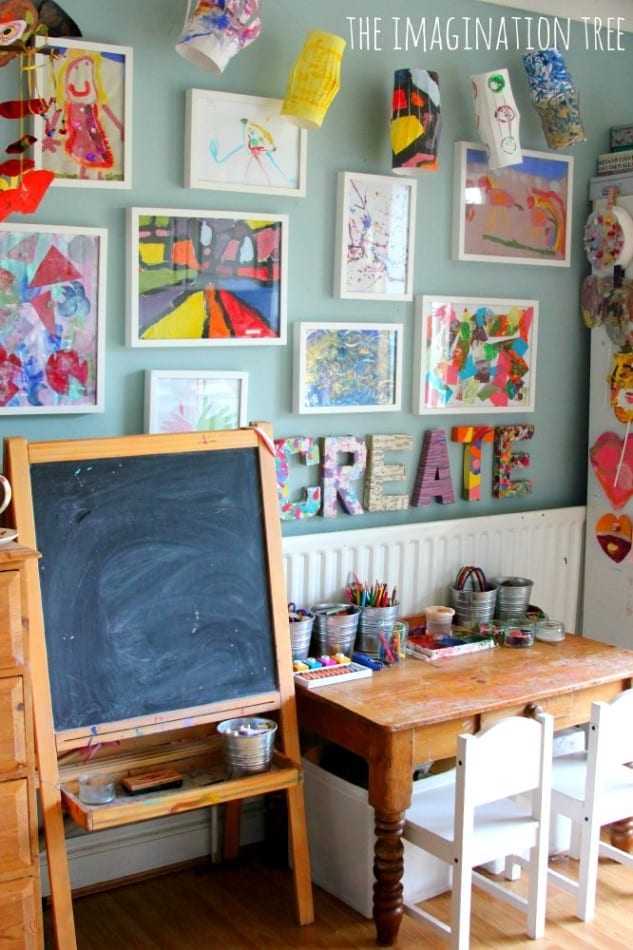
Go beyond the frame
You don’t have to confine yourself to only displaying the pieces that you can fit into a standard size frame or those that are two-dimensional. There are a variety of simple ways you can display all shapes and sizes in your home art gallery.
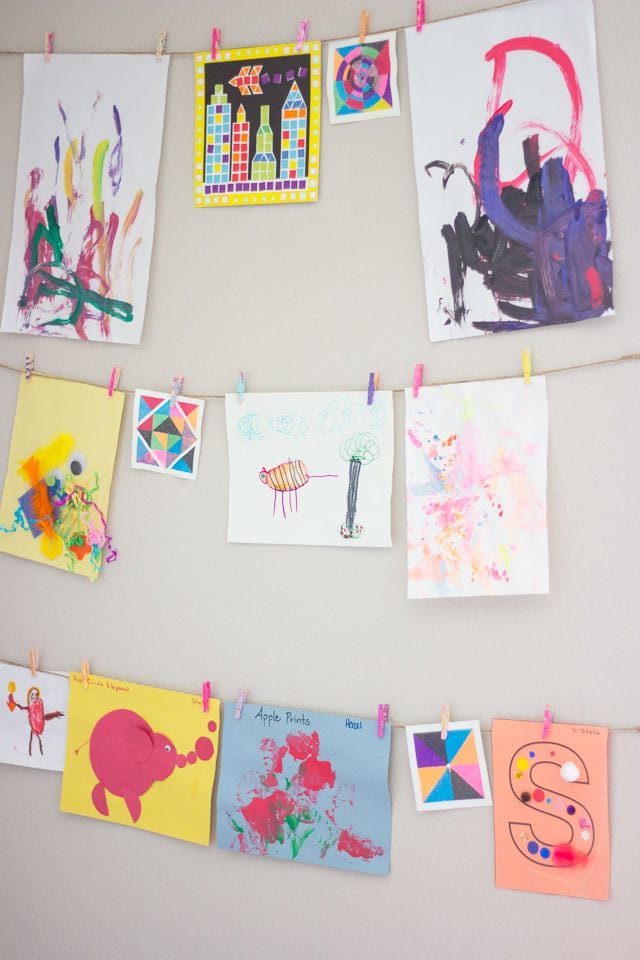
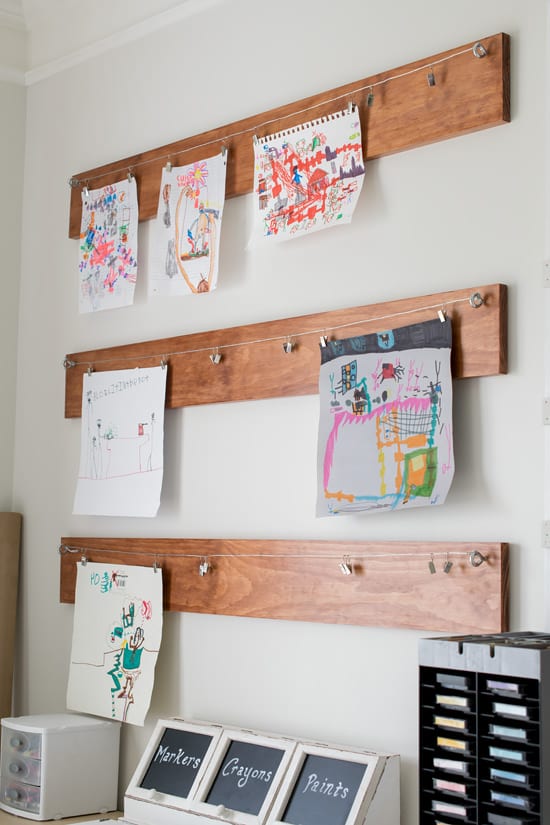
Share it!
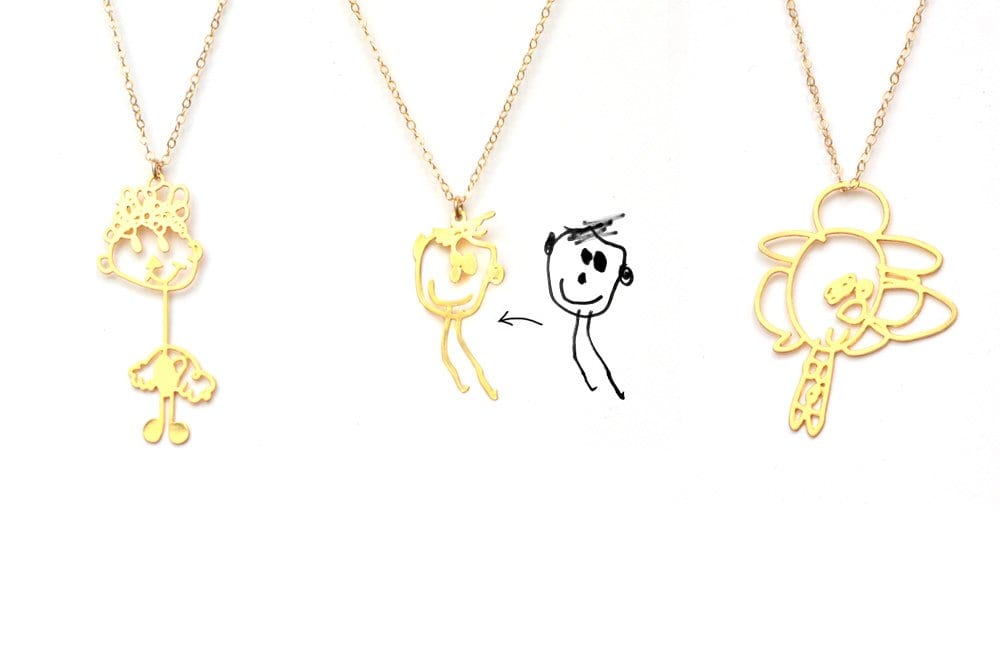
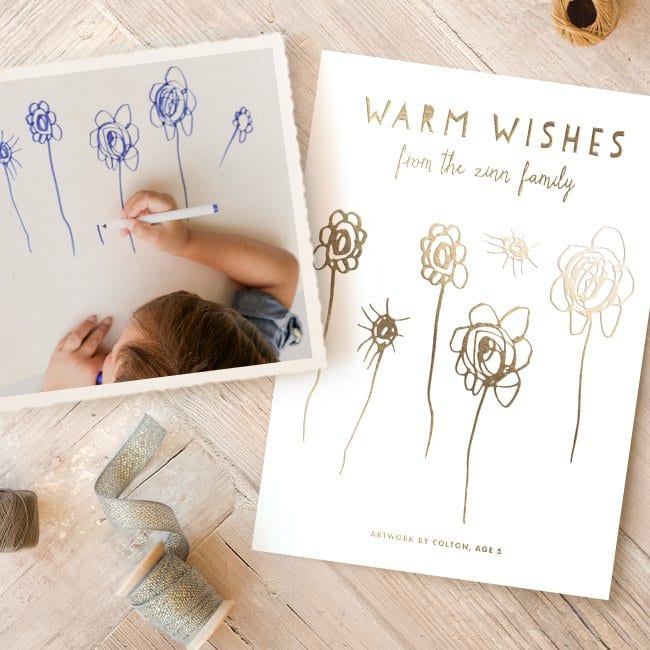
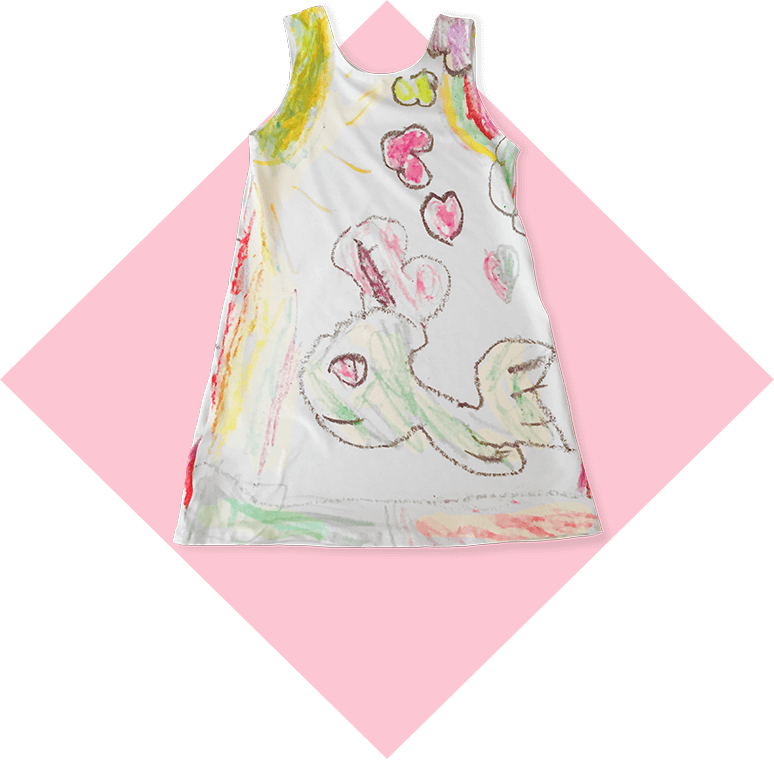
The best part about the different and creative ways to display and use your child’s artwork, is the ability to share with friends and family who will enjoy it as much as you do! We’ve rounded up our favorite photo gifts you can create from their artwork!
Custom photo books
There are several apps out that allow you to take a picture with your cell phone and turn it into a book, like Artkive. They are a great resource for simple items and when you don’t want to invest a lot of time. They are usually only focused on the artwork itself, but if you don’t have enough art for that, or it’s not what you’re interested in – use the art as an extra special component!
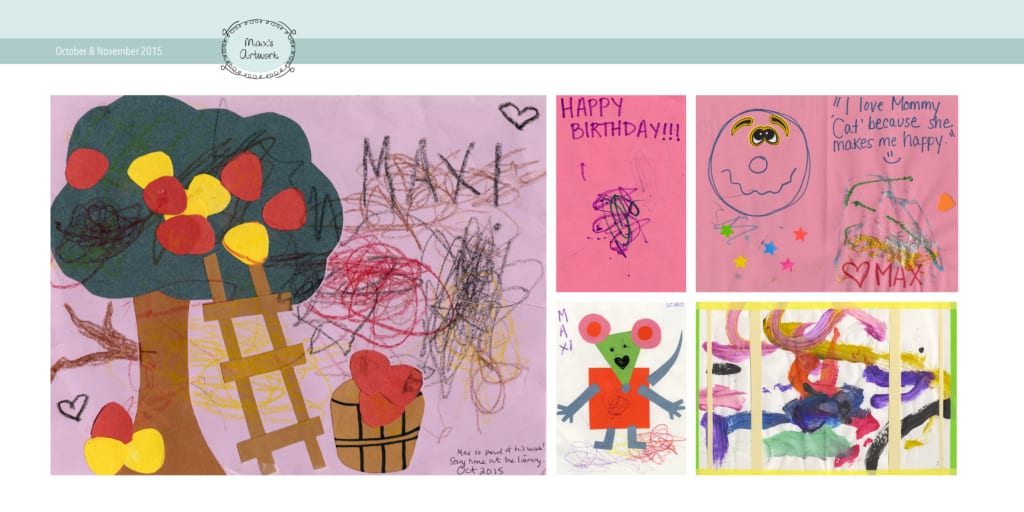
You’d fill up a lot of books if you tried to highlight a different piece of art on each page. Make collage spreads in your baby books.
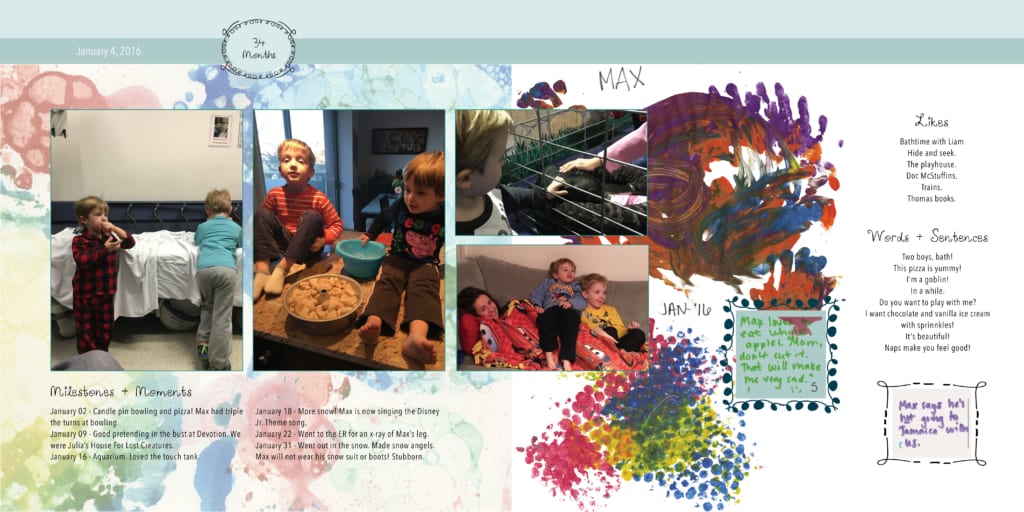
Use it as a background for your photos! Especially if your children draw on mostly white paper. You can even isolate the colors from the background like we did if you are familiar with Photoshop.
Unique and wonderful photo gifts
If you can imagine it, someone can create it! Turn your children’s artwork into small tokens and keepsakes for friends and family. These are some of our favorites!
