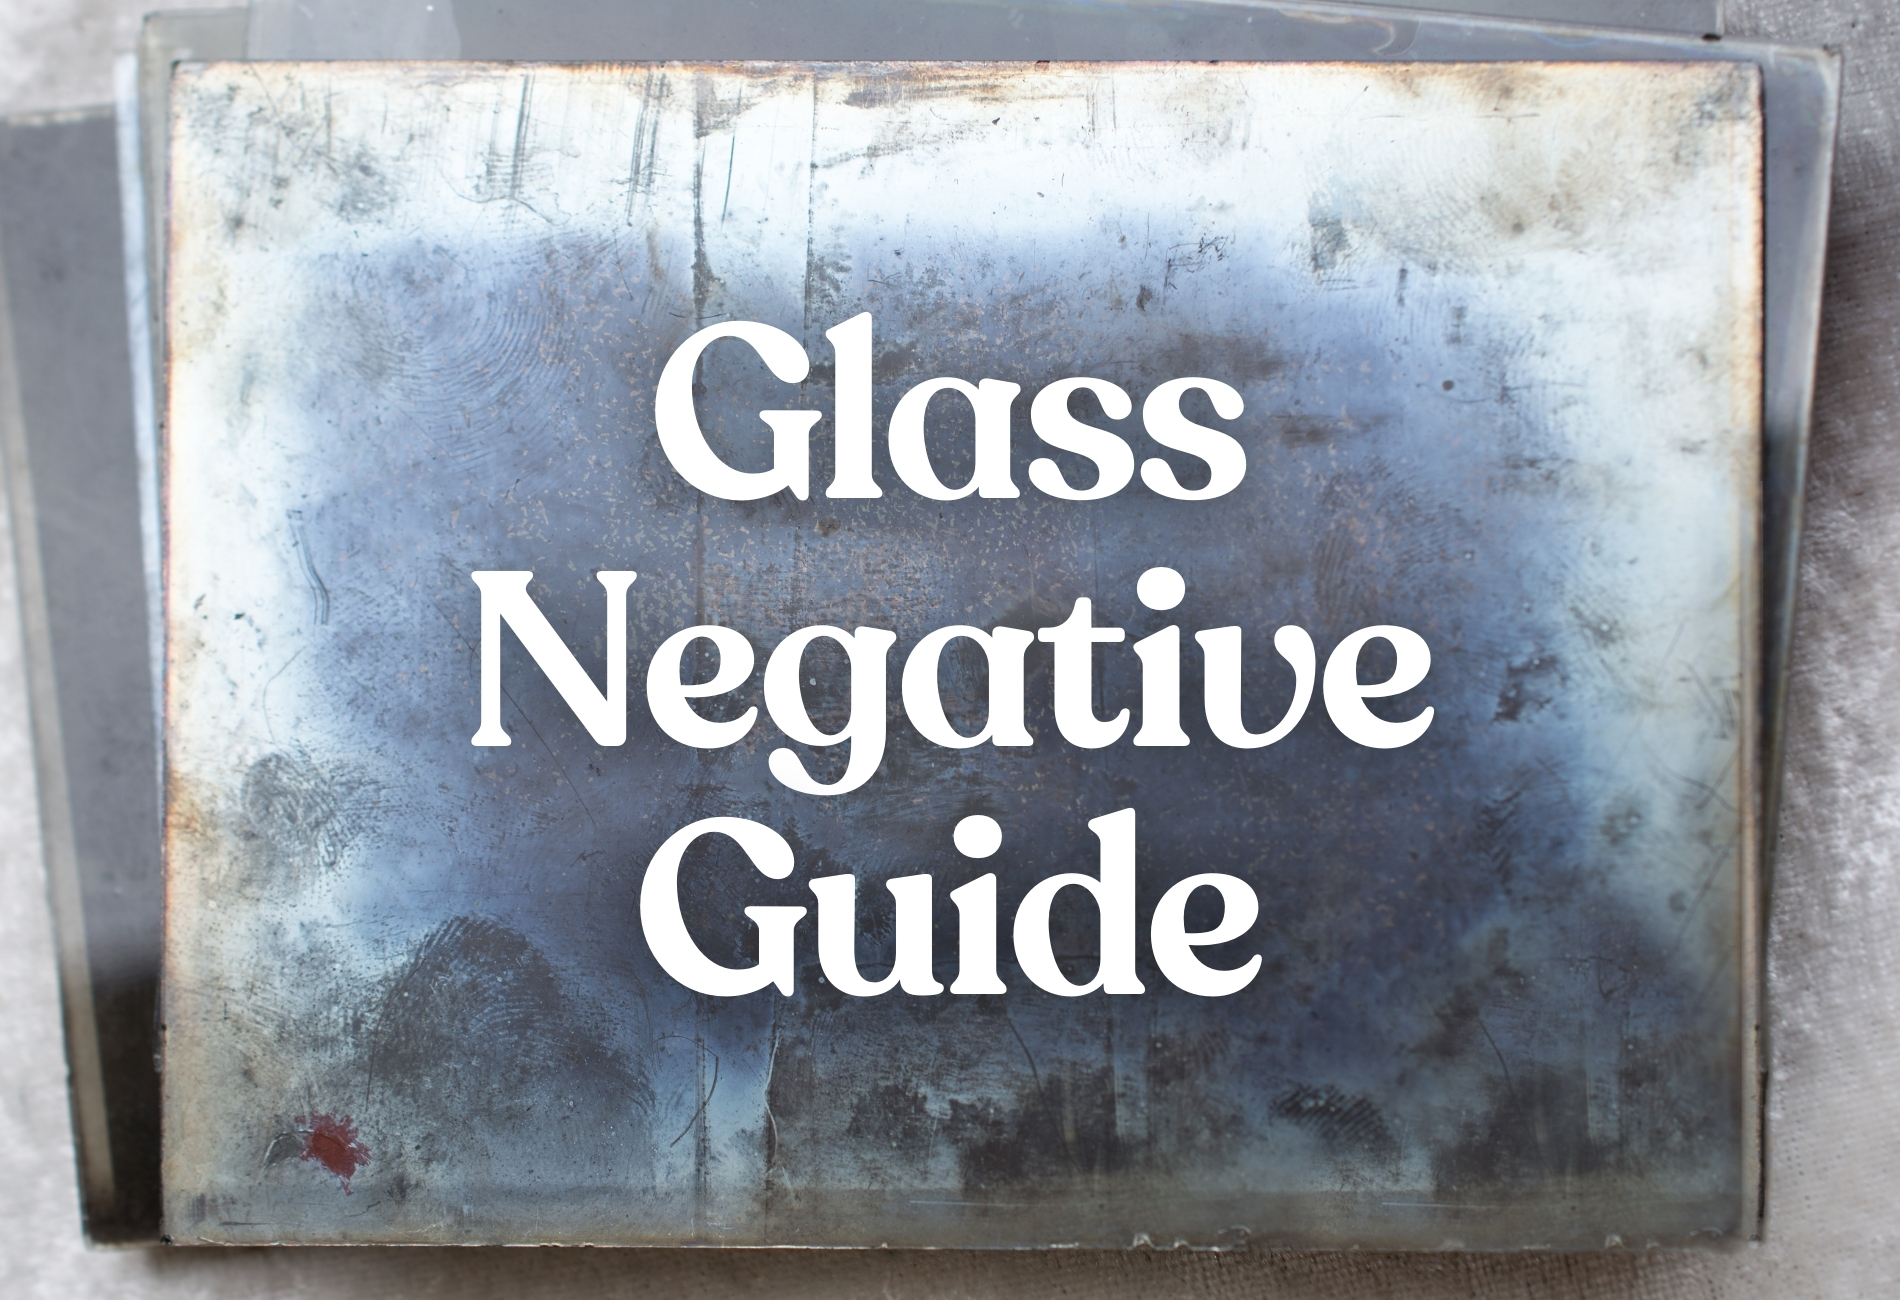
Glass negatives were the standard for photographers in the 19th and early 20th centuries. They create incredibly detailed images, but they’re also delicate and require careful handling.
From understanding what they are and how they work, to knowing how to store, preserve, and digitize them safely, learning about glass negatives is the first step in protecting these irreplaceable images. Here’s everything you need to know, including how to ensure they survive for generations to come.
WHAT ARE GLASS NEGATIVES?
Glass negatives are photographic negatives created on a thin sheet of glass, rather than on film. The glass is coated with a light-sensitive emulsion, which records the image when exposed to light through a camera.
Glass plate negatives first appeared in the mid-19th century, and could be created either with a wet collodion process or the dry plate process (more on that below).
Glass negative photography was popular well into the early 20th century, until flexible film became more affordable and easy to use.
WET PLATE VS. DRY PLATE GLASS NEGATIVES
Glass negatives come in two main types: wet plate and dry plate.
Wet plates, introduced in the 1850s, created very detailed images, but had to remain wet to create an image. Photographers needed to prepare, expose, and develop the plate all within about 10 to 15 minutes, often in a portable darkroom on site. They were delicate and finicky, so favored for portraits and studio photography where photographers could control the environment.
Dry plates, introduced 20 years later, came pre-coated with an emulsion. They could be stored for weeks or months before use, and photographers could expose and develop plates at their convenience, making photography far more practical. They quickly became popular for landscape and press photography, replacing wet plates entirely in most contexts.
HOW DO GLASS NEGATIVES WORK?
Glass photo negatives capture an image in the same way film does. When placed in a camera, the glass plate, covered in a light-sensitive emulsion, is exposed to light through the lens. The areas of the plate that receive more light become chemically altered in the emulsion, creating a “negative” version of the image: light areas appear dark, and dark areas appear light.
Once developed, the negative on the glass could be used to create positive prints on photographic paper.
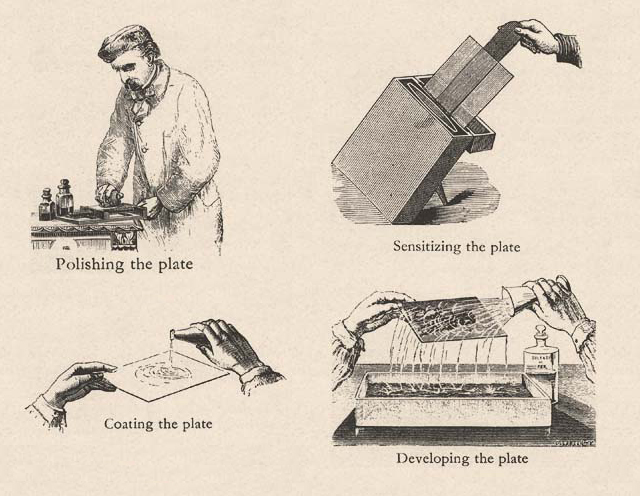
HOW TO DEVELOP GLASS NEGATIVES
After exposure in the camera, the photographic glass plates had to be treated with a series of solutions to “set” the image.
The plate was first treated with a developer solution, then rinsed, fixed to make the image stable, and finally washed and dried. The result was a negative image on glass that could be used to produce multiple positive prints.
HOW TO STORE GLASS NEGATIVES
Antique glass plate negatives are delicate and need careful storage to prevent cracks, scratches, or chemical damage. Here’s how to keep them safe:
- Keep them upright: Store glass plate negatives vertically in a sturdy box or cabinet to avoid pressure and breakage. Never stack them flat.
- Use protective sleeves: Place each negative in an acid-free paper sleeve to reduce scratches and prevent contact with dust or oils from your hands.
- Avoid extreme conditions: Store in a cool, dry environment with stable temperature and humidity. High heat or damp can damage the emulsion on the glass negative or cause mold.
- Handle gently: Always hold photographic glass plates by the edges. Wear clean cotton gloves if possible, and avoid touching the emulsion side.
- Label safely: Never ink directly on the glass. Use a pencil to label the sleeves or the boxes that house your glass negative photography.

ARE MY GLASS NEGATIVES DAMAGED?
Glass negatives are fragile, and over time, they can show signs of damage that could destroy your precious photography.
Here are some signs to look out for:
- Cracks or chips: Any breaks in the glass can ruin the negative or make it difficult to scan safely.
- Scratches: Surface scratches may be hard to spot on the photographic plate, but will show up as white lines or streaks on prints made from the negative.
- Emulsion peeling or flaking: The light-sensitive coating can lift or separate from the glass due to moisture or poor storage.
- Discoloration or staining: Yellowing, brown spots, or mold can appear if glass plate negatives have been stored in damp or acidic conditions. This can spread to other negatives if not addressed.
If you notice any of these issues, handle the photographic plate carefully. Maybe it’s time to consider professional digitization to preserve your glass negatives before further deterioration can occur.
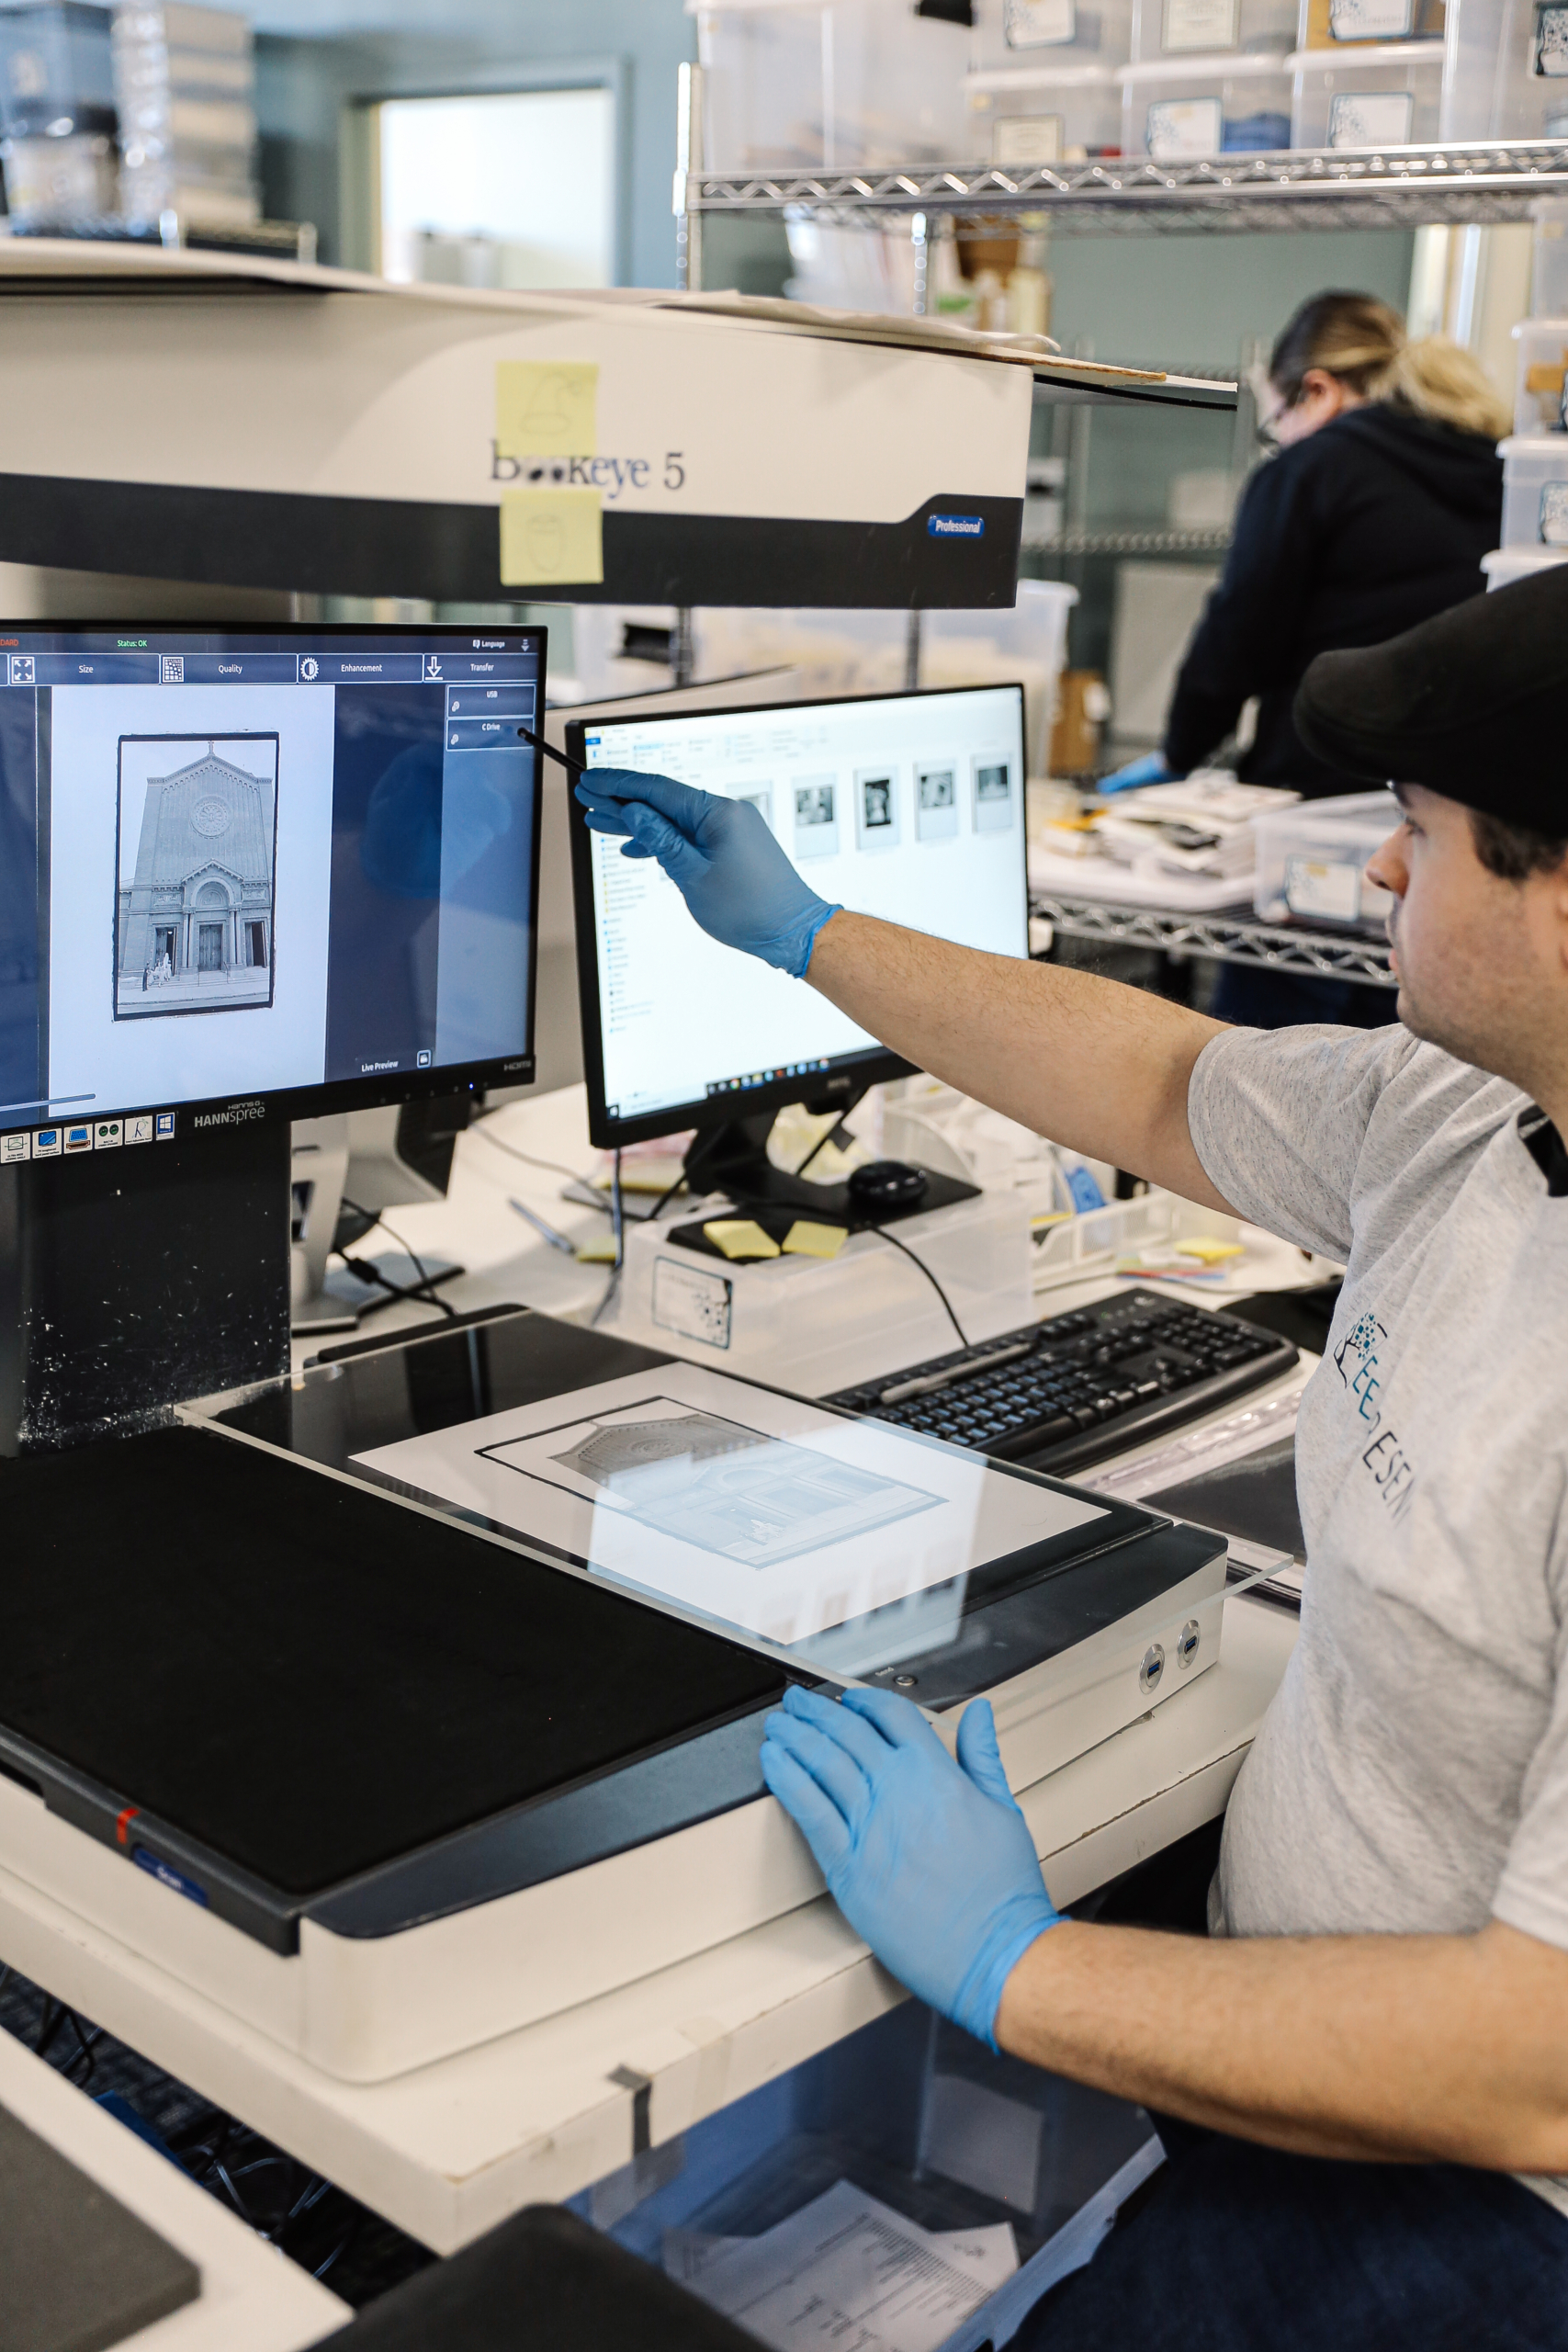
HOW TO DIGITIZE GLASS NEGATIVES
Digitizing glass negatives is the safest way to preserve the incredible detail they hold. Because the glass and emulsion are fragile, it’s important to avoid DIY scanning methods that could scratch or crack the plates.
Professional digitization uses high-resolution scanners or photography setups that capture every detail while keeping the negatives completely safe. Once they’re digitized, you’ll then have a copy of your images that can easily be shared with loved ones.
At EverPresent, we specialize in handling delicate old media like glass negatives. You can trust us to preserve your memories. Get in touch today to learn more.