

While digital photography might be more mainstream today, film negatives revolutionized photography when they were first invented in 1889 and are still prominently used by photographers today. Below, we explain what film negatives are and what the different types are used for, as well as how to clean, store, and scan them to preserve your precious memories.
WHAT ARE FILM NEGATIVES
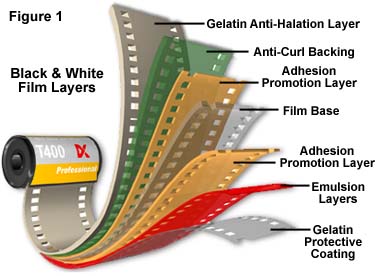
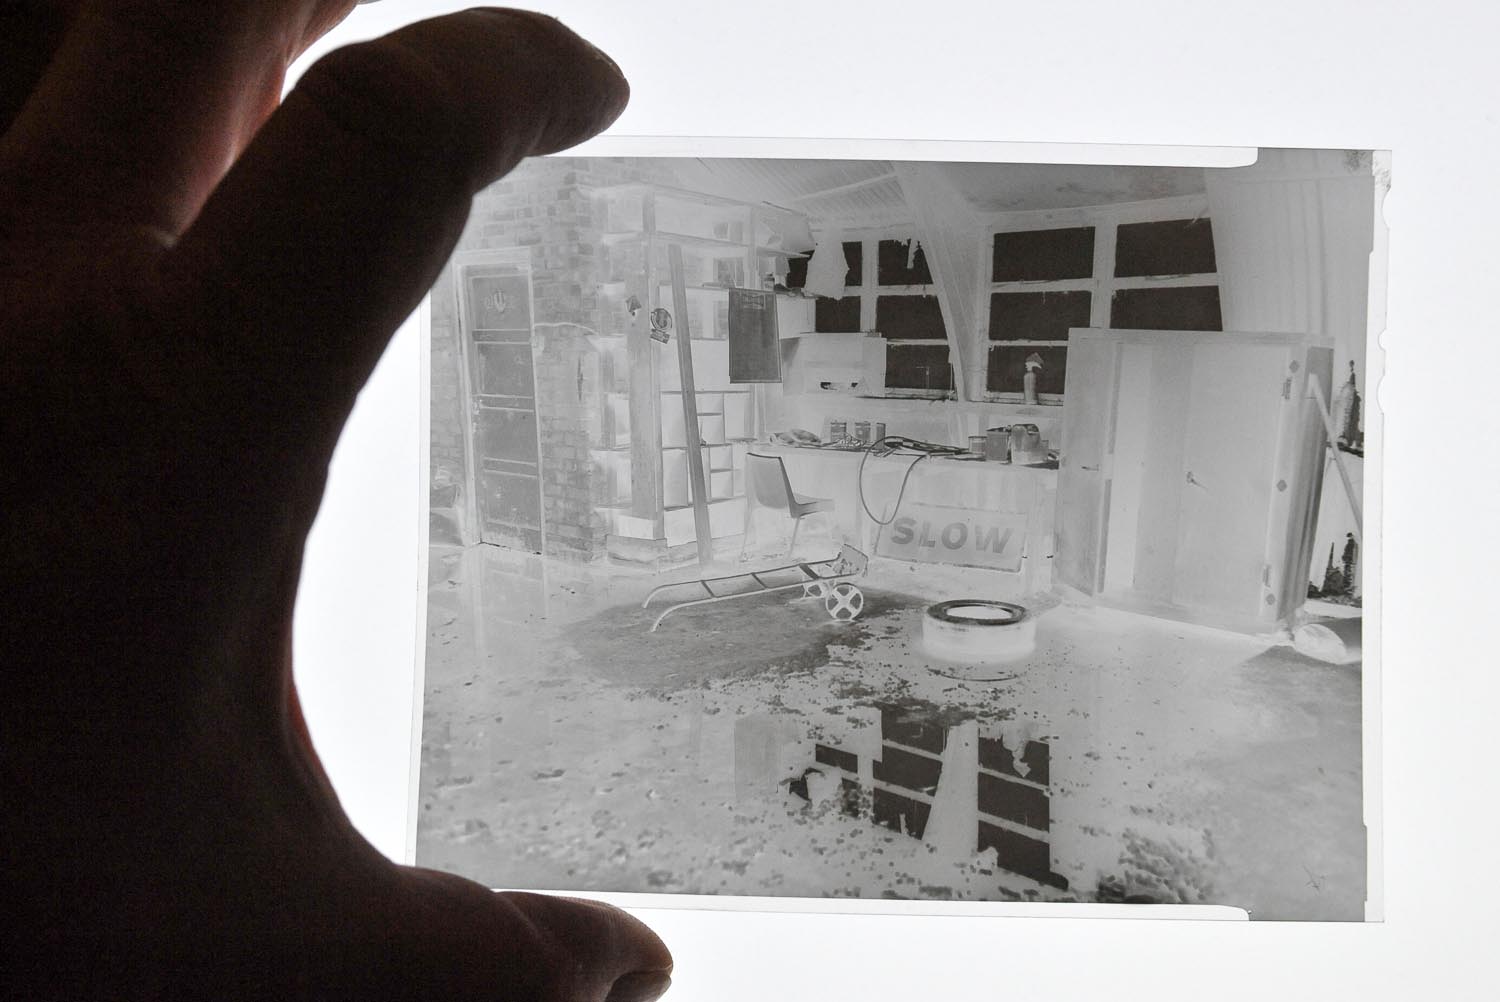
Let’s start at the beginning: what are film negatives? Film negatives are what film cameras produce when you take a picture. The transparent plastic film is coated with emulsion on one side, which contains light-sensitive chemicals called silver halide crystals. When a section of the film — which is housed in complete darkness within the camera — is exposed to light, the chemicals react. The more light that hits an area, the darker it gets. That’s why they’re called “negatives,” because they create a negative image where everything that’s light in color is dark and everything that’s dark in color is light.
To develop a photo from the film negative, it has to be converted from a negative image to a positive image and then enlarged and printed onto paper. This process takes place in a “darkroom” where the negatives can’t be affected by more light.
When you zoom in on a digitized film camera photo, instead of seeing pixels, you’ll see what’s known as “film grain.” These look like tiny dots and are actually individual silver halide crystals.
THE DIFFERENT TYPES OF FILM NEGATIVES
There are a few different types of film negatives and the differences are usually in size or storage format. Here are the different types:
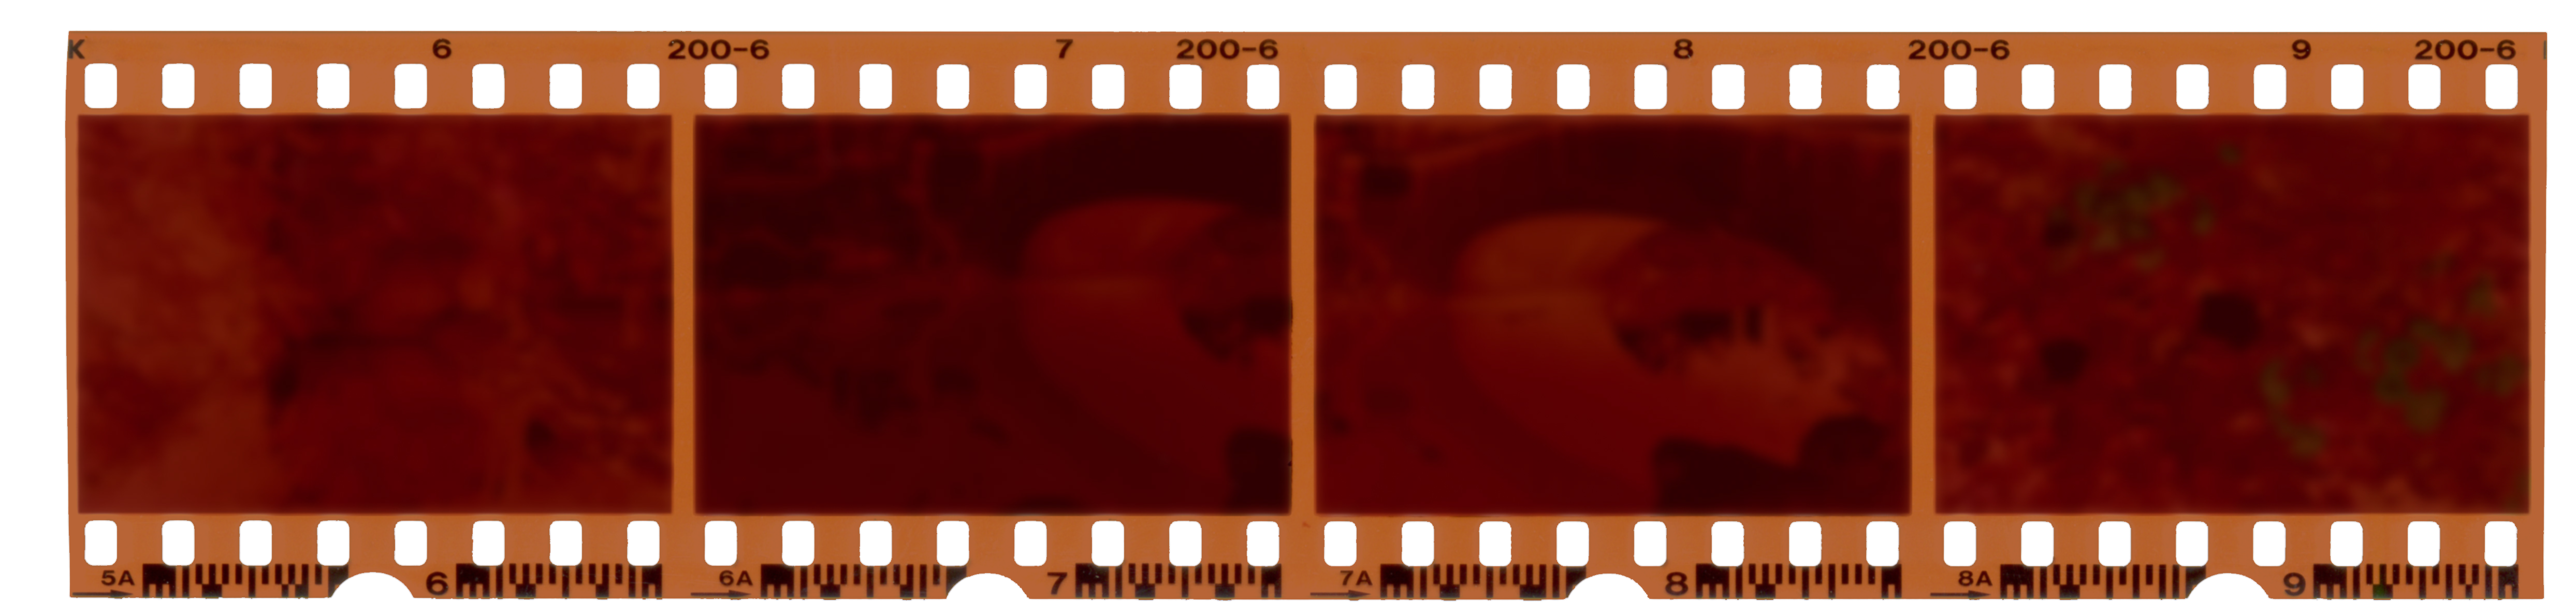
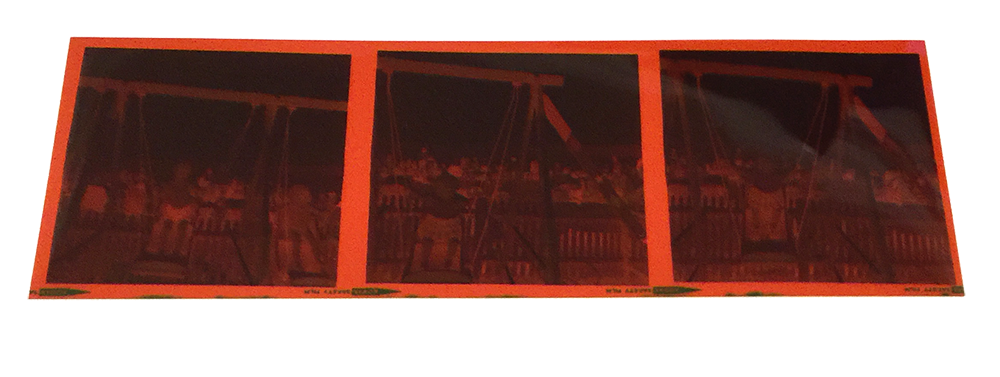
- 135 film: Also known as “35mm,” this film was introduced in 1934 and is still used in disposable cameras today. Each frame is 36 x 24 mm in size, and either 24 or 36 frames come on a roll.
- 110 film: This film was 16mm wide and often referred to as the “instamatic format” since Kodak created it for its Instamatic cameras in 1963.
- 120 film: When you use this film, you can choose from five different frame sizes: 6×6, 6×4.5, 6×7, 6×8, and 6x9cm. This type of film was first released in 1901.
- 126 film: This was also made by Kodak and used for Instamatic cameras. It has a frame size of 35mm and comes in a cartridge for loading.
- 127 film: This film existed from 1912 until 1995 and was 45mm wide.
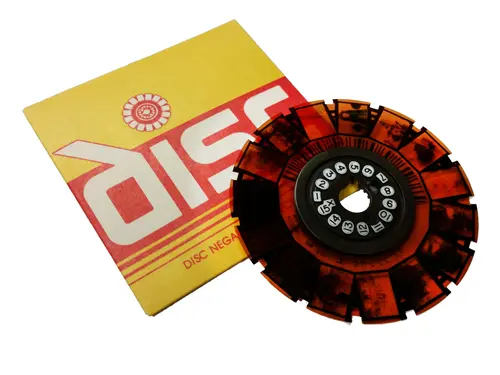
- Disc negatives: With tiny 10x8mm frames arranged on a flat disc, this Kodak invention didn’t quite catch on and only existed from 1985 to 1999.
- Large formats: Used for high-quality professional portraits, large format film comes in sizes such as 4x5cm and 8x10cm. It came on thick acetate sheets that had to be loaded into a camera of the same size in complete darkness. The sheer number of silver halide crystals on large format film created incredible levels of detail.


4 FUN FACTS ABOUT FILM NEGATIVES
35mm film is so common that we scan thousands of 35mm negatives every year at EverPresent. Here are some fun facts about 35mm film.
- 35mm film is used by both amateur and professional photographers.
- The largest number of 35mm negatives we have scanned for a client is over 10,000.
- 35mm film is still widely available today despite the prevalence of digital photography.
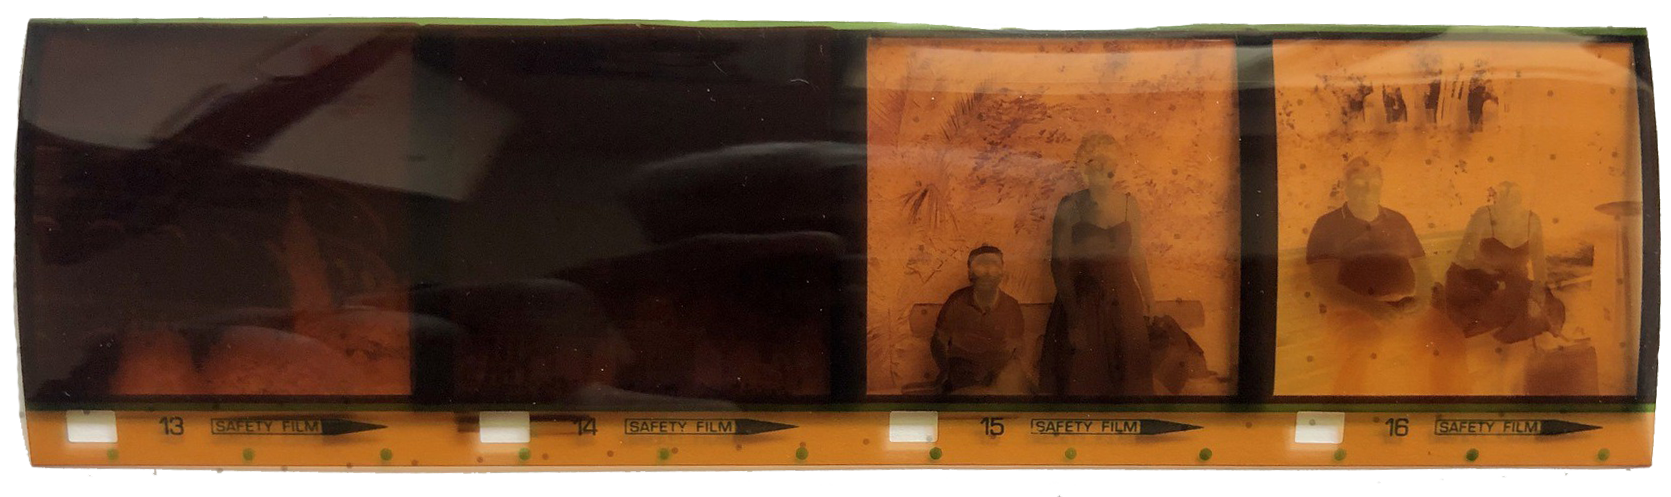
- Negatives are very delicate and can get damaged easily. When clients have both photos and negatives available of the same image, we usually scan the photos because they often stay in good condition for longer.
HOW TO CLEAN FILM NEGATIVES
Cleaning negatives is a delicate process, so it’s important to buy the right supplies and take your time. Here’s what you need:
- Gloves: to stop oils and fingerprints from getting on your negatives
- Anti-static cloth: to avoid attracting dust
- 98% isopropyl alcohol: to clean the negatives and avoid streaks
The cloth must be anti-static to avoid attracting dust and you must have the right kind of alcohol to avoid damage and streaks. You can find everything you need at online or brick-and-mortar photography shops. Once you have everything you need, here’s what you do:
- Put your gloves on, and remember to only touch or hold the perforated outer areas of the film.
- Remove any dust from the negatives with an anti-static cloth or a special anti-static film negative cleaner.
- Apply a little bit of alcohol to the cloth and wipe the negative.
- Let the negatives dry in a well-ventilated place to help the alcohol evaporate quickly.
- Using a new, dry anti-static cloth, give the negatives another wipe and then return them to wherever you store them.
HOW TO STORE FILM NEGATIVES
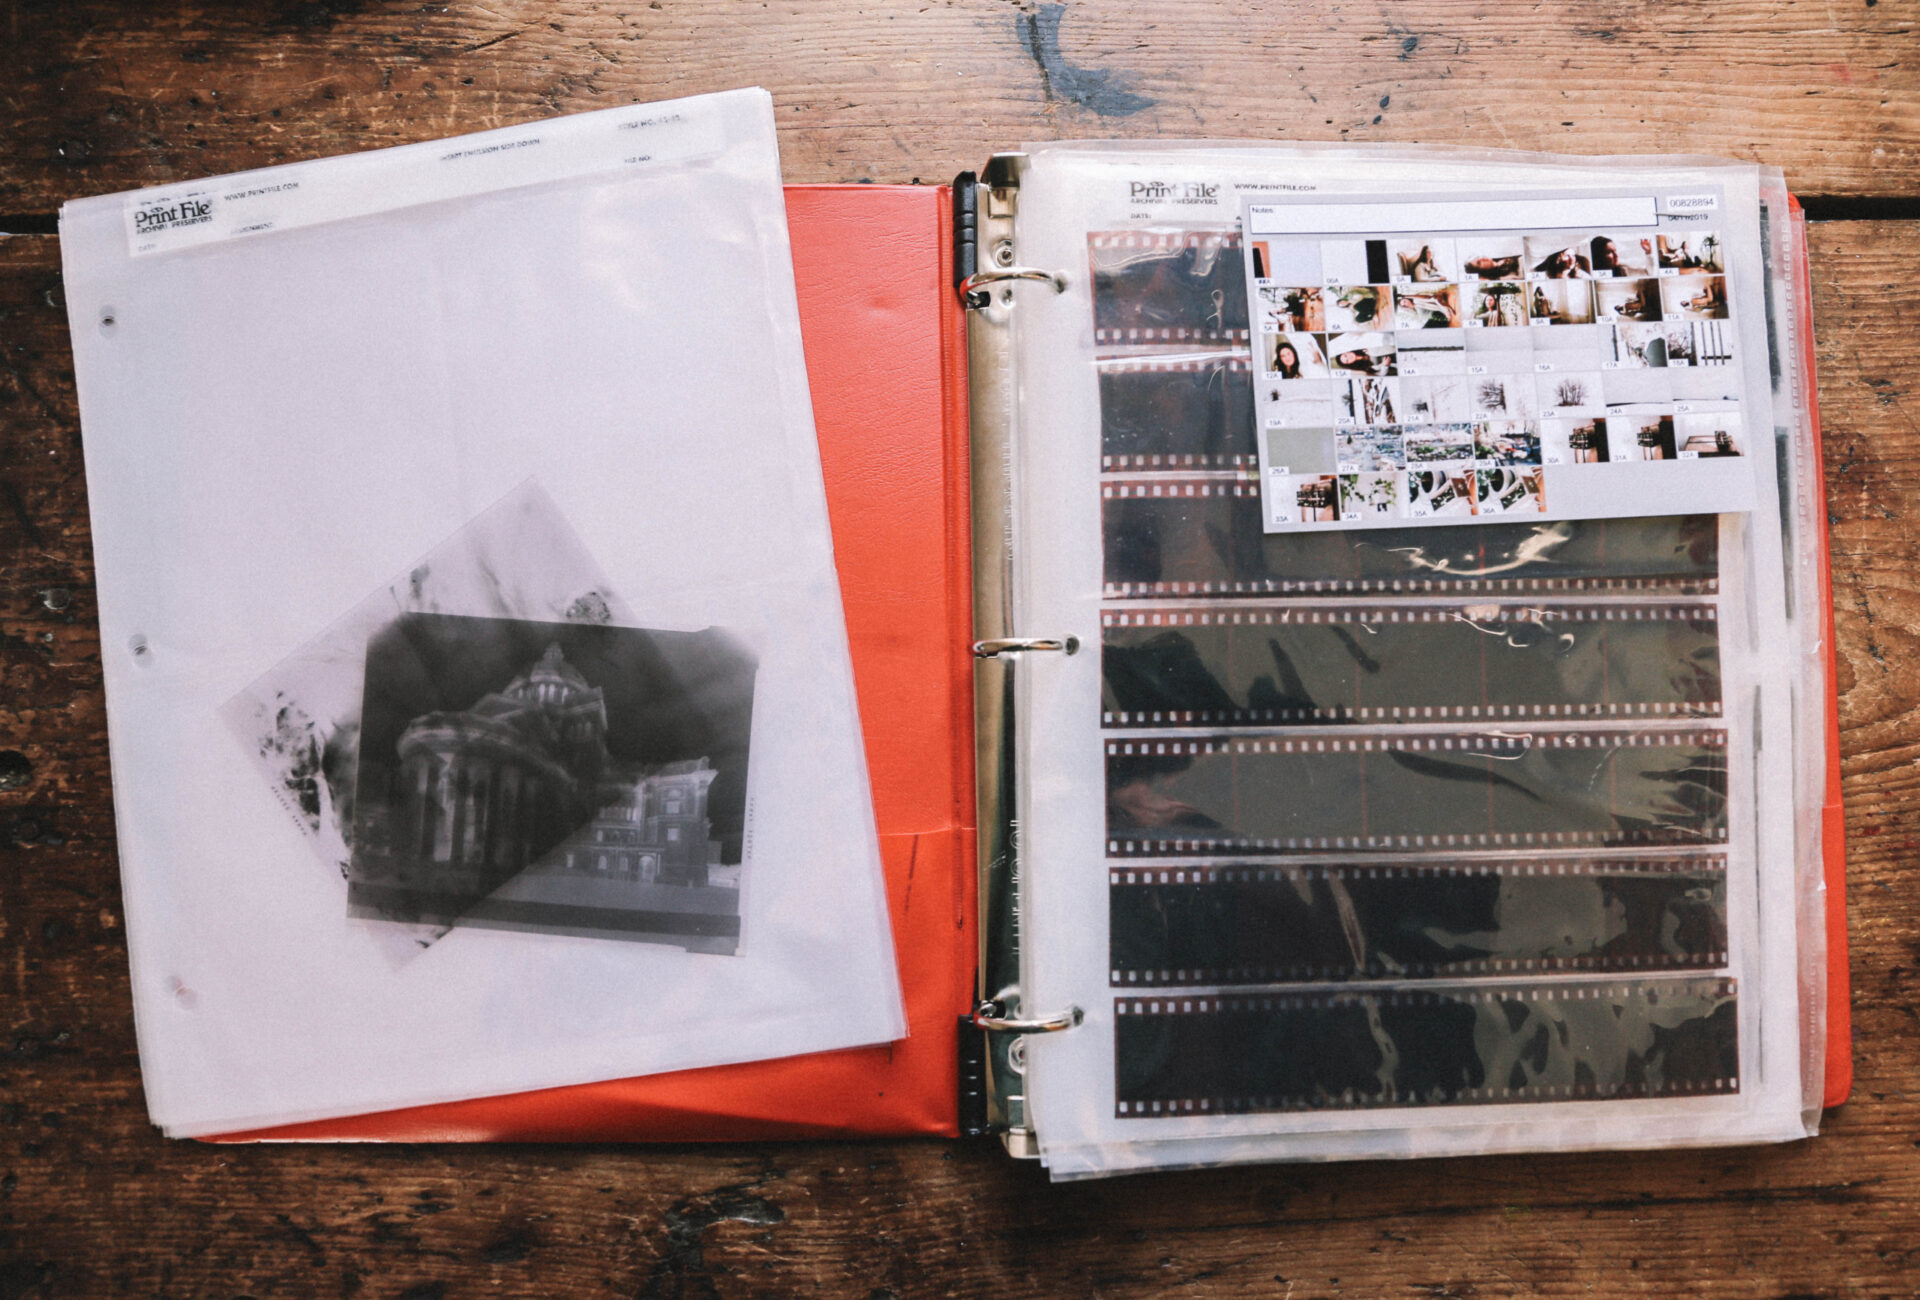
Because film negatives are so delicate, proper storage is essential. The first step is organizing and labeling, so you can find the negative you want without having to needlessly disturb others.
Binders and boxes are the most common storage solution but the really important part is the sleeves you use. There are all sorts of chemicals and glues that can harm negatives over time, so it’s important to use “photo-safe” sleeves that are free from dangerous substances. They’re usually made from polyethylene or polypropylene.
You can also buy photo-safe binders that take extra care not to use metal or adhesives that could affect the negatives. Make sure to wear gloves whenever you put negatives into or take them out of the folder.
HOW TO SCAN FILM NEGATIVES
If you want to digitize your film negatives, we can help you with everything from scanning to cleaning and organizing your collection. At EverPresent, you can speak to a consultant to discuss your project in detail and make sure your negatives are treated with care.