
If you have film negatives in your house, you could use them to print photos today, tomorrow, or even 50 years from now — as long as they’re in good condition, that is. To keep them usable for as long as possible, it’s essential to handle and store your negatives properly. Here’s everything you need to know to get started!
What are film negatives?
Film photography is a method of capturing images that was developed in the 1800s and used exclusively until the late 1900s when digital photography began to take over. The technology works through a substance called the emulsion, which is spread over a transparent base material like glass or plastic.
When light hits the emulsion through the lens of a camera, a chemical reaction causes the silver salts within it to darken. The more light hits the silver, the darker it gets, creating an image that shows the lightest parts of the real-life subject as the darkest parts of the image — hence the name “negative.”
Once you have a negative, you need to develop it in a darkroom and then pass light through it, projecting the image onto light-sensitive paper. The end result is an enlarged image with positive coloring — i.e. the light parts of the subject are light, and the dark parts are dark.
Color negatives work in a similar way but instead of one layer of emulsion, they use three layers that are each sensitive to a different color. The layers also contain chemicals called couplers which trigger the reactions that form the color-opposite image.
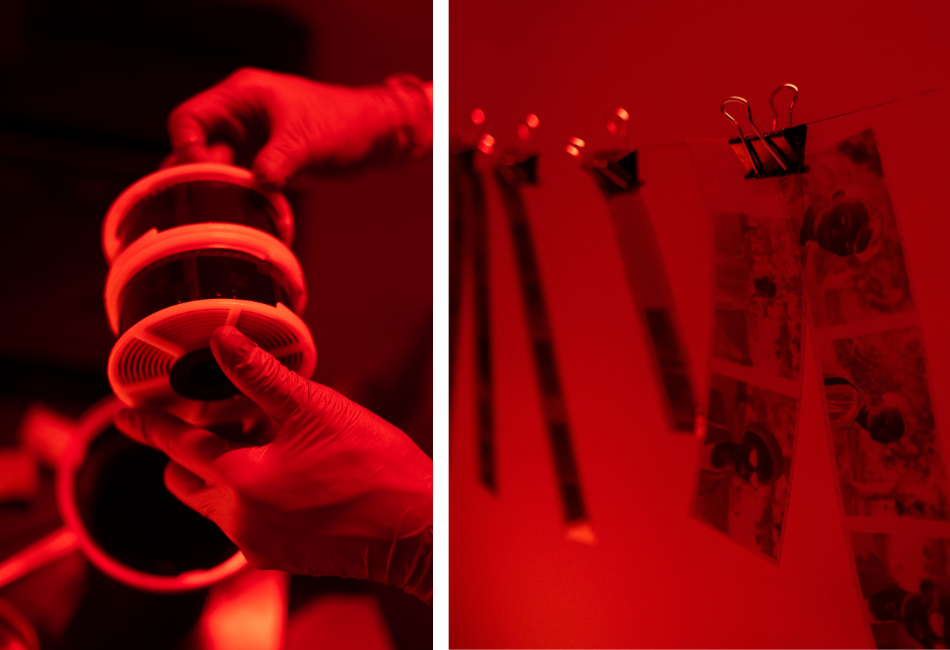
For black and white negatives, you can develop the film under a safelight, which is usually red since photo paper is only sensitive to blue and green light. For color negatives, however, development needs to be done in a completely dark room.
One of the best things about negatives is that they’re reusable. As long as they’re kept in good condition, you can take them to a dark room and develop new prints as many times as you want.
Why is proper negative storage important?
The other side of this coin is, if a negative is lost or damaged, its image is lost forever. To avoid this, proper storage is essential. The first step is to carefully handle and develop the film because, at this initial stage, it is still highly sensitive to light. Once the film is fully developed, it can withstand being exposed to light without being damaged — exposing it to light is how you make a print, after all.
However, negatives will naturally degrade over time, so storing them correctly from the beginning will help preserve them for as long as possible.
How to store film negatives?
Storing developed film negatives is all about organization and using proper storage equipment. There are a lot of options out there but most of them involve specialized binders with photo-safe plastic sleeves.
Organize
The first step is to organize your collection. This will help you find what you’re looking for as quickly and efficiently as possible, limiting how much you handle the negatives. Directly touching the film can damage it quickly, so try to hold them at the perforated edges. For best results, you should only handle the negatives while wearing cotton gloves.
The order you put your negatives in is up to you — it could be according to place, subject, date, color, or anything else that makes sense to you.
Find the right storage solution
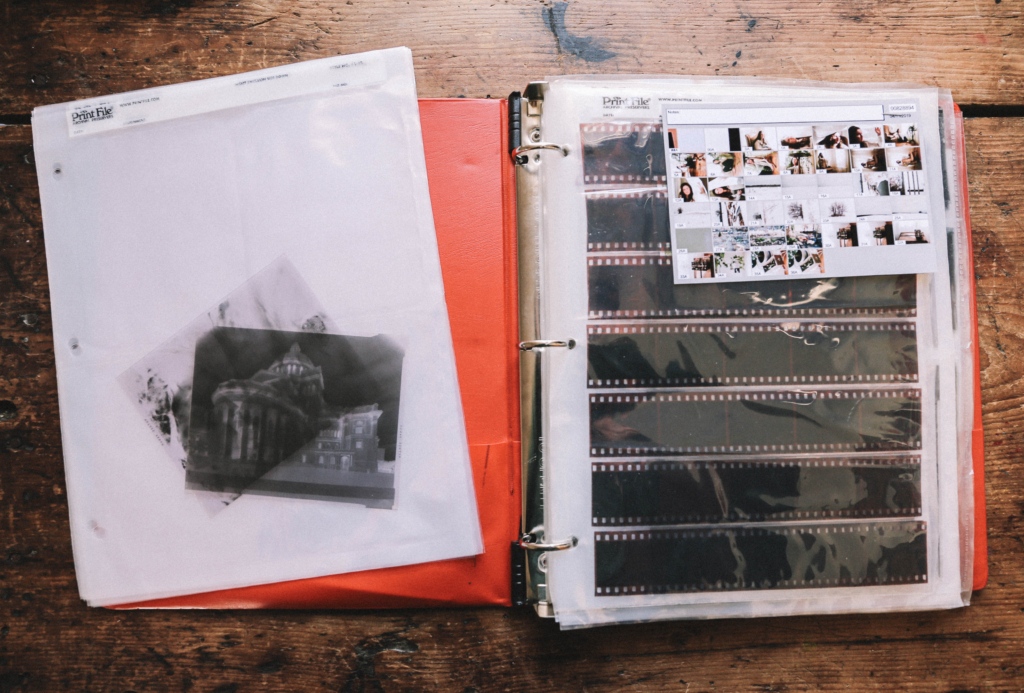
Binders, boxes, binders with box sleeves, and albums are the most common storage solutions for negatives. The most important thing is to use photo-safe plastic sleeves to separate and organize each roll of film.
There are a lot of different chemicals that can damage film negatives over time, and photo-safe sleeves make sure they’re free of all such substances. They’re usually made out of polyethylene or polypropylene, and photo-safe binders usually avoid using metals or adhesives.
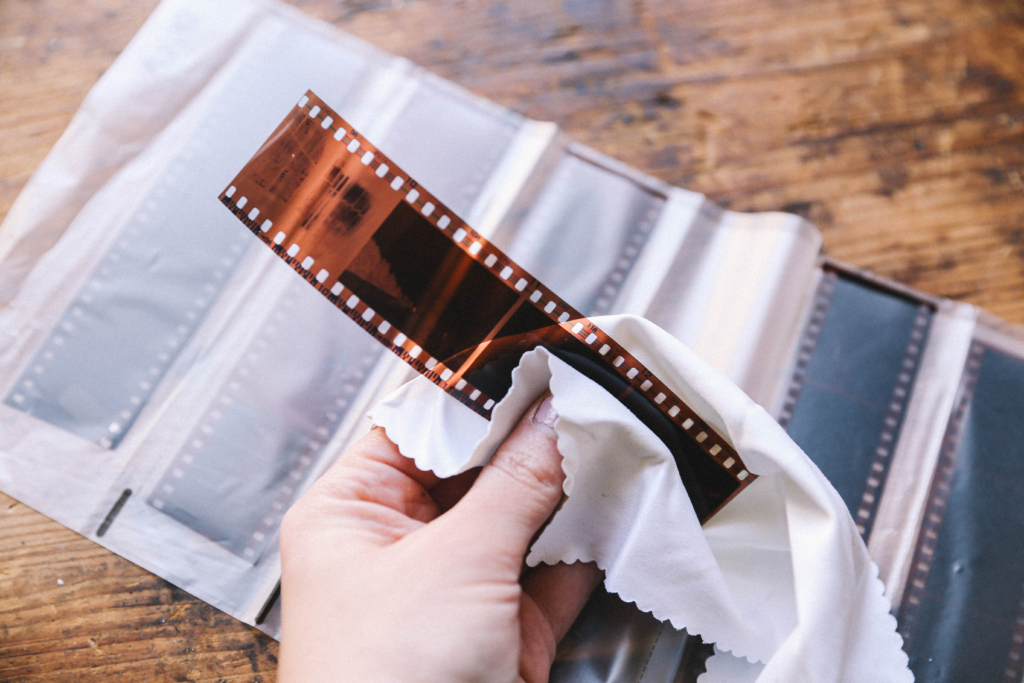
Clean your negatives
To maximize the effectiveness of your photo-safe storage solution, it’s important to make sure your film negative is the only thing going in the plastic sleeve. That means getting rid of any dust, debris, and dirt on your negatives.
To remove dust and debris, gently blast the film with compressed air. This dislodges unwanted particles without touching the film.
To remove oils, gently wipe the negatives using 98% isopropyl alcohol. Make sure to only use this specific kind of alcohol as the wrong kind could end up damaging the film. 98% isopropyl, on the other hand, dries quickly and won’t leave streaks or stains. Only use a tiny bit of alcohol, and use a lint-free cloth or cotton swab to wipe them.
Leave them to dry in a clean and well-ventilated room and finally wipe them again with a new, clean lint-free cloth to remove the loosened oils and dirt.
Transfer your negatives to your storage solution
Now it’s time to put your negatives into your chosen storage solution. Wear gloves and take your time to put things in the right place — making a mistake in the order will result in more handling later on when you can’t find something. Again, remember to only hold the perforated edges of the film.
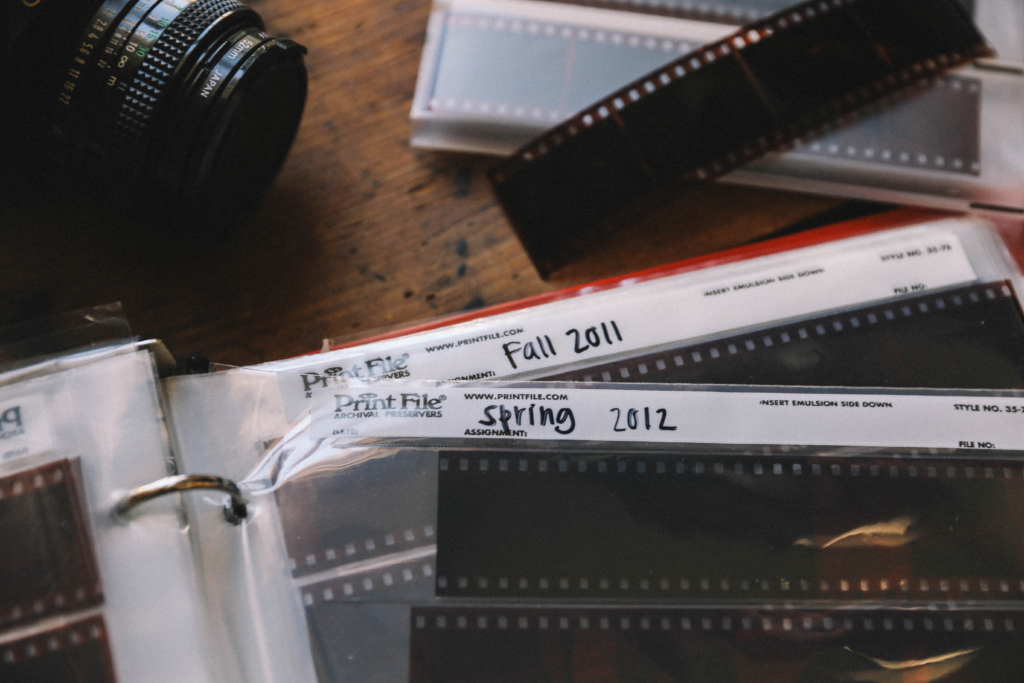
Label
Once all the film is safely inside the sleeves, it’s time to label them. You can do this in a few different ways. Some people choose to use cover pages to label their film, which involves listing what’s on the film rolls in a certain sleeve on a piece of paper and putting that in the preceding sleeve. If you’ve had your film professionally developed, you can also store the index prints that show thumbnails of what’s on each roll.
You can also use numbered stickers, sticking one sticker on the corresponding sleeve pocket, and the other on the index print or a handwritten index that you’ve made yourself.
Put them somewhere safe
When you’re finished, make sure to keep your negatives somewhere that’s not exposed to direct sunlight, moisture, or extreme temperatures. If people in your house move things around a lot, it’s also a good idea to label the binder itself and leave instructions not to move it from where it is.
Digitize your negatives with EverPresent
Organizing, cleaning, and storing your negatives doesn’t just preserve them — it also leaves them perfectly prepared to be digitized. This process will let you retain your negatives far into the future, much longer than the physical negatives will last, even with the best storage.
At EverPresent, we handle a range of different formats and offer quality-enhancing upgrades to produce the best images possible. And if you want to digitize your collection before organizing it, you can also send it our way first and we’ll do all the cleaning and preparation for you! Get in touch here to find out more.