
We all have the plastic sleeves of 35mm negatives stuffed in the back of our photo envelopes, falling out of albums and loose in our photo boxes. Every time we see them we ask ourselves, “Do I even need these?”
Your negatives don’t look anything like your printed photos, and it’s possible you haven’t even looked at them since you got your prints back, but did you know they have much more detail than the printed versions?
We asked Roger Gordy, our Photo Department Specialist and master of all things related to negatives, to help answer the most common questions folks ask about our their negatives with some additional insight from Photo Department Coordinator Jens Peterson.
[maxbutton id=”14″ text=”SKIP TO DIY SCANNING” url=”#diy”]
[su_spacer size=”30″]
Most common questions for our photo negatives to digital service
Jens Peterson: Let’s start with easily our most frequently asked question – “What size are my negatives?”
Roger Gordy: Films, particularly today, are basically 35mm and 120mm. And then there’s cut-sheet, which goes 4-by-5, 5-by-7, and 8-by-10 [inches].
(EverPresent uses these sizes to categorize medium format negatives and large format negatives. 35mm negatives are easy to recognize because they come in strips of 4 to 6 exposures.)

There’s a chart that I use that lists every single Kodak film by number. It also gives the other manufacturers’ correlating numbers for the same size film. The older films, but mostly the Afga and Pathé, who are photo film companies that don’t exist anymore, have films that are just different.
[Between] Kodak, Agfa and Ilford there was sort of a size war, [similar to the VHS & Beta tape war], which is why there are all the oddball sizes. If someone wanted to make a camera that could hold film that’s a certain size, it opened up a sort of battle between the manufacturers who were making the cameras, and the people who were making the film. That’s why Kodak did both.
JP: How many exposures fit on a roll of film?
RG: That depends. Some of them would be 10 exposures, some 12, depending on the size. 120 medium format negatives, those are basically 12 exposure rolls.
(35mm camera film was more standardized. Some rolls can get 24 or even 36 exposures, depending on the type of film and camera you’re using.)
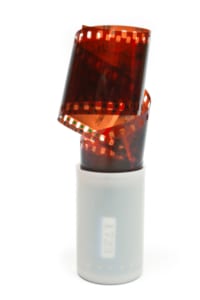
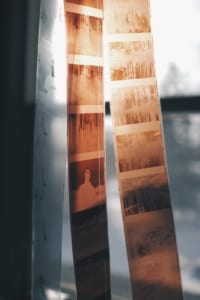
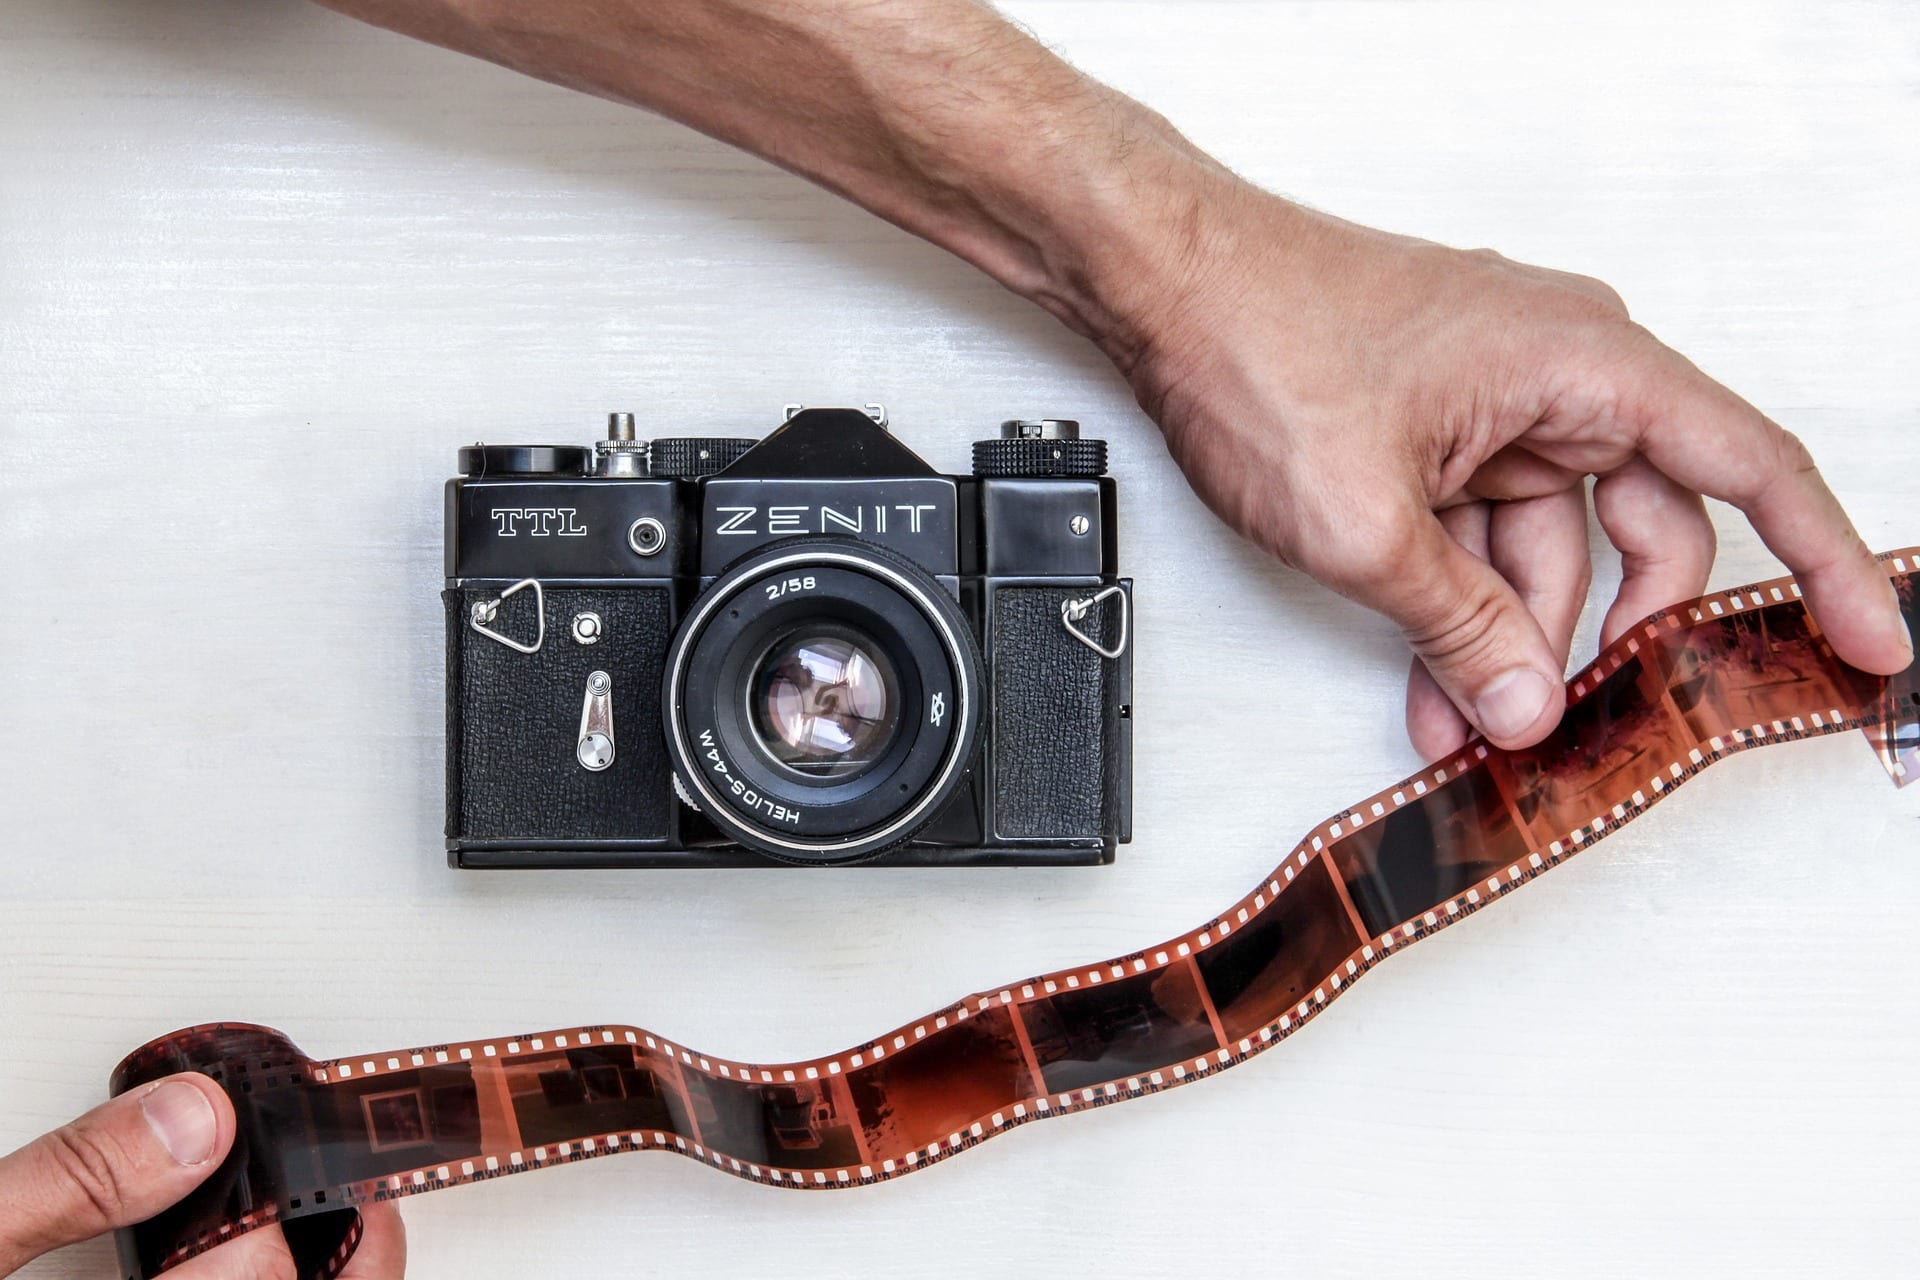 A roll of exposed 35mm negatives
JP: One negative format we get asked about frequently is APS film, which most people assume is the same as 35mm film. However, we often receive APS rolls that aren’t processed. How can someone tell if the film inside an APS cartridge is developed?
RG: There’s a code on the ends of it with different punched out shapes. A circle, a half-circle, an X and a square. If you look on the side of it, there’s actually a little legend that shows you each shape. As the film moves through it, this little white piece [behind the shapes] moves around.
An unexposed roll is a white circle. And the next one, where it’s partially exposed, is a half-circle. When it’s fully exposed but not processed, it’s an X. And then when it’s fully processed, it’s a square. And if it’s a square, then you know you can take it out. Any of those other shapes, you’ll expose the film without it being developed.
JP: What do the labels and numbers on my film packaging mean (e.g. Kodak Gold 200)?
 RG: 200 is the ISO speed. The smaller the number, the slower the film. The higher the number, the faster the film. A bigger number means you could shoot it indoors. And if you’re going to be outside in the sun, then you’d go slow because it’s finer grain.
The ‘Gold’ – that’s just trademarking that Kodak came up with. There was ‘Royal Gold’ and different kinds of ‘Gold,’ that was their thing. Kodak, for a while, they were into this ‘Royal’ as if it was what the professionals shot, and they sort of marketed it that way. And Fuji had their own thing.
Basically, the number is what’s important for you to take the picture, and this information has no bearing on how we digitize or transfer negatives to digital.
JP: Why are my negatives curled?
 RG: Because they’re drying out. It’s a gelatin base on top of plastic. And over time, even in archival sheets, they’ll be all humped over and draw to the emulsion side because the base side is plastic and the gelatin side is basically Jell-O. The water evaporates and it starts to shrink and curl in on itself.
JP: Can you scan my film if it’s uncut, or would you have to cut it into strips first?
JP: While we can scan uncut negative film in chunks at a time, it’s more difficult to handle and keep flat. The process takes more time and might cost a bit more.
With client permission, we’ll cut negatives into strips that are roughly the same length and fit four frames of standard 35mm film. The film stays flatter, the scanning goes quicker, and it’s easier to get the best scan possible.
JP: This next question is going to lead us right into the best ways to convert negatives to digital and one we get all the time – “Should you digitize from the negative or from the print?”
RG: Scanning from negatives is [generally] better than scanning from prints because you’re at the first generation. So it’s as sharp as the camera lens and how you focused it.
Once you go to print it – particularly if you enlarge it – the edges start to get soft. That’s why back in the early ‘20s [through the] ‘50s, the common formats were large formats. You could contact-print or you could blow it up with an enlarger that would give you a much sharper enlargement.
Sometimes negatives are too curled or damaged to get a good scan from and it’s perfectly fine to scan from the prints. Sometimes it’s your only option.
Scanning negatives to digital
How to scan a negative:
 JP: Step-by-step converting film negatives to digital is actually not as complicated as most people think. However, you’ll need to invest in the equipment and the time involved if you plan on doing this project yourself. It requires a certain level of technical ability as well.
- First, dust the film. The dirtier your negatives are, the more of that will get picked up by the scanner and you won’t get a good digital image, especially from your old negatives.
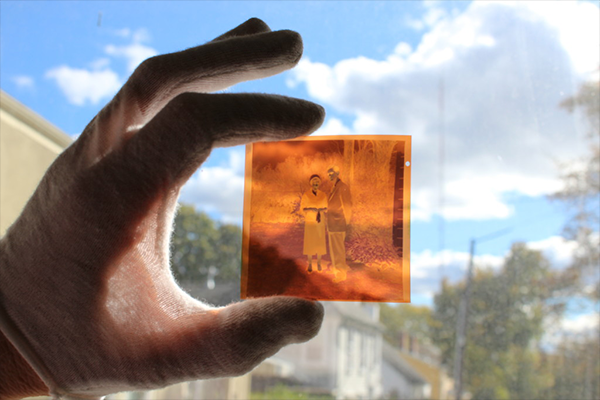
- Then get it as flat as possible, which can be tough because of curling. We often place the negative film in plastic holders or under a special piece of glass while scanning.
- We have a couple of different scanners for transparencies like negatives. We get asked all the time “What is the best negatives to digital converter?” and we have our preferences, but for the best scans, we recommend a flatbed scanner. They all project light through one side of the film to capture the best scan from the other side.
- Once your film is scanned, you’ll need to digitally edit the lighting and color to turn the physical negative images into normal-looking digital positives.
- Once you have digital images from your photo film, you can turn them into prints from your favorite printer.
At a minimum, what equipment would I need to digitize my negatives at home?
JP: You’ll at least need a transparency scanner and a storage device like a flash drive or SD card to save your scans. Wolverine makes a small, affordable negatives to digital converter that works without a computer.
Most film scanners need a compatible computer and scanning software, though. And unless you’re only scanning slide film, you’ll also need a scanning or editing program that lets you adjust the negative images to make them positive.
You might even want to invest in some plastic trays or anti-Newton ring glass. These tools keep your film flat and straight so it’s easy to keep the images in focus and crop them later on.
Interested in our negatives
to digital services?
JP: What’s the best way to handle negatives?
RG: Always wear cotton or rubber gloves, so long as they’re clean and you don’t have any oil on them. The oil from your fingerprints is slightly acidic, so if you leave a fingerprint it will etch into the emulsion. And you won’t get it out because you’ve basically engraved it.
JP: Are certain types of negative film more fragile or durable than others?
RG: There are actually three kinds. The original film was a nitrate film which was basically dynamite, but it was easy to make. I think it was Fox, Paramount or Warner had all this nitrate film blow up at a warehouse in New Jersey – they didn’t have proper ventilation and they didn’t keep the place cool. [Also] the nature of nitrate film is that it would turn back into dust … it would self-destruct.
Then they came out with safety film which was called acetate, a slightly different thing. But it can tear when it goes through a processor, just the handling of it.
So then Kodak came out with polyester film bases called ESTAR, which they’d trademarked. You can’t tear it, that’s why they did it. It’s another type of plastic that’s very durable.
JP: How does grain affect image quality?
RG: The rule of thumb is that the finer the grain, the better sharpness you get – as sharp as the lens will allow – and it’s also usually slower. The finer the grain, the slower the film. The larger the grain, the faster the film.
JP: When is 1600 DPI good enough, and when should I consider high-resolution scans (3200-4000 DPI) instead?
RG: 1600 DPI is our standard resolution for scanning film. It captures enough detail to reproduce an image that looks close to the original if you post it online or turn it into a normal-sized print.
If you’re a professional who’s trying to save every detail or print enlargements, high-resolution scans are your best option. But 3200 DPI won’t magically sharpen a blurry photo, and image quality will always decrease as the printed size increases.
How does photographic film work?
Jens Peterson: Why do negatives look like the opposite of the photo instead of a mini version of the photo like slides?
Roger Gordy: When light strikes the silver-based photosensitive material, it turns the film black and makes it look like a negative. So things that look white are going to be black or shades of gray on negative film.
 Negatives are for making prints. So if you want to make a print, you basically pick the same emulsion, put it on a piece of paper, and then when you print through it, what looks black [on film] becomes white [on paper] because the light is being held back.
Color negative [film has] different layers of dye that are light-sensitive for each of the different RGB or CMYK colors as light hits it. Each layer sort of catches whichever color is the complement of it so that then it becomes a negative. Greens are magenta, blues are yellow.
When you print onto color paper, it’s the same thing only instead of black-and-white, the complementary colors are held back and the lightness and darkness are held in the same gradations that are represented in the film.
“Daguerreotypes were the first photography … we’ve actually scanned some.”
-Roger Gordy
JP: Are some photographic film types more popular with amateurs vs. professionals?
 RG: Professionals would shoot the larger sizes. Ansel Adams would shoot 4-by-5 and a lot of his stuff was 8-by-10 … some of his pictures are 16-by-20 or that type of size.
The beauty of those 8-by-10s is that you can just make a contact print. In the ‘30s and ‘40s, the film was so big that they didn’t enlarge it. They made a physical contact – basically squeezing a piece of film on top of photosensitive paper hard enough, or with a vacuum sometimes, so it has perfect contact. [Then] shine a light on it for however many seconds for a normal exposure. Then you process it.
JP: What are some rare negative film formats you’ve scanned?
RG: Glass plate negatives. The first negatives were actually paper – the early silver was really slow, you’d have to expose it for a long time to get anything … it wasn’t practical. Then they decided to put the silver emulsion on glass.
 Before that, daguerreotypes were the first photography. Basically a copper plate that had silver plate on it that was polished like a mirror. We’ve actually scanned some. They’re both [negatives and positives]. It depends on the angle that you’re looking at them with. I think when we tried scanning them, it was halfway between the two. I think we tried angling it.
[Some] film we had was from 1897. I looked it up for the dimensions – that was actually [called] 102, I think. It’s like the second or third format that Kodak ever made. It was for a pocket camera.
We could write a book about negative film, but this Q&A session should get you further on your quest to understand negatives.
Digitizing black-and-white or color negative film is a blast, and we hope you try it at home. If you’re pressed for time, or the DIY film scanning approach doesn’t sound like fun, EverPresent’s negative film scanning service has saved millions of memories. We’d love to save yours, too.