
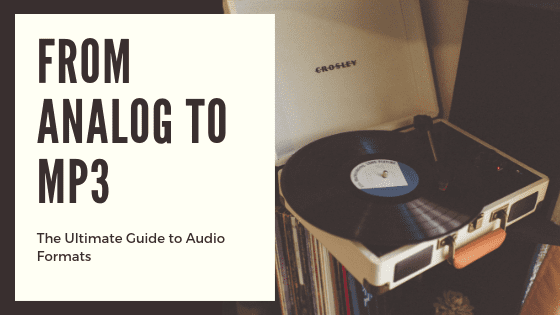
We’ve saved the sounds of the past on a number of audio formats over the last century. Folks cleaning out their attics often find audio reels or vinyl records and don’t know what to do with them.
Just like photos and videos, these recordings hold priceless bits of history – like grandma’s stories, or tunes from your great-uncle’s jazz band – that won’t last forever. This post shows you how to tell audio formats apart, reveals some tools and tips for digitizing them, and explains common audio terms to help you convert your aging audio to digital.
SKIP TO:
1. Analog Sound Formats
2. Digital Audio Formats
3. DIY Audio Conversion
4. Why Digitize?
[su_spacer size=”20″]
Meet Your Vintage Audio Formats
The term analog describes a physical way to store information. Analog recording devices like film cameras and tape recorders capture stimuli such as light or sound.
Then, recorders make changes to blank media like film or tape. These changes are physical representations of whatever’s being recorded, ideally at a high enough quality to look or sound the same later on.
SKIP TO:
Early Formats | Disc Records | Magnetic Tape
[su_spacer size=”20″]
Late 1800s: Early Audio Formats
The first audio recordings were clumsy in the years between their invention and practical use. Recording technology slowly improved through trial and error – some formats didn’t play back well, if at all. While you likely don’t have these recordings in your collection, it all began with these early audio formats.
Phonautograms (invented 1860)
- Recording device: Phonautograph
- Sound waves transcribed as lines on paper or glass
- Used to measure and study sounds
- No playback
- Digitizing recommendation: Not available to the public, but researchers used photocopies in 2008 to digitize and reproduce some of these recordings
Cylinder Records (1877 to 1929)
- Playback device: Phonograph
- Duration: roughly two to five minutes
- Grooves that resembled sound waves were carved into the cylinder while recording
- Like disc records, a stylus traveled through the grooves during playback
- The first cylinders were metal and not ideal for recording
- Wax cylinders wore out quickly but could be shaved down and reused
- Plastic cylinders were fairly durable and some can still play today
- Difficult to mass-produce; most were direct recordings
- Vulnerable to mold
- Digitizing recommendation: There’s no commercial service or cheap equipment to digitize these yourself. Your best option is donating to the UCSB Cylinder Audio Archive. It’s free to donate the cylinder, but cash donations are also needed to help cover the cost of digitizing.
1889 to Present: Disc Records

Disc records, commonly just called records, were born as a better alternative to cylinders. They still used etched grooves to record audio but offered more durability, reliable playback, and mass-production.
Record sizes vary but the most common are seven, 10 or 12 inches in diameter. You can identify different types of records by their playback speed in revolutions per minute (RPM). The use of records declined with the rise of compact cassettes before making a comeback in the 21st century.
78 RPM Records (1901 to 1960s)
- AKA 78s
- Duration: three minutes for 10” discs, four to five minutes for 12” discs
- The recording industry chose 78 RPM as the standard speed in the 1920s
- Made from minerals, cotton fiber and shellac
- Brittle, fragile, and playback quality diminished quickly
- Digitizing recommendation: Audacity, a free audio program we’ll cover below, has an in-depth resource on recording 78s to digital yourself. These records tend to be older and tougher to capture at home, but a professional digitizing service should be able to convert these, too.
33⅓ RPM Records (1948 to Present)
- AKA 33s or LPs (for long-playing)
- Duration: seven minutes for 7” discs, 35 minutes for 10” discs, 45 minutes for 12” discs
- Introduced by Columbia Records
- Made from vinyl, more durable than shellac 78s
- Used microgroove technology – thinner grooves to record more audio than 78s
- The most common records for full albums
- The first vinyl records to gain widespread popularity
- Digitizing recommendation: Doing it yourself is possible with the right gear and techniques – more on this below! If the technical stuff sounds too complex, though, you can count on an audio to digital service to do this for you.
45 RPM Records (1949 to Present)
- AKA 45s and (often) singles
- Duration: two songs for 7” singles, 15 minutes for 7” EPs (Extended Play)
- Introduced by RCA Victor to compete with Columbia Records’ 33⅓ RPM format
- Singles were mostly for popular radio hits and jukeboxes
- EPs used a modified recording process to fit more audio on a record at the cost of quality
- Digitizing recommendation: Like 33 RPM records, you can digitize these at home by following the steps we cover in this post – but audio conversion services can make it easier.
[su_spacer size=”10″]
8⅓ and 16⅔ RPM Records (1950s to 2000s)
- Duration: up to 90 minutes for 8⅓ RPM and 180 minutes for 16⅔ RPM
- Grooves were too narrow for high-quality music recordings
- Mostly spoken word recordings and audio books for people with vision impairment
- Digitizing recommendation: The turntables and needles that handle these speeds aren’t as popular as those for 33s and 45s, but you can digitize 8⅓ and 16⅔ RPM discs if you find the right gear. Pro services can do these, too.
1928 to Present: Magnetic Tape
Magnetic tape recording was developed in Germany between World Wars I and II. The tape has a plastic base with a thin layer of metal particles on one side. Tape recorders convert sound and light into electrical signals that magnetize the tape to store audio, video and computer data.
A whole mess of different video and audio formats use magnetic tape, which can be stored on reels or in cassettes. Despite its vulnerability to breaks, mold and a decay called sticky shed syndrome, the tape is still used for specialty recordings today.
Reel-to-Reel Audio (1930s to Present)
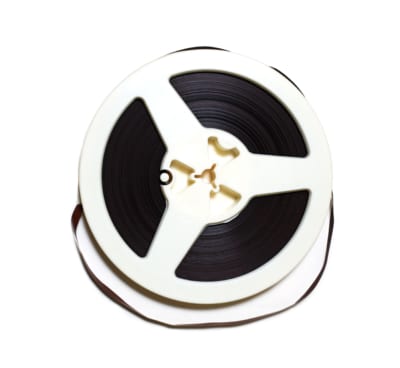
- AKA open reel audio
- Duration: varies based on tape length and speed
- Tape Widths: ¼” , ½”, 1” and 2”
- Most reels were 5”, 7” or 10.5” in diameter
- Tape starts on one reel and winds onto a second, initially-empty reel during recording and playback
- More popular with pros than home consumers due to the size and cost of equipment
- Still in use among audiophiles and recording studios
- Digitizing recommendation: While you can digitize open reel audio at home, this format’s age and industrial use have driven up the cost for working reel-to-reel audio players. Most digitizing services can do this, but make sure they offer the right level of quality and experience to do the job well.
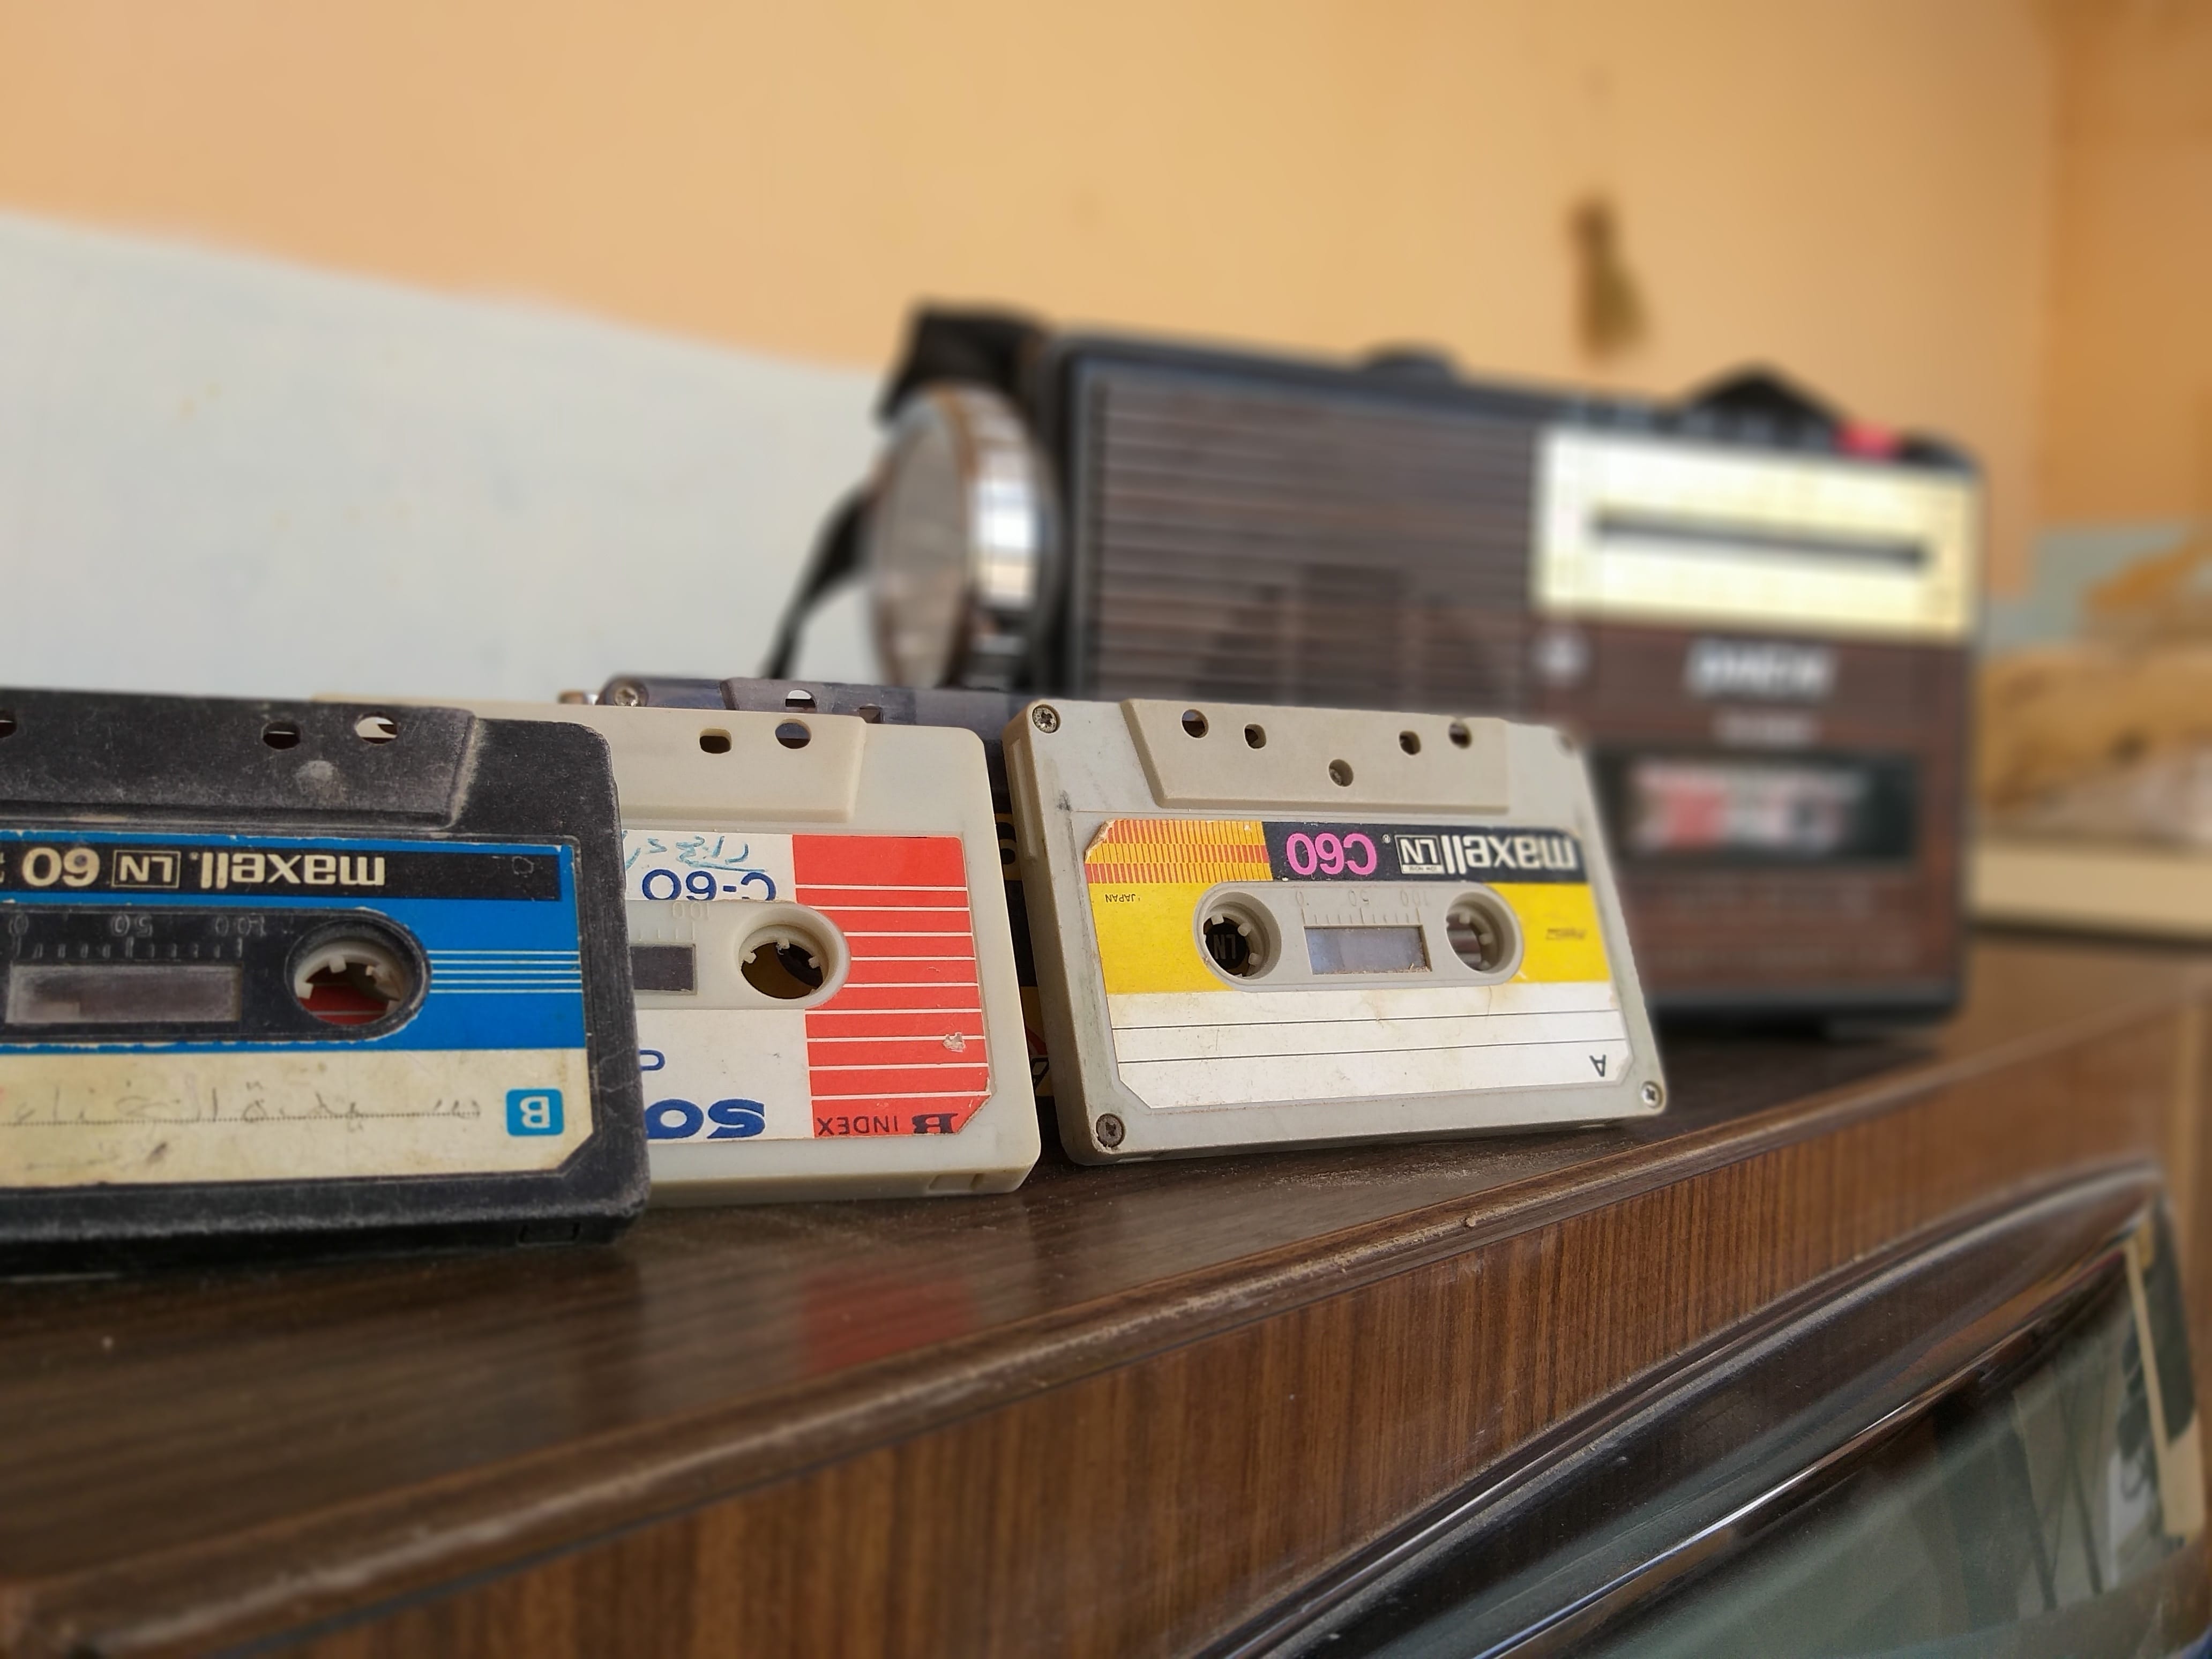
Compact Cassette (1963 to Present)
- AKA cassette tapes
- Tape width: about ⅛”
- First made for voice recording but was quickly adopted for music
- Cassette shields the tape from dust
- Write-protection tabs on the cassette spine can be removed to avoid accidental recording
- Walkman tape players allowed portable listening
- Blank tapes were sold for home recording and often used to make mix tapes
- Records on both sides
- Digitizing recommendation: The compact cassette is the most standard audio format being digitized right now. You can find a working tape player for fairly cheap, and follow our steps below to convert cassette tapes to digital. Most vendors can easily handle these as well.
8-Track Cassettes (1964 to Present)
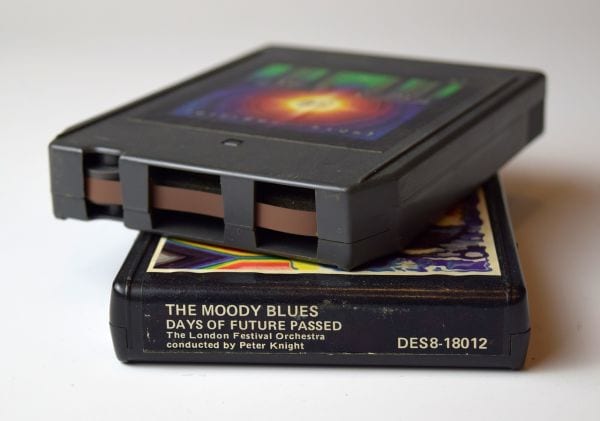
- AKA Stereo 8
- Tape width: ¼”
- Developed in a joint effort by a few large transportation, telecom and media firms
- Popular in car sound systems
- Endless loop technology instead of two reels meant no rewinding
- Huge decline in the 1980s due to the compact cassette’s superiority
- Still infrequently used for some niche music releases
- Digitizing recommendation: This tape format might best be left for the pros. DIY 8-track conversions are possible, but the equipment is rare. Keep reading for more on how to find the right equipment for vintage audio formats.
Microcassettes (1969 to Present)
- Mostly used in answering machines and voice recorders
- Tape width: ¼”
- Same shape and tape width as compact cassettes, but with a smaller shell
- Audio quality not ideal for music recordings
- Digitizing recommendation: Microcassette players aren’t as abundant as ones for larger compact cassettes, but they’re out there. Check out our tips on DIY digitizing below, or ask a digitizing service if they can handle these audio tape transfers.
Fast-forward to Digital Audio Formats
All digital information is stored as electronic data that can be written and read by computers and other newer technology. Digital audio formats can fit more information in less physical space than analog audio formats.
Digital audio changed the way the world records, consumes and shares sound. Here are the major digital audio formats that led up to the present.
SKIP TO:
Compact Discs (CDs) | Digital Audio Tapes (DAT) | Audio File Formats | More Audio Formats
[su_spacer size=”20″]
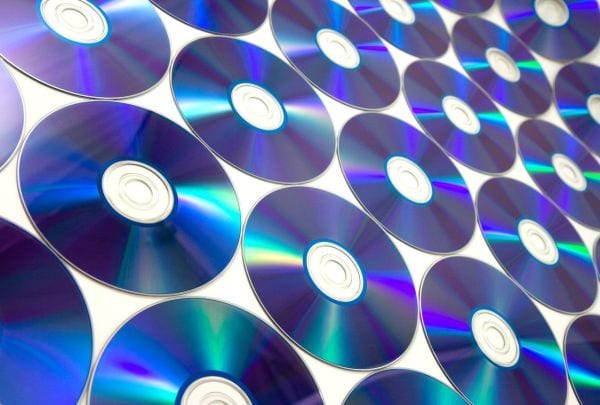
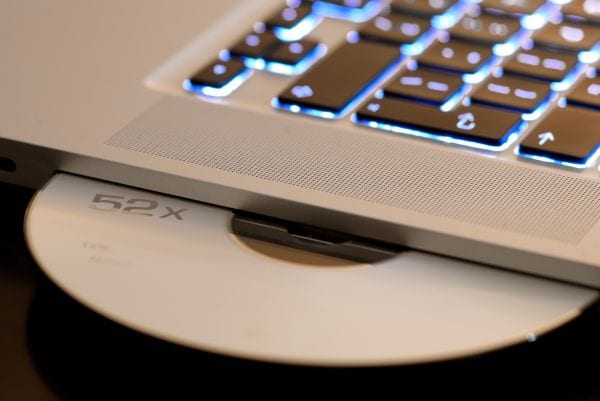
1982 to Present: Compact Discs (CDs)
- Developed by Philips and Sony
- Duration: Up to 80 minutes
- First released for music and later adapted for computer data
- Blank CDs that were recordable (CD-Rs) and rewritable (CD-RWs) came out in 1997
- Later evolved into DVDs and Blu-Ray discs
- Digitizing recommendation: CD audio is already digital, so the trick is finding a disc drive to read them before you copy the files to another digital storage device. The process is so easy that it’s also one of the more affordable services offered by expert digitizers.
1987 to 2005: Digital Audio Tapes (DAT Tapes)
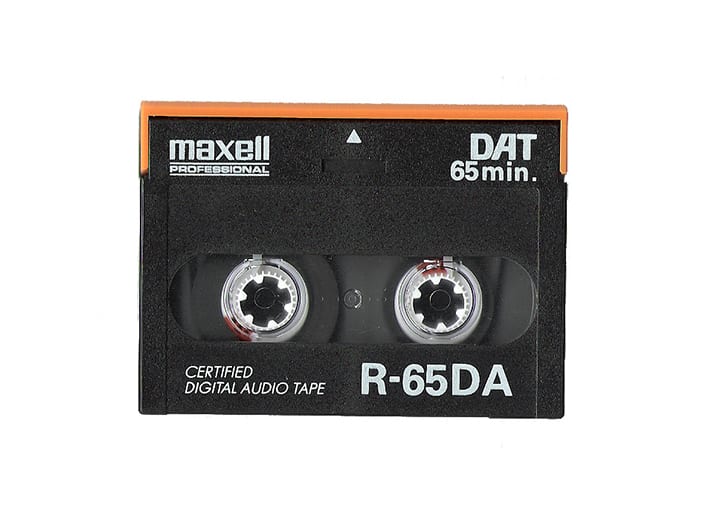
- Developed by Sony
- Duration: up to 180 minutes
- Uses magnetic tape, but stores digital data instead of analog
- Drew opposition from the RIAA and lawmakers due to its potential for copyright infringement through exact copies
- High tax on DAT machines and blank cassettes kept the format from catching on with consumers
- Still used for music production and data storage, but sharply declining with the rise of hard drives
- Digitizing recommendation: Like reel-to-reel audio, DAT tape equipment is out there but tends to be older and professional demand has kept the price high. If you don’t need to convert a lot of DAT tapes to digital, find an experienced vendor that handles this early digital audio format.
1988 to Present: Digital Audio File Formats
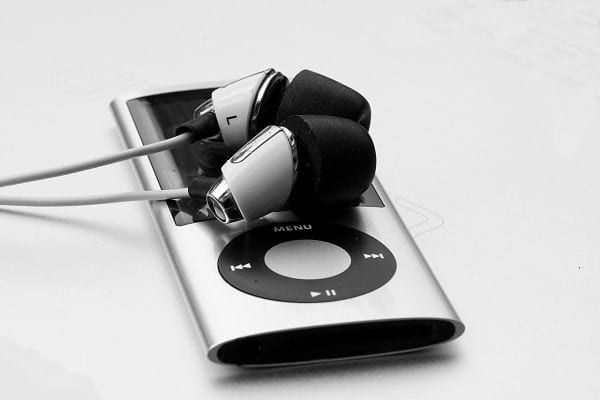 Image credit: MusicOomph.com
Over the last 20 years, digital audio files have overtaken CDs as the most popular audio format. The ability to download, share, edit and store these files through desktop and mobile platforms and the internet have once again changed the way our world creates and consumes sound.
Not every device and app is compatible with every audio file format. If you’re planning to record, edit or play back any digital audio, make sure you’re using a file type that works with your players and programs. There are other audio file formats out there, but these are the most well-known:
- 1988: AIFF File Format
- Essentially the Apple equivalent of a WAV file. AIFF files store high-quality audio that takes up much more file space than compressed file formats like MP3.
- 1992: WAV File Format
- The PC version of a high-quality audio file. Uncompressed sound with large file sizes. Most digital audio is recorded as WAV or AIFF files before getting compressed into a more user-friendly format like MP3.
- 1993: MP3 File Format
- This audio file format dominated the ‘90s and early aughts through the use of portable MP3 players and controversial file sharing services like Napster. It uses compression to remove tiny bits of audio data for smaller, more shareable files with a barely audible difference in quality.
- 1999: Windows Media Audio (WMA) File Format
- Microsoft made this Windows Media Player format to compete with the MP3. Like MP3s, WMAs use compression for smaller file size and faster transfers.
- 2001: AAC File Format
- Better known as the iTunes format. This format is compressed or ‘lossy’ but offers higher audio quality than MP3 files. While AAC works with the hugely-popular Apple devices like iPod and iPhone, it’s a more proprietary format that’s often not supported by non-Apple devices and apps.
More Rare Audio Formats, Analog to Digital
Economics and heavy competition drove a slew of different analog and digital audio formats, and it’s not feasible to cover them all here. If we skipped an item that you’re curious about, you can check out the Museum of Obsolete Media for a comprehensive list of audio formats.
DIY Audio to Digital Conversion
Now that you’re an audio format expert, the next step is to convert audio to digital formats that will stand the test of time (for now). There’s bound to be an exciting new way to store and enjoy your audio sometime in the next 20 years. But until then, now is your chance to get caught up. Here’s how to save the sounds of the past for years to come.
SKIP TO:
DIY Analog to Digital | Digital Audio Transfers | Improve Sound Quality | Audio Software
[su_spacer size=”20″]
How to Convert Analog to Digital
Your analog audio formats like vinyl records and compact cassettes are the most at-risk items for damage that could wreck the sound they store. There are four main steps you can take to convert analog audio to digital. Steps three and four are a breeze with the free audio software we’ll mention below.
- Step One: Find a compatible player like a turntable or tape deck for your analog audio format. Lots of the tips and resources from our VCR-buying blog post also apply to these vintage audio players. You’ll also find old-school gear on audio-specific sites like Reverb.com. Some machines come equipped with components like audio output jacks that can help you out with Step Two.
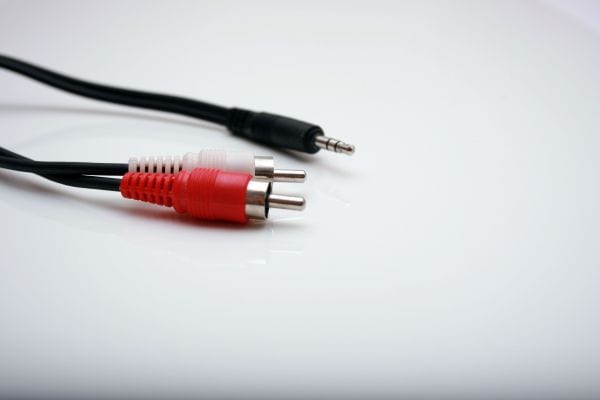
- Step Two: Use a microphone, analog-to-digital converter (ADC) device, and/or cables that run from the player to a computer to turn the analog audio signal into a digital one. Some analog players have an onboard device that’s designed for conversions, and others send audio to computers with software that converts analog to digital.
- Step Three: Open your recording software and make sure the Input settings match whatever port’s in use, or device that’s plugged into your computer. For records, make sure your turntable is set to the right speed for 33s vs. 45s or 78s. Click your program’s Record button and play the audio format. When you’re ready to stop recording a song or selection, click either the Record or the Stop button on your software.
- Step Four: Export the digital audio to your desired file format, and save it to the computer or an external hard drive. Lots of conversion devices and apps use MP3 and WAV file formats as the default, but make sure you have the right apps and gear to make them into another file type if needed.
[su_spacer size=”10″]
Digital Audio Transfers and Conversion
Preserving your audio is a bit more straightforward if you already have digital formats like CDs or MP3 files.
For CDs, simply insert the discs into your computer’s CD-ROM drive, or an external disc drive that connects with a cable. For other digital storage, connect your device (ex: a flash drive or hard drive) to your computer or access your cloud storage online. The default file management programs for Windows and iOS should let you create folders and move or copy your audio into them.
Converting digital audio files from one format to another can be tricky and needs the right software. Head over to download.com and search for something like WAV to MP3 or FLAC to WMA based on the file formats you have, and which ones you need. Remember to read reviews and use caution when downloading any new software – some programs come with spyware and other add-ons that you don’t want on your computer!
Optimizing Audio Quality
Attention to quality is what sets an elite audio capture service apart. Keep these words handy when asking an audio to digital vendor to make your stuff sound better.
- Equalizing:
- Adjusting the bass, midrange and treble frequencies of an audio recording to make it sound better (ex: fuller, or less muddy, or more consistent when played through different sound systems).
- Hiss removal:
- A digital process that reduces or silences the distracting high-frequency hissing sound that might occur in an audio recording, particularly in sections that should be completely silent.
- Denoising:
- A technique that limits or removes hissing and other unwanted noise from the recording space or low-quality recording gear.
- De-crackle:
- A process that reduces or removes the harsh crackling sounds that occur from vinyl records and other aging formats when they’re converted to digital.
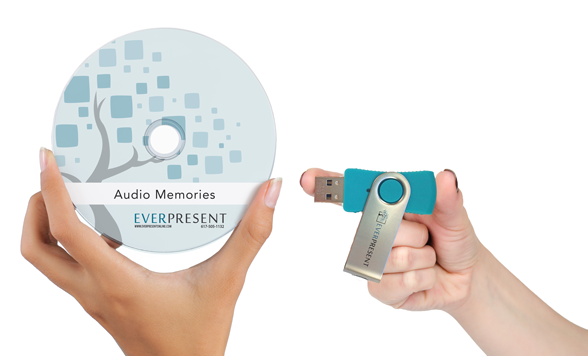
EverPresent captures all formats in stereo except for audio reels. We record reels in mono unless there’s a difference between the left and right sides that merits a stereo capture.
Our recommendation for editing, equalizing and denoising is to use these techniques sparingly. EverPresent’s audio team removes excessive silence and distracting white noise while preserving the integrity of the original recording.
Ready to digitize? Fill out our contact form to get an estimate on your audio conversion project!
Conversion and Optimizing
With Audio Software
There’s no shortage of tools for converting, editing and polishing your digital audio files. Keep in mind that while some audio software can work on basic laptops and mobile devices, most apps perform better and faster on more powerful computers.
Industry-standard programs like ProTools, Adobe Audition, and Logic are phenomenal, but they might have more bells and whistles than you’ll need for digitizing and optimizing your audio. Consider using one of these less-costly options to get the job done.
- Audacity:
- A powerful free tool for recording, editing and optimizing your audio on a Mac or PC. If you realize later on that this program isn’t enough, you can always spring for some paid software down the road. You’ll need to download an extra plugin like LAME to convert audio files into different formats.
- GarageBand:
- A Mac-only option that also lets you capture, cut and polish audio for free before spending money on an advanced program that you might not need. GarageBand only exports audio in the AIFF file format – you can add these to iTunes and then convert them to WAV or MP3, but not FLAC or WMA files.
- WavePad:
- Affordable software for audio recording, editing, enhancing and conversion. A free version is available with limited functions for non-commercial use.

Note: As you try to find the best audio conversion software for your needs, here are some technical terms that you’ll want to be familiar with:
[su_spacer size=”10″]
- Sample Rate:
- How accurately different frequencies are captured in an audio recording. You can think of each sample as a snapshot of the audio’s wave form. Higher sample rate equals better accuracy.
- Bit Depth:
- How many bits of audio information are captured in each sample of a recording. Higher bit depth equals more information in each snapshot of audio.
- Mono vs. Stereo:
- Mono recordings only use one channel. Even when using multiple speakers, mono signals will sound the same when played through each speaker. Stereo recordings use two channels, left and right, to create the illusion of space and make it feel like different sounds are coming from all around you.
- File Compression:
- Audio file compression removes small pieces of audio information to yield smaller files like MP3s, while keeping enough audio to let your mind fill in the blanks with a negligible difference in sound quality. Lossless audio files like WAVs don’t get compressed, so the audio quality is closer to the original version but the files are bigger and need more disk space.
As a point of reference, EverPresent captures audio at a bit depth of 16-bit and a sample rate of 44.1kHz, initially in the AIFF file format (the Mac equivalent of lossless WAV files). Our standard service includes high-quality MP3 files at 320kbps to save disk space, but uncompressed file formats and higher sample rates are available too.
The Benefits of Audio Conversion
Not everyone will enjoy the process of converting audio to digital, but it’s important work with hefty benefits. To mention a few:
Preservation
We’ve been stressing this benefit all along, but can’t emphasize it enough. All analog audio formats are at risk of physical damage from forces like mold, breaks, scratches and mechanical failure.
Even some earlier digital formats like CDs and DAT tapes are at risk of scratching, breaking and digital corruption. Don’t wait until it’s too late to save your family’s stash of music, audio books and oral history.
Physical Downsizing
Large collections of vinyl records, compact cassettes and even CDs can take up a jaw-dropping amount of real estate. Conversely, an external hard drive the size of your wallet can hold one terabyte (1 TB) of data – that’s roughly 200,000 songs in MP3 format. It would take thousands of CDs or cassette tapes to store that much audio!
Editing and Remastering
Digital audio is easy to clean and polish with the right software. You can trim unwanted portions and adjust the audio levels with just a few clicks. It’s much easier than the cutting-and-splicing technique that audio professionals endured for decades with magnetic tape.
Sharing
Having a digital audio library gives you the freedom to burn mix CDs, copy old recordings for friends and family, and share sounds online. It gives you more control over your collection than vintage audio formats ever could.
Listen Up!
We hope this post taught you how to tell audio formats apart, find the right gear, and follow best practices to digitize and manage your audio archive.
Of course, DIY audio digitizing is a great option if the time, skills and equipment don’t pose any issues for you. But if these concerns turn into barriers for you, we’re happy to help.