
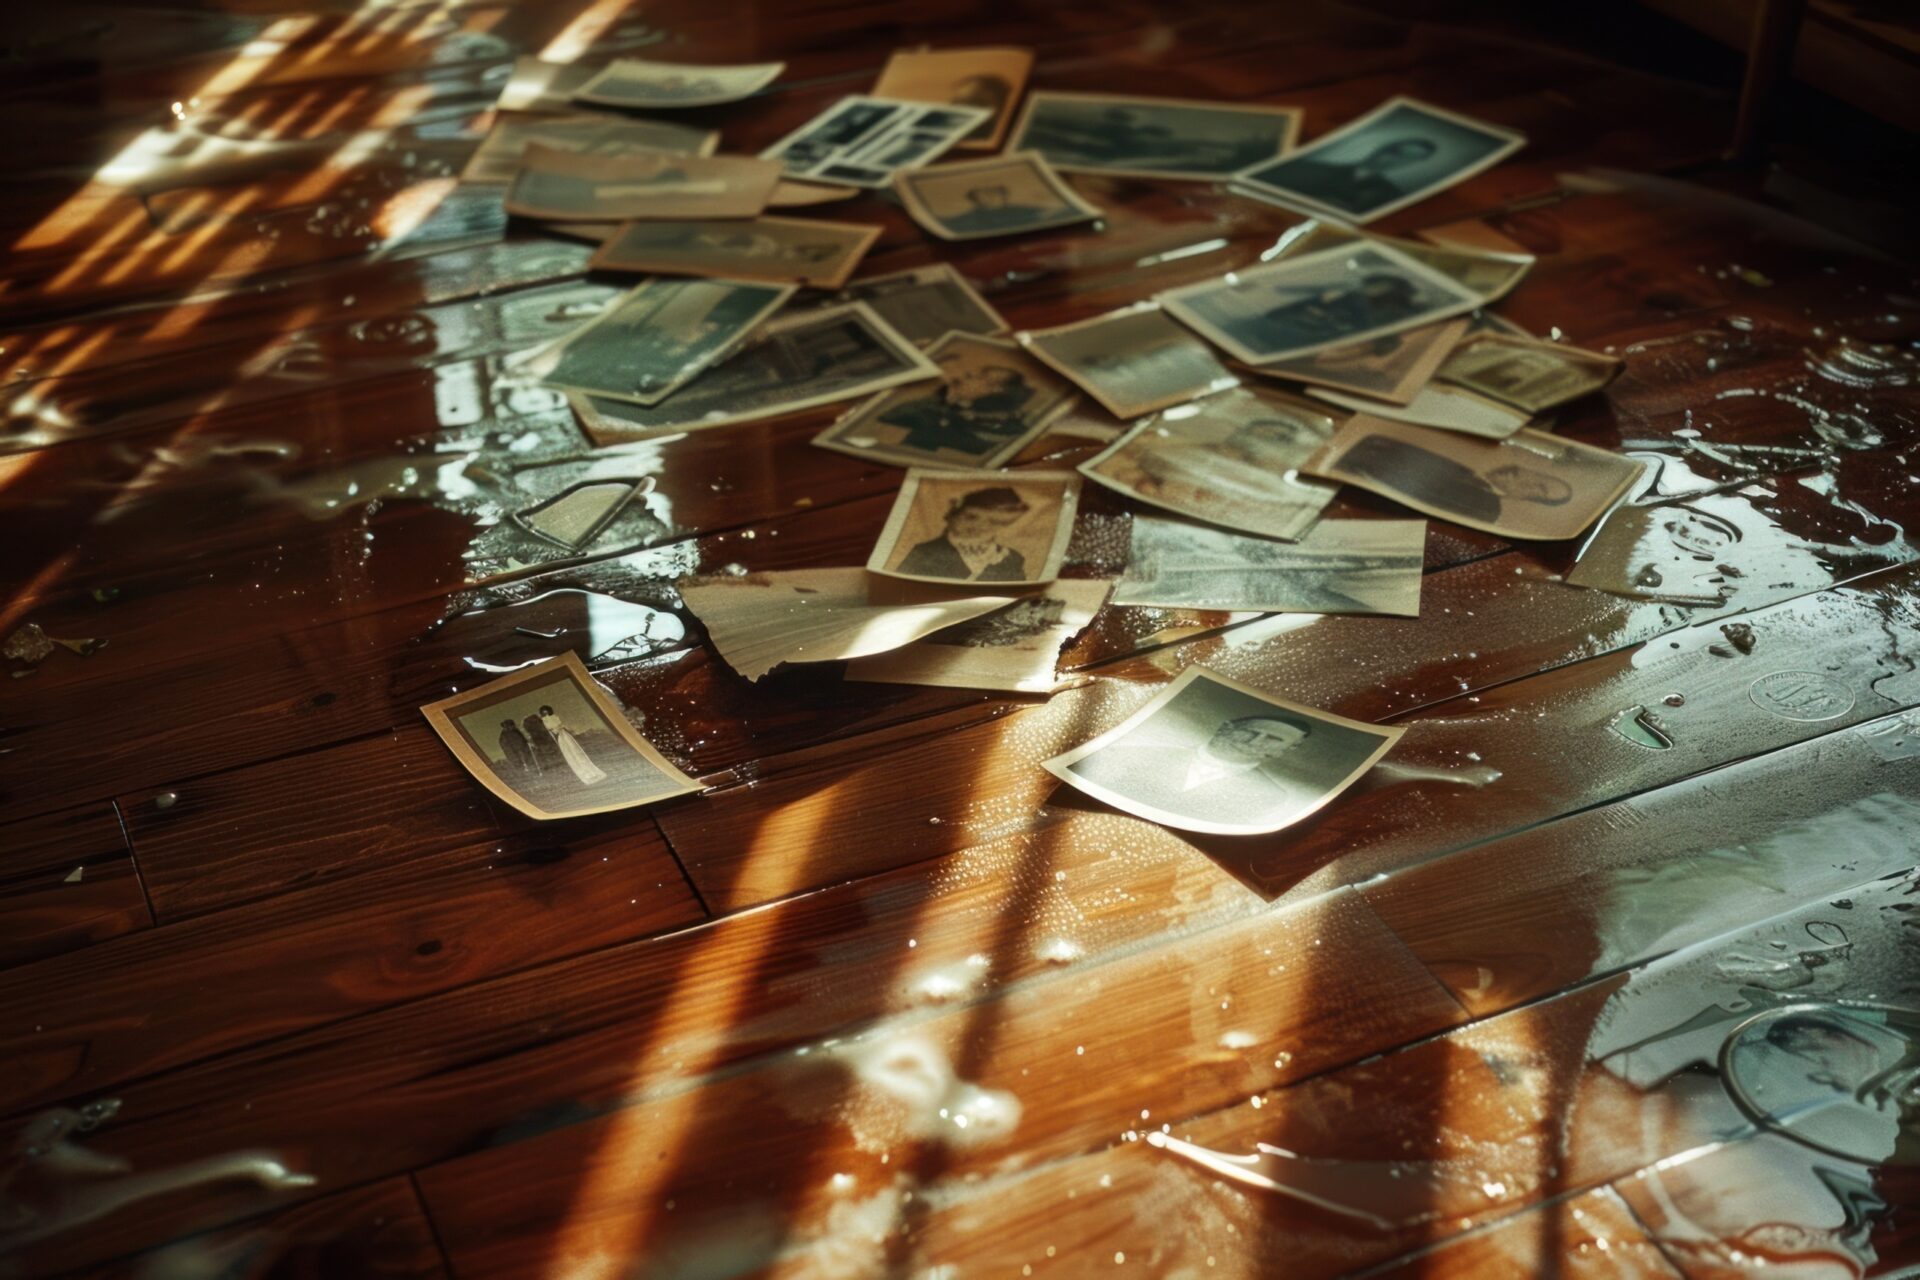
So many elements can damage physical media, including mold, mildew, sunlight, stains, and — worst of all — water.
It seems intuitive to think that water damage is a life-ender for photos. They are made of paper, after all. However, it’s not quite that simple. Professional photo paper is actually coated with materials that make it more resistant to water than you might think. In this guide, we explain how to restore your water-damaged photos (because, yes, it can be done!) that have been tarnished by flooding or other water.
CAN WATER-DAMAGED PHOTOS BE SAVED?
Under certain conditions, water-damaged photos can be salvaged.
Most analog photo prints are submerged in water during the development process to remove leftover chemicals and so have a resin coating that prevents the photo paper from absorbing water and distorting its fibers. As such, water-damaged photos that are still wet can often be saved.
However, if a water-damaged photo dries out before it can be treated, the paper and image may be irreversibly damaged.
TOOLS NEEDED FOR WATER-DAMAGED PHOTO RESTORATION
Ironically, one of the main things you need to restore water-damaged photos is more water. It can’t just be any water, however. It needs to be distilled to ensure no further damage to the photos.
You also need containers to put the water in. You can use whatever you have on hand, but something large and shallow like a baking pan is best. You need at least three containers, though more would be better depending on the size and the number of photos you’re working with.
To clean the surface of your photos, you need a paintbrush with the softest bristles you can find. Photos are delicate, so the wrong paintbrush could easily damage them. Lastly, you need absorbent material like paper towels, sheets, or paper for the dryer.
For ease, here’s the full list of materials needed to restore water-damaged photos:
- Distilled water
- Baking pans x3
- Soft-bristled paintbrush
- Absorbent paper towels or similar
HOW TO RESTORE WATER-DAMAGED PHOTOS
Here’s a step-by-step walkthrough of how to clean and restore water-damaged photos that have been affected by flooding.
STEP 1: SEPARATE THE PHOTOS
Photos that are stored in stacks often stick to one another if they get wet — and separating them can be tricky.
If your photos are still wet, you should be able to carefully peel them apart one by one. If they have already partially or completely dried, however, trying to pull them apart could be disastrous. Instead, you’ll want to soak the stack of photos in a container of water (tap water is fine) until they’re ready to come apart. The key is to be patient and calm here, so you can separate the photos without any of the emulsion coming off.
STEP 2: PLACE THEM IN DISTILLED WATER
Once your photos are separated, place them in your containers of distilled water. They should be in a single layer and not touching, so don’t add too many at once.
STEP 3: CLEAN THE PHOTOS
After letting them sit for a few minutes, take your soft-bristled paintbrush and carefully brush away any dirt or silt from the surface of your photo. Make sure to work as carefully as you can to avoid removing or damaging the emulsion.
STEP 4: RINSE
After cleaning the photo, put it in the second container of distilled water. You can gently pull the photo through the water to remove any remaining debris but don’t get too rough.
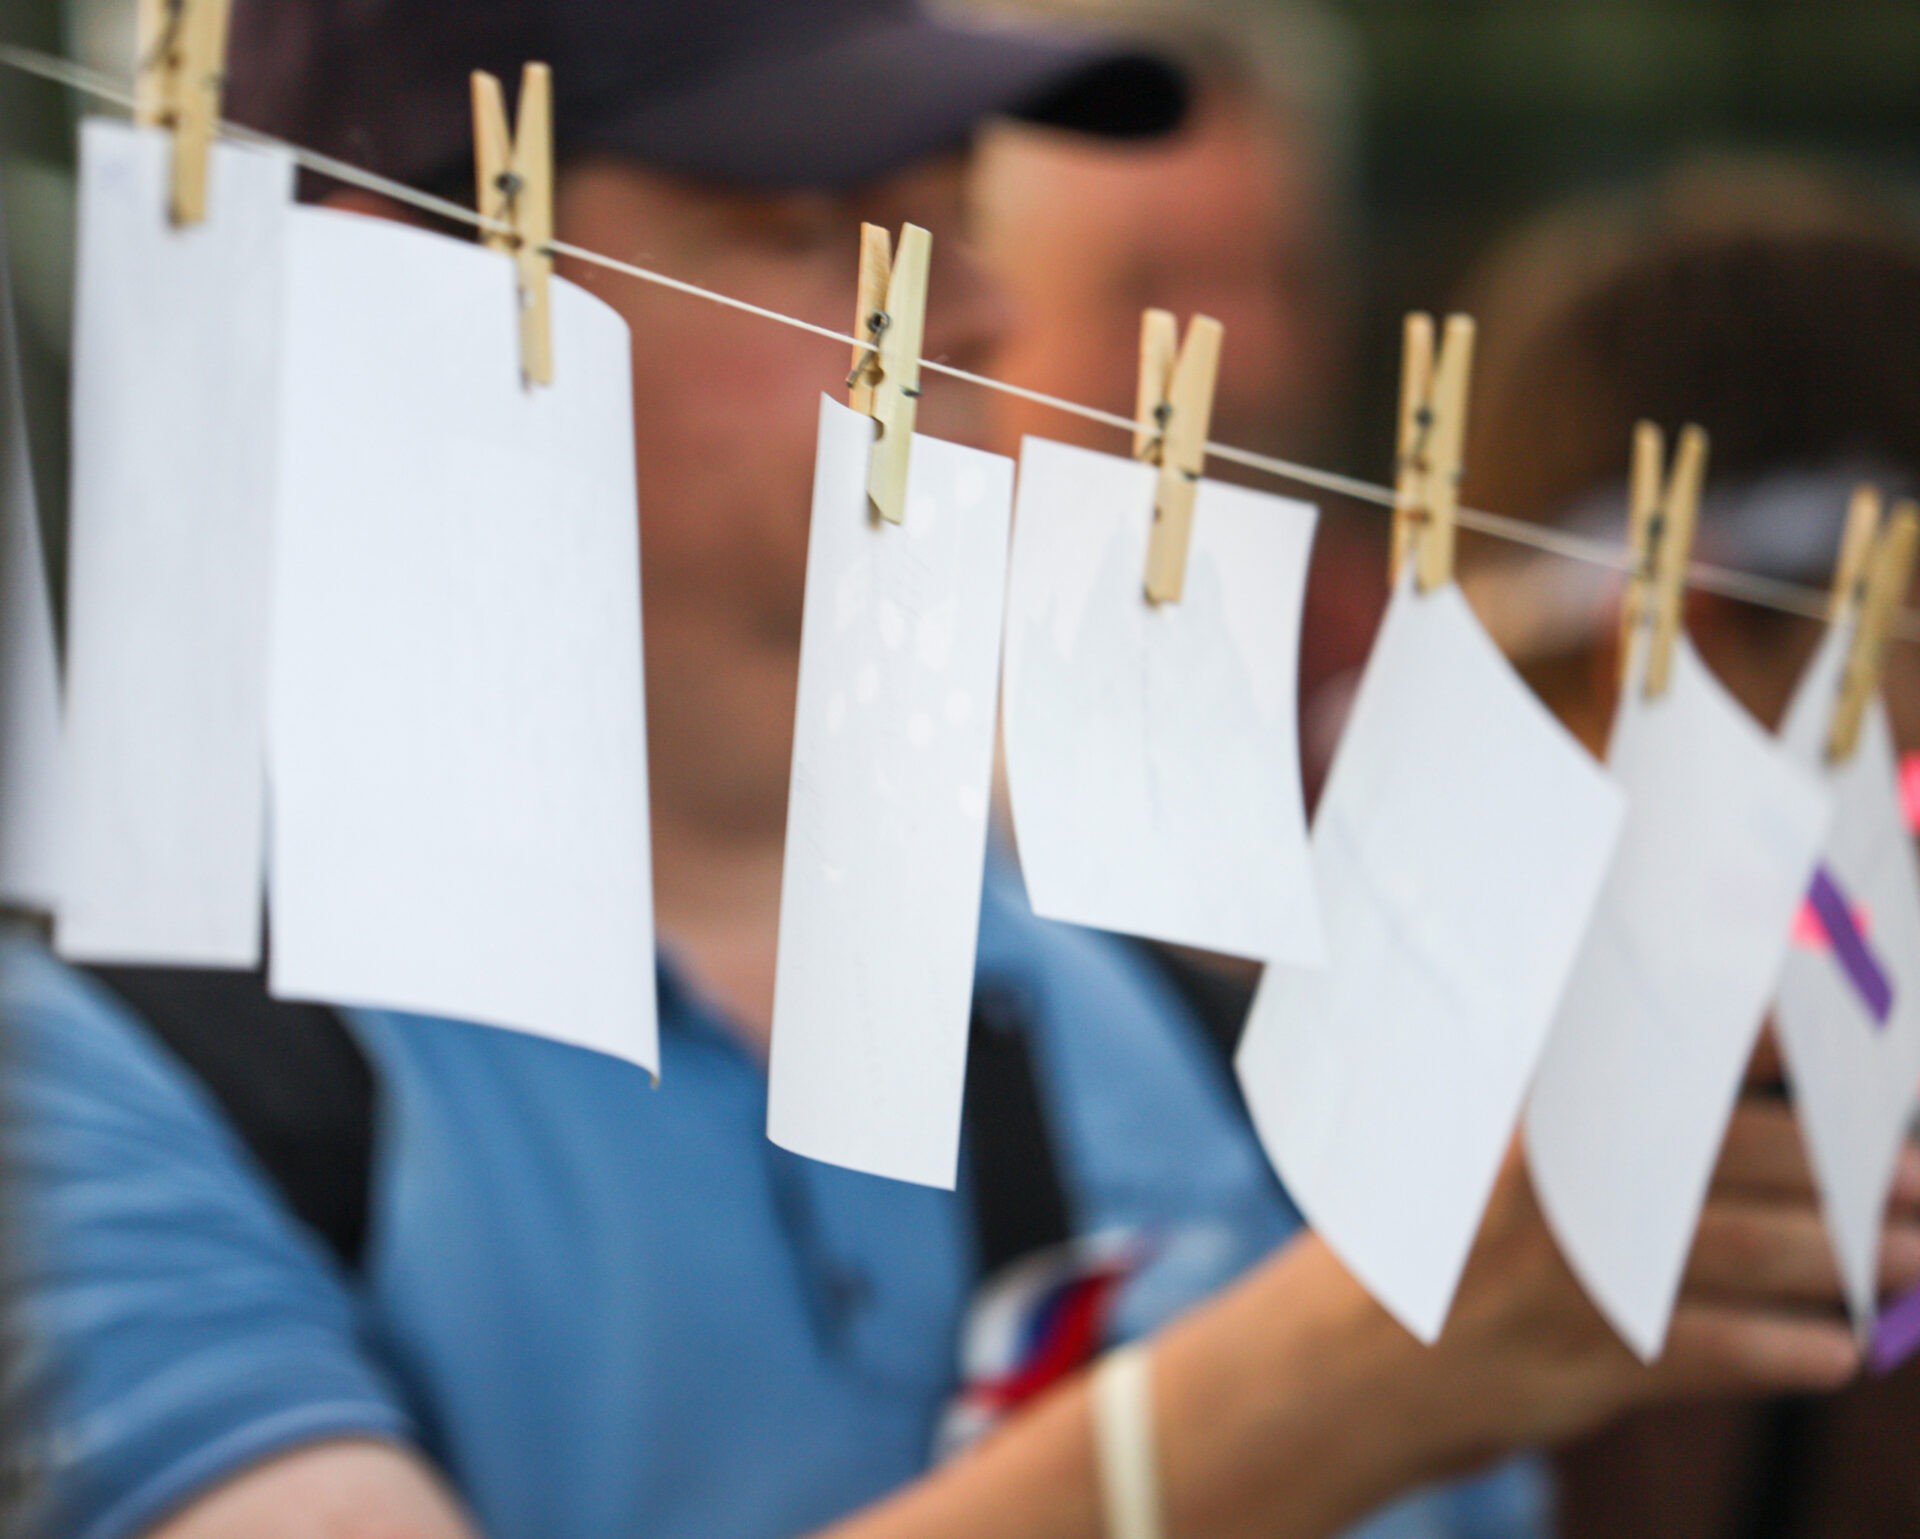
STEP 5: DRY ON AN ABSORBENT SURFACE
Place your chosen absorbent material on the bottom of your third sheet pan. Then, place your photos on top, facing upwards. They will take a few hours to dry so make sure you place them somewhere safe away from gusts of wind, pets, or direct sunlight. To help the photos dry faster, you can also replace the absorbent material throughout the drying process.
WATER-DAMAGED PHOTO RESTORATION TIPS
Here are some tips to make sure your restoration goes smoothly.
- If you don’t have time to deal with your damaged photos right away, you can freeze them. This will ensure the damage doesn’t worsen and will prevent any mold or mildew from growing in the damp environment.
- Don’t try to remove dirt or dry your photos by blotting the paper. This is likely to damage the emulsion.
- If the damage is beyond what you can handle, consider taking your photos to a professional to restore them.
- If your photos did get stuck together, consider buying a photo album or another storage solution to store your photos so they’re no longer touching. You can also put your album or files into a waterproof bag or box to try and keep water away from them in the future.
DIGITIZE YOUR PHOTOS SO YOU ALWAYS HAVE BACKUPS
There are a lot of things you can do to improve your photo storage but the truth is that nothing is 100% guaranteed to keep your photos safe. If you want to make sure your images aren’t lost, the best thing to do is create a digital copy. That way, you’ll still have the image even if something happens to the original.
At EverPresent, we take on all sorts of projects, whether you only have a few family photos or a huge collection dating back 100 years. Just get in touch with us to chat about your project and see what we can do to help.