Have you ever wondered what to do with film negatives sitting in your attic or tucked away in old photo albums? They might be taking up space but they’re also treasured memories that you don’t want to part with.
In this blog post, we explain the different things you can do with old film negatives and explore the benefits of digitizing film negatives using a professional service to ensure your memories are protected for generations to come.
WHAT TO DO WITH FILM NEGATIVES
Discovering a box of old film negatives can be a nostalgic trip down memory lane, but figuring out what to do with them can be a challenge. Here are the steps to take.
1. PURGE THEM
Hopefully, you already did a little culling when you first had your negatives developed, removing any that didn’t work, are blurry, or have fingers in the frame. This makes your job a little easier now.
The first thing to do with film negatives is take your collection and pick through each one. We recommend sorting them into four piles:
- keep
- duplicate
- blurry, and
- damaged

Though it might hurt to part with some of these negatives, it helps to be selective when you’re choosing what to keep. Do you really need multiple duplicates of the same shot? It’s okay to play favorites. This will make things easier (and more budget-friendly!) when it comes to digitizing your most prized shots.
2. CLEAN THEM
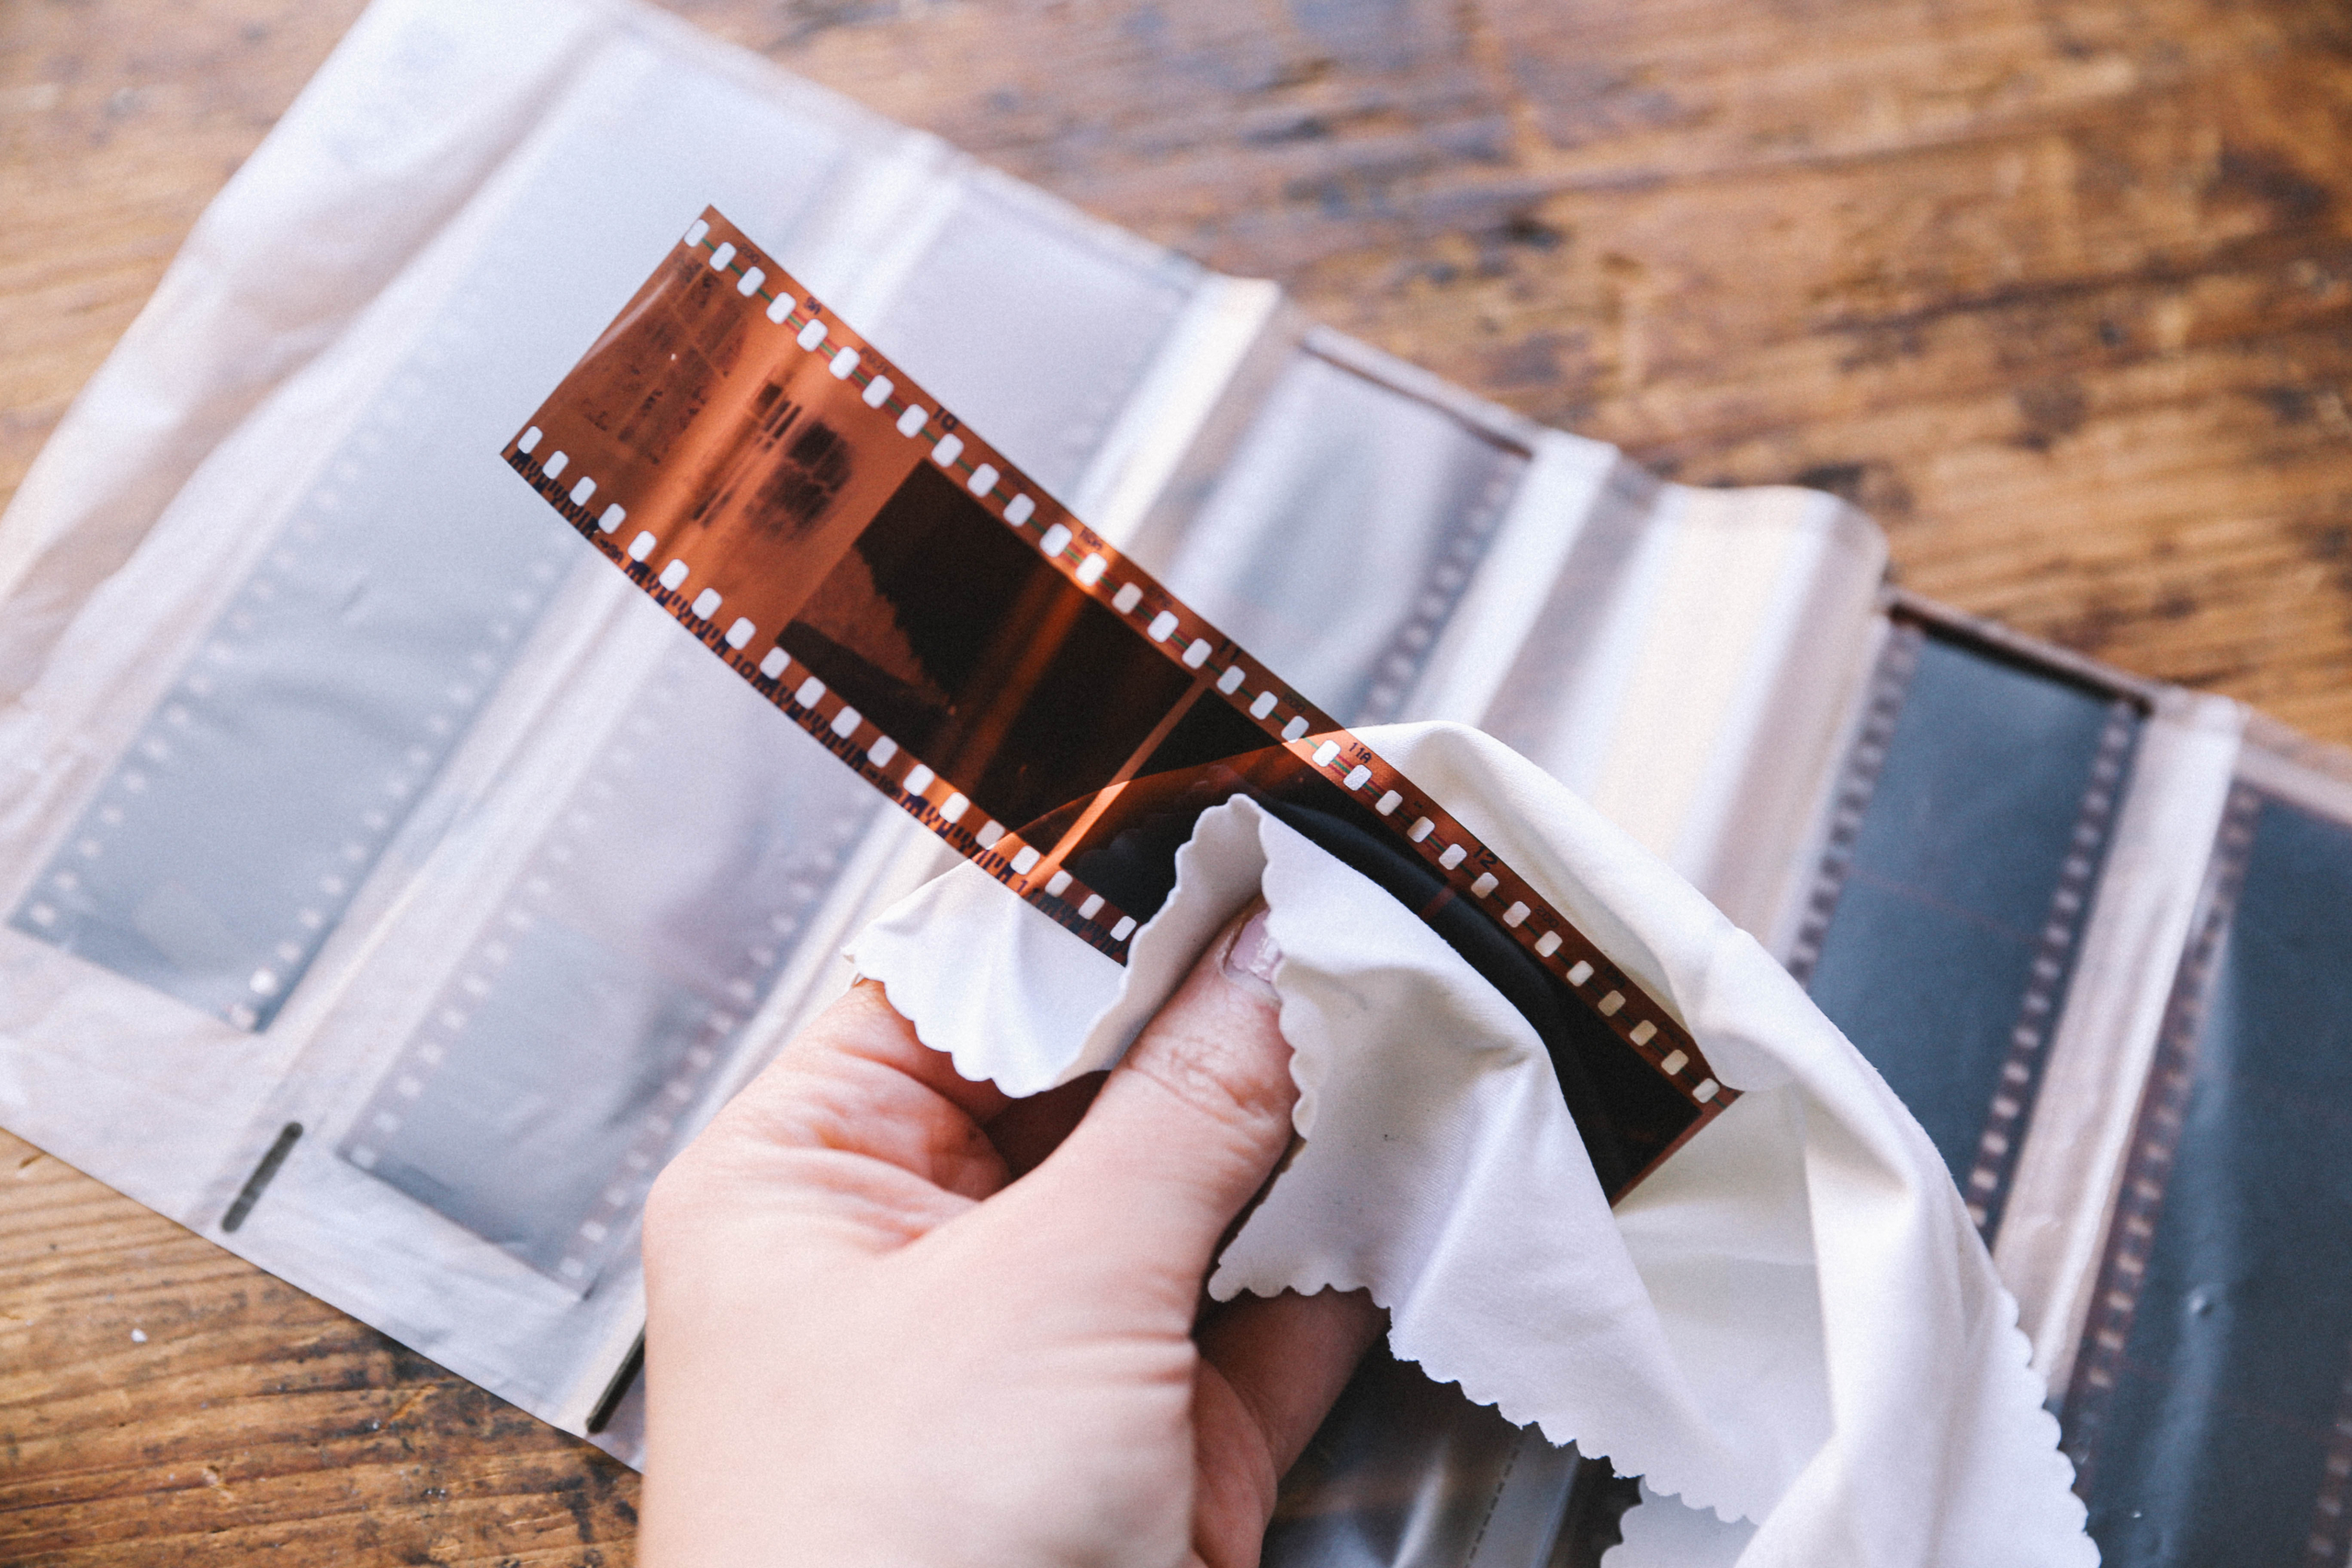
Once you’ve chosen the negatives you’d like to keep, it’s a good idea to give them a good clean, especially if they’ve been hanging out in a storage box for two decades. The safest way to clean your negatives is with isopropyl alcohol, a lint-free cloth, and clean cotton gloves.
Wearing your gloves, dip your cloth in the alcohol; you want it to be wet but not dripping. Gently wipe your negative with the alcohol swab to remove any dust or imperfections.
Leave your negatives to dry in a well-ventilated area, but away from any windows where they may pick up dirt from outside. You want them to dry as fast as possible to avoid streaking. Once they’re dry, wipe them down with a clean, dry lint-free cloth.
Voila! You’ve got clean negatives.
For more detailed instructions, check out our in-depth tutorial here.

3. RESTORE DAMAGED ONES
If some of your favorite film negatives have been damaged over time, don’t despair. With the help of a professional, it can be pretty easy to return them to their former glory.
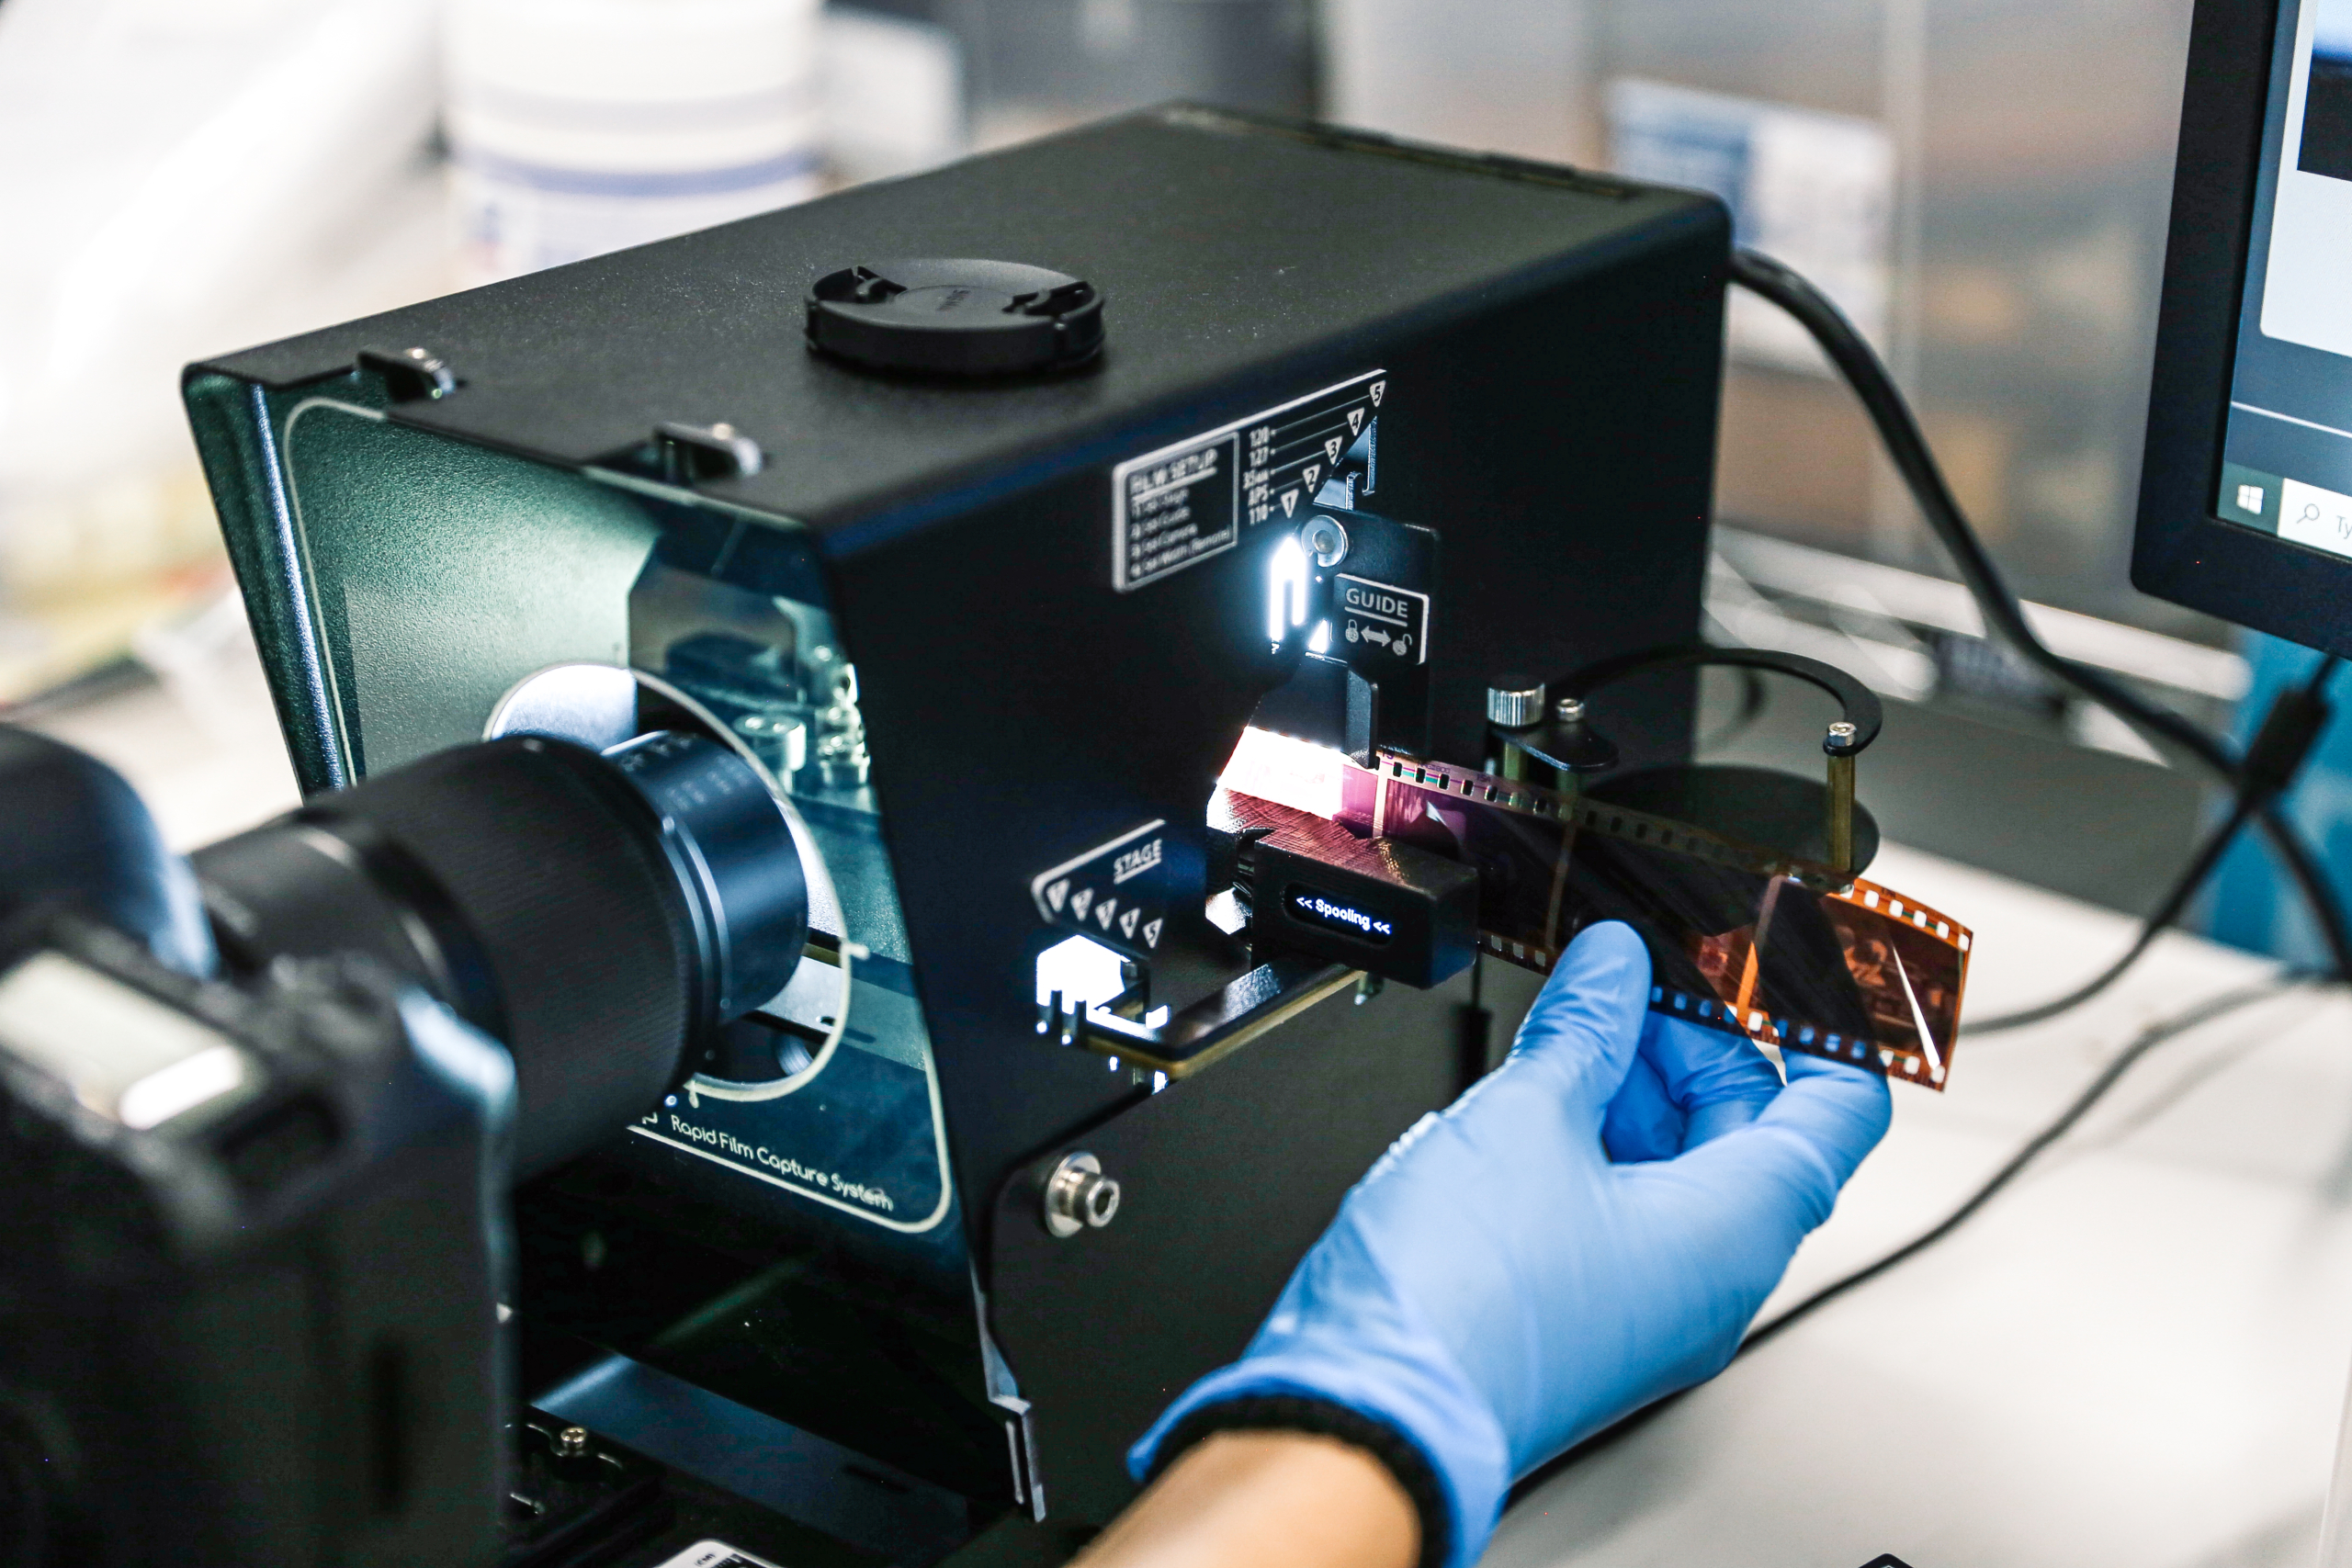
This involves digitizing the negative and using software like Adobe Photoshop or Inpaint to rectify any scratches, tears, and general fading that are common with old photos.
While there are some free online programs that allow you to perform the restoration yourself, keep in mind that you’ll always get better results when using a professional for restoring faded photos.

4. DIGITIZE THEM
Though there are certain storage methods that will help prolong the life of your film negatives, digitizing them is the best way to protect your precious memories and ensure their longevity.
Film negatives are vulnerable to physical damage, such as scratches, dust, and decay over time. Once you have them saved as a digital file, you won’t have to worry about protecting them from this inevitable deterioration.
It also gives you a chance to restore and enhance any images that have suffered minimal damage. Professional services can correct color, remove scratches and dust, and improve overall image quality, bringing your old photos back to life.
Plus, digitization makes it easy to store and share your photograph collection. Not only are all your memories kept in one, easy-to-access place, but they can be shared with friends and family through email, social media, or cloud storage with a single click.
Using a professional service to digitize film negatives is the best way to achieve these benefits. Professional services, like Everpresent, have the expertise and specialized equipment needed to handle your film negatives with the delicate touch they deserve.

5. STORE THEM CAREFULLY
Even after digitizing your photo collection, you’ll want to store your film negatives properly to avoid any further damage or deterioration.
Binders within boxes are a common storage solution. Just make sure you’re using photo-safe plastic sleeves to separate and organize each roll of film that won’t damage your negatives.
Be sure to label your negatives clearly for easy access later down the track, then store them somewhere away from direct sunlight, moisture, or extreme temperatures.
Need help restoring and digitizing your collection of film negatives? Whether you have 100 or 10,000, EverPresent is your most trustworthy and reliable option.
Get in touch today to learn more about our white glove service.

