
Written by Erica Scoppettuolo
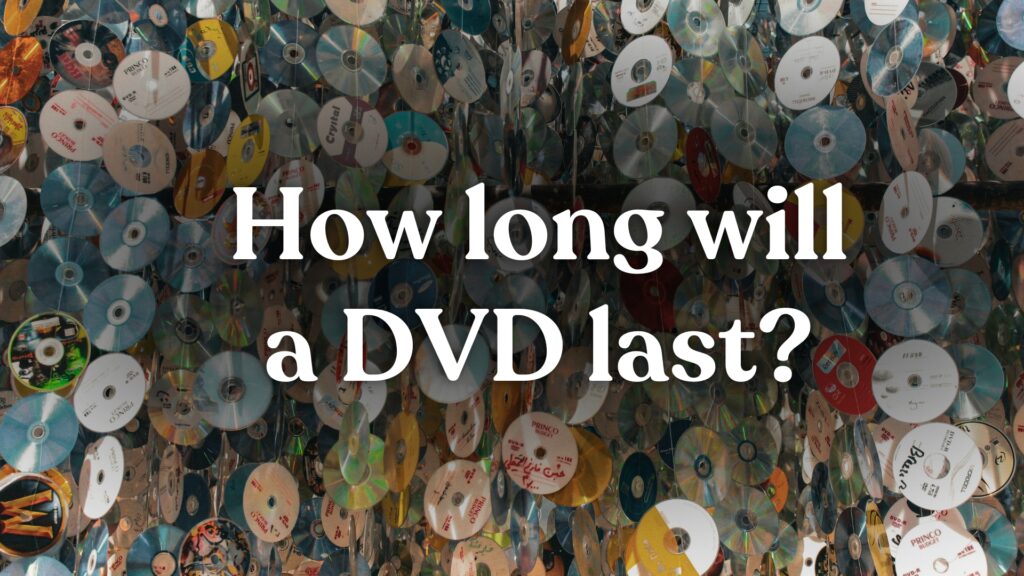
Before cloud storage, DVDs were one of the most common ways we all stored videos. You probably have footage from weddings, birthday parties, school plays, and vacations all burned onto DVDs for safekeeping. But like all physical media, DVDs don’t last forever. Discs get scratched, degrade, and get harder to play as DVD drives disappear from modern devices.
If you’ve found a stack of old discs, you might be wondering how to convert DVDs to digital formats or even asking yourself, “How do I convert a DVD to digital at home?” Digitizing your DVDs can help preserve home videos, free up space on your bookshelves and in your attic, and make it easier than ever to watch and share your video memories.
In this blog, we walk you through how to digitize a DVD, including how the process works and the options available, from DIY tools to professional services.
CAN I MAKE A DIGITAL COPY OF A DVD?
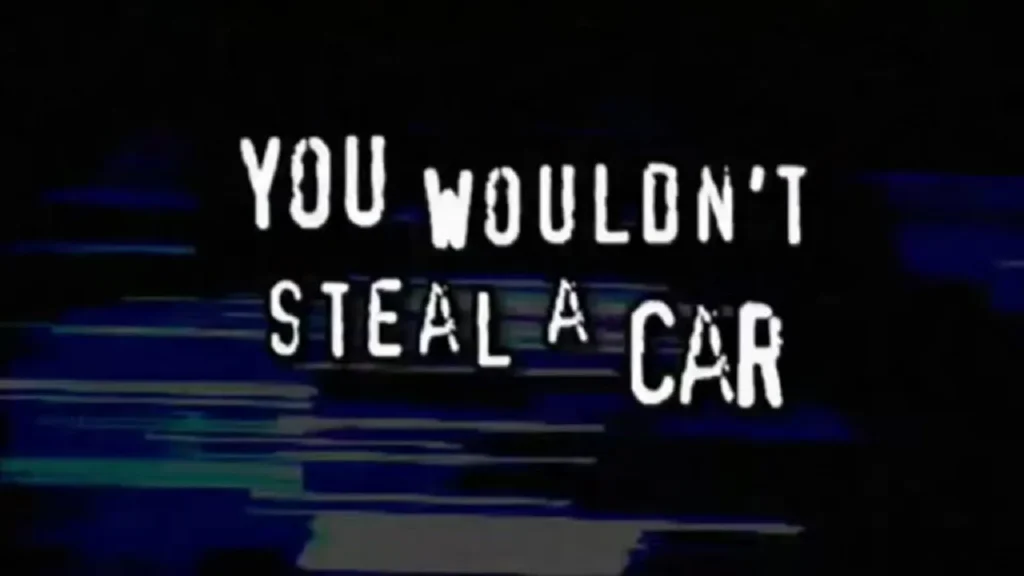
If you remember the early 2000s “you wouldn’t steal a car” anti-piracy ads, you might be wondering, “Can I make a digital copy of a DVD? Legally?”
It’s a little complicated, but a good rule of thumb is that if the DVD contains your personal content, like home videos or recordings you created yourself, it’s usually safe to digitize them for your personal archive and use.
That said, it’s important to avoid copying or distributing copyrighted material without permission. Commercial DVDs (like movies or TV shows) are usually protected, and making or sharing copies can violate copyright laws.
If you’re just working with your own personal recordings, then converting them to digital files is a straightforward, practical way to preserve them.
HOW TO TRANSFER DVDs TO DIGITAL
Digitizing DVDs is a pretty simple process, as long as you have the right tools and some technical know-how. Here’s how to transfer DVDs to digital.
WHAT YOU’LL NEED
Before you get started, make sure you have:
- Computer: Pretty much any computer will work, whether you have a Windows or Mac machine.
- DVD drive: You can use the drive built into your computer, or an external drive (since most modern PCs and laptops don’t have a disc drive).
- DVD conversion software: You’ll need software to help you copy the files from the disc to your computer (more on that below).
- Somewhere to store the files: You’ll either need enough free space on your computer’s internal drive, an external HDD or SSD, or cloud storage.
CHOOSING THE RIGHT SOFTWARE
A key step in learning how to convert a DVD into a digital file is choosing the right software. There are two main types of tools you’ll come across: free DVD conversion software and paid tools with more advanced features.
The best tool depends on how much control you want over the final digital file and how many DVDs you’re planning to convert.
For most people, free programs like MakeMKV and/or HandBrake are more than enough for converting their home video DVD collection. These programs are widely used, and there are lots of guides online, making them a good starting point for simpler projects.
Paid tools can offer faster processing speeds, better compression options, and more control over the final output quality of your videos.
Some key software features to look for include:
- Different output formats: Look for software that outputs video in multiple formats like MP4 and MKV.
- Presets for multiple devices: If you plan to watch your digitized DVDs on different devices like TVs, tablets, and smartphones, having presets for each device can be useful.
- Compression and quality settings: Some tools let you adjust file size and video quality, so you can balance storage space with how clear and detailed your videos look.
STEP-BY-STEP GUIDE TO CONVERTING DVDS
Here’s how to convert a DVD into a digital file if you’re taking a DIY approach.
- Install your software: Download and install your chosen DVD conversion tool on your computer.
- Load your DVD: Insert your disc into your DVD drive and open the software. Most tools will scan the disc automatically.
- Select content: Choose whether you want to convert all the video footage on the DVD or just specific chapters.
- Choose your format: Select the format you want your digital file to be, usually MP4 or MKV. MP4 files are compatible with a wider range of devices.
- Adjust settings: You can often adjust settings like resolution, file size vs. quality, or audio track settings.
- Start the conversion: Now, you press the start button. The software should scan, encode, and save your file to your chosen location.
Depending on the length and quality of your video, the conversion process can take anywhere from a few minutes to over an hour.
HOW TO DIGITIZE A DVD FOR THE BEST RESULTS
For the best results when you’re learning how to digitize a DVD, use these tips and tricks:
- For videos of important memories, use a higher bitrate for higher-quality digital files.
- If you’re not worried about storage space, keep your original discs as backups, just in case.
- If you want to get rid of your original DVDs, test your digital files before tossing the discs.
- It’s a good idea to work in batches to keep things as efficient as possible.
- Come up with a file-naming system and try to stick to it. Try including the event the video depicts in the file name and sorting files into folders by year to keep things organized.
HOW TO CONVERT A DVD TO DIGITAL USING PROFESSIONAL DIGITIZATION SERVICES
And that’s how to transfer DVDs to digital files. It’s a pretty simple process, as long as you’re comfortable with computers and have the time to go through your discs one by one.
If you’re looking for a more hands-off approach, getting your DVDs professionally digitized might be a better option.
Instead of getting all the gear and managing the software yourself, you can send your DVDs to a team that specializes in converting media.
This can be especially helpful if you:
- Don’t have a DVD drive
- Your discs are damaged or difficult to read
- You want consistent, high-quality results
- You have a large collection of personal DVDs to convert
At EverPresent, that’s exactly what we do. Digitization started as a personal project for us — we had our own memories to preserve — and now it’s become a trusted service that helps people all across the country do the same.
PRESERVE YOUR DVDS FOR THE FUTURE
When you choose EverPresent to convert your DVDs to digital, we handle the process from start to finish, ensuring your videos are transferred safely with the best possible quality. You can send us your DVDs, and we’ll send your videos back to you on a USB drive and/or as digital downloadable files.
We’ll walk you through all the technical options in advance so you know exactly what you’re getting, and once we have your discs, we’ll give you an estimate with no upfront costs. We also offer volume discounts if you need to convert a lot of DVDs.