

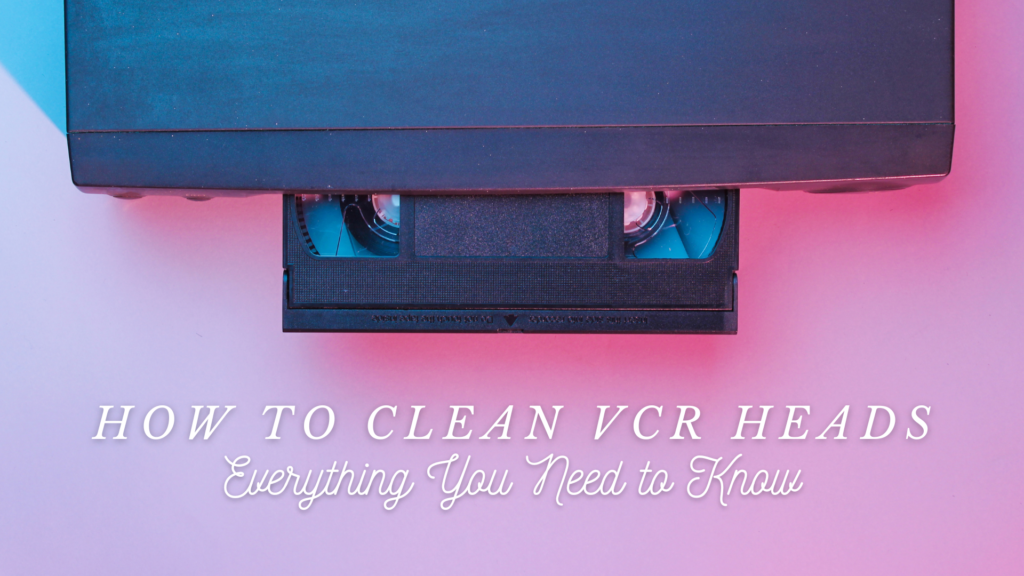
How To Clean VCR Heads: Everything You Need to Know
Production of the VCR format officially stopped in 2016. As a result, new replacement parts aren’t available anymore, which means it’s highly important to take care of your VCR heads. If they break, a fix might not be possible.
Streaks, audio blips, and tracking errors are signs you need to perform a thorough VCR cleaning. But knowing you need to clean your VCR and knowing how to do it are two separate things. This article will explain how to clean your VCR heads and how to clean VCR players so that you can continue to use these devices for years to come.
When Should You Clean Your VCR Head
You should clean your VCR head every 3-6 months or whenever you notice a decline in picture quality. Deposits on the video head can cause picture problems such as ghosting, snowy images, and loss of color. If you use your VCR frequently, you may need to clean it more often. Some VCRs have a self-cleaning feature, which can help prolong the cleaning interval.
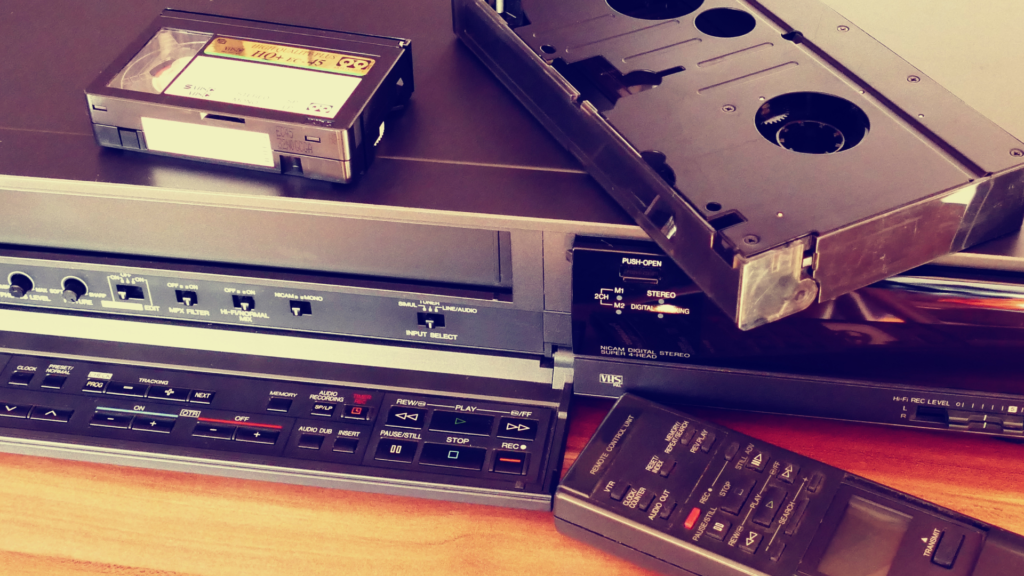
What Materials Do You Need When Cleaning VCR Heads?
Before you start cleaning, ensure you have screwdrivers compatible with the device, cotton swabs, compressed air in a can or compressor, and isopropyl alcohol.
Here is How To Clean a VCR Player:
- Remove any VCR tape still in the VCR player.
- Unplug the VCR player from the wall and any other cables attached to the VCR player.
- Place the VCR on a flat solid surface covered in either newspaper or cloth to protect the surface.
- Use a screwdriver to remove the VCR cover.
- With the compressed air, blow away any dust and debris you may find inside the VCR player.
- Use cotton swabs and isopropyl alcohol inside the chassis to gently clean the areas where the compressed air cannot reach.
Now that the basic VCR cleaning is done, you can move on to cleaning your VCR heads.
VCR Head Cleaning
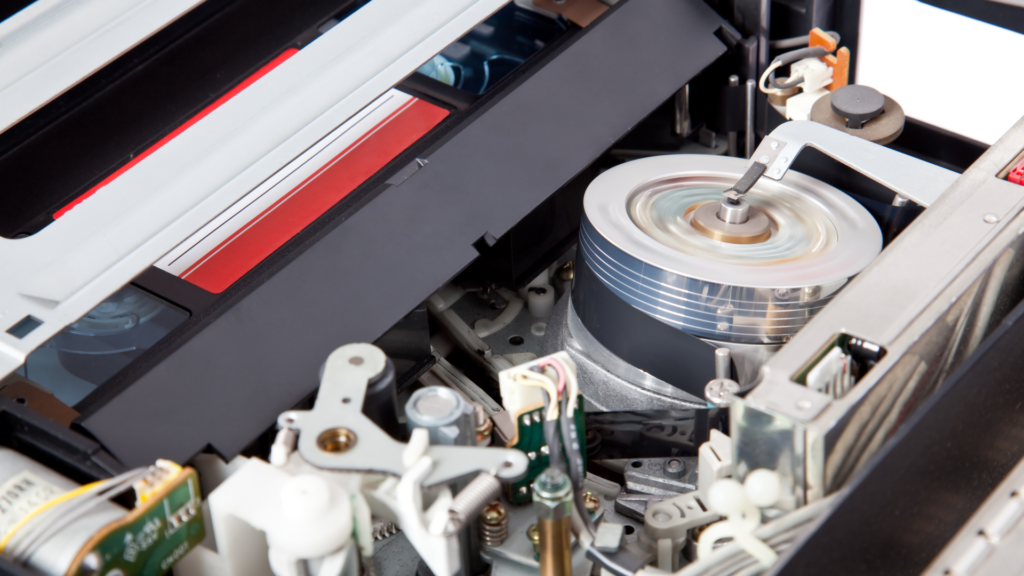
To start, you should locate the VCR head inside the chassis. You can use the video in the link to help you as well.
- The VCR head is a big shiny drum in a cylinder shape often found off-centered in the chassis.
- Soak your cotton swab in the isopropyl alcohol, and place the cotton swab gently against the head of the drum.
- Rotate the drum slowly manually while applying light pressure with the cotton swab. The spinning will allow the alcohol to clean the drum.
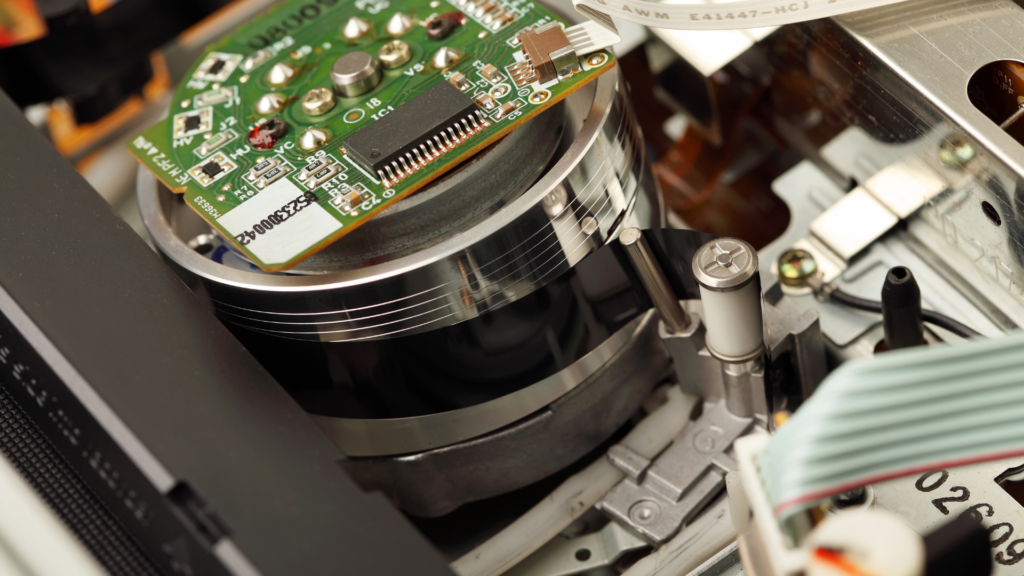
- While cleaning your VCR heads, you must also clean the erase head. The erase head is either found to the left or right of the VCR head.
Now that you have learned how to clean your VCR heads, it is also a good idea to finish cleaning the rest of the VCR, specifically the belts and pulleys.
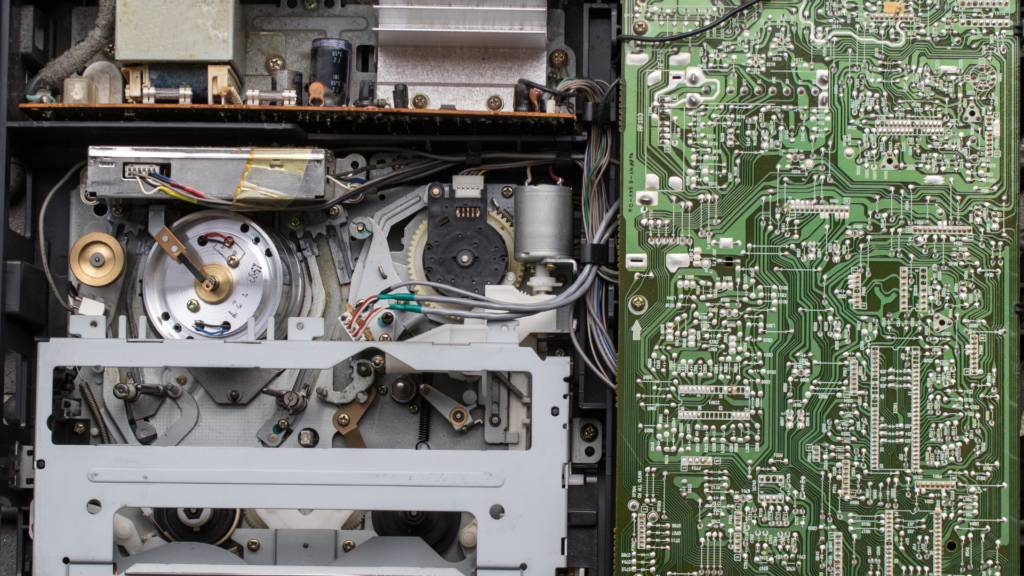
Cleaning The Belts and Pulleys
- Clean the audio head, gears, rollers, and capstans. If you find any dust, remember not to be excessive with the alcohol when cleaning these parts.
- With new cotton swabs and alcohol, clean the belts and pulleys and make sure the belts and pulleys aren’t frayed or loose. If the belts are loose or frayed, you may need to repair or replace them.
- Using compressed air, clean the circuits and ensure the wires aren’t frayed or broken.
- Next, let the alcohol evaporate. This will take a few minutes.
- Leaving the case open, plug the VCR into the wall and attach all others back.
- Turn on the VCR player, do not touch any interior components or the metal cabinet of the VCR.
- Insert a VCR tape, then press play. While the VCR tape is playing, go through your VCR functions to ensure everything is correct. If the audio and video playback isn’t good, go back through the steps to reclean the parts to improve it
- If you are happy with the quality of the clean, eject the tape and unplug all the cables connected to the VCR player.
- Screw the cover back on. (Be mindful not to strip the screws or the threads.) Make sure the cover is in the correct position before tightening everything.
- Put the VCR player back in its original place and reconnect the cables.
Once you have completed these steps, you can continue to use your VCR.
How to Watch VCR Tapes Without a VCR
VCRs are becoming increasingly rare, and finding one that still works may become difficult. There is no need to worry, however, as EverPresent can turn all of your VCR tapes into digital versions. This way, you can watch your favorite home movies on your computer, phone, or tablet without worrying about finding a working VCR.
The process is simple and easy, and your tapes will be converted in as little as two weeks.
To get started, simply send us your VCR tapes. We will then digitize the footage and send you back a digital version that you can watch on any device. The entire process takes just 2-4 weeks, so you won’t have to wait long to relive your favorite memories.
Contact us today to learn more about converting VHS to digital.