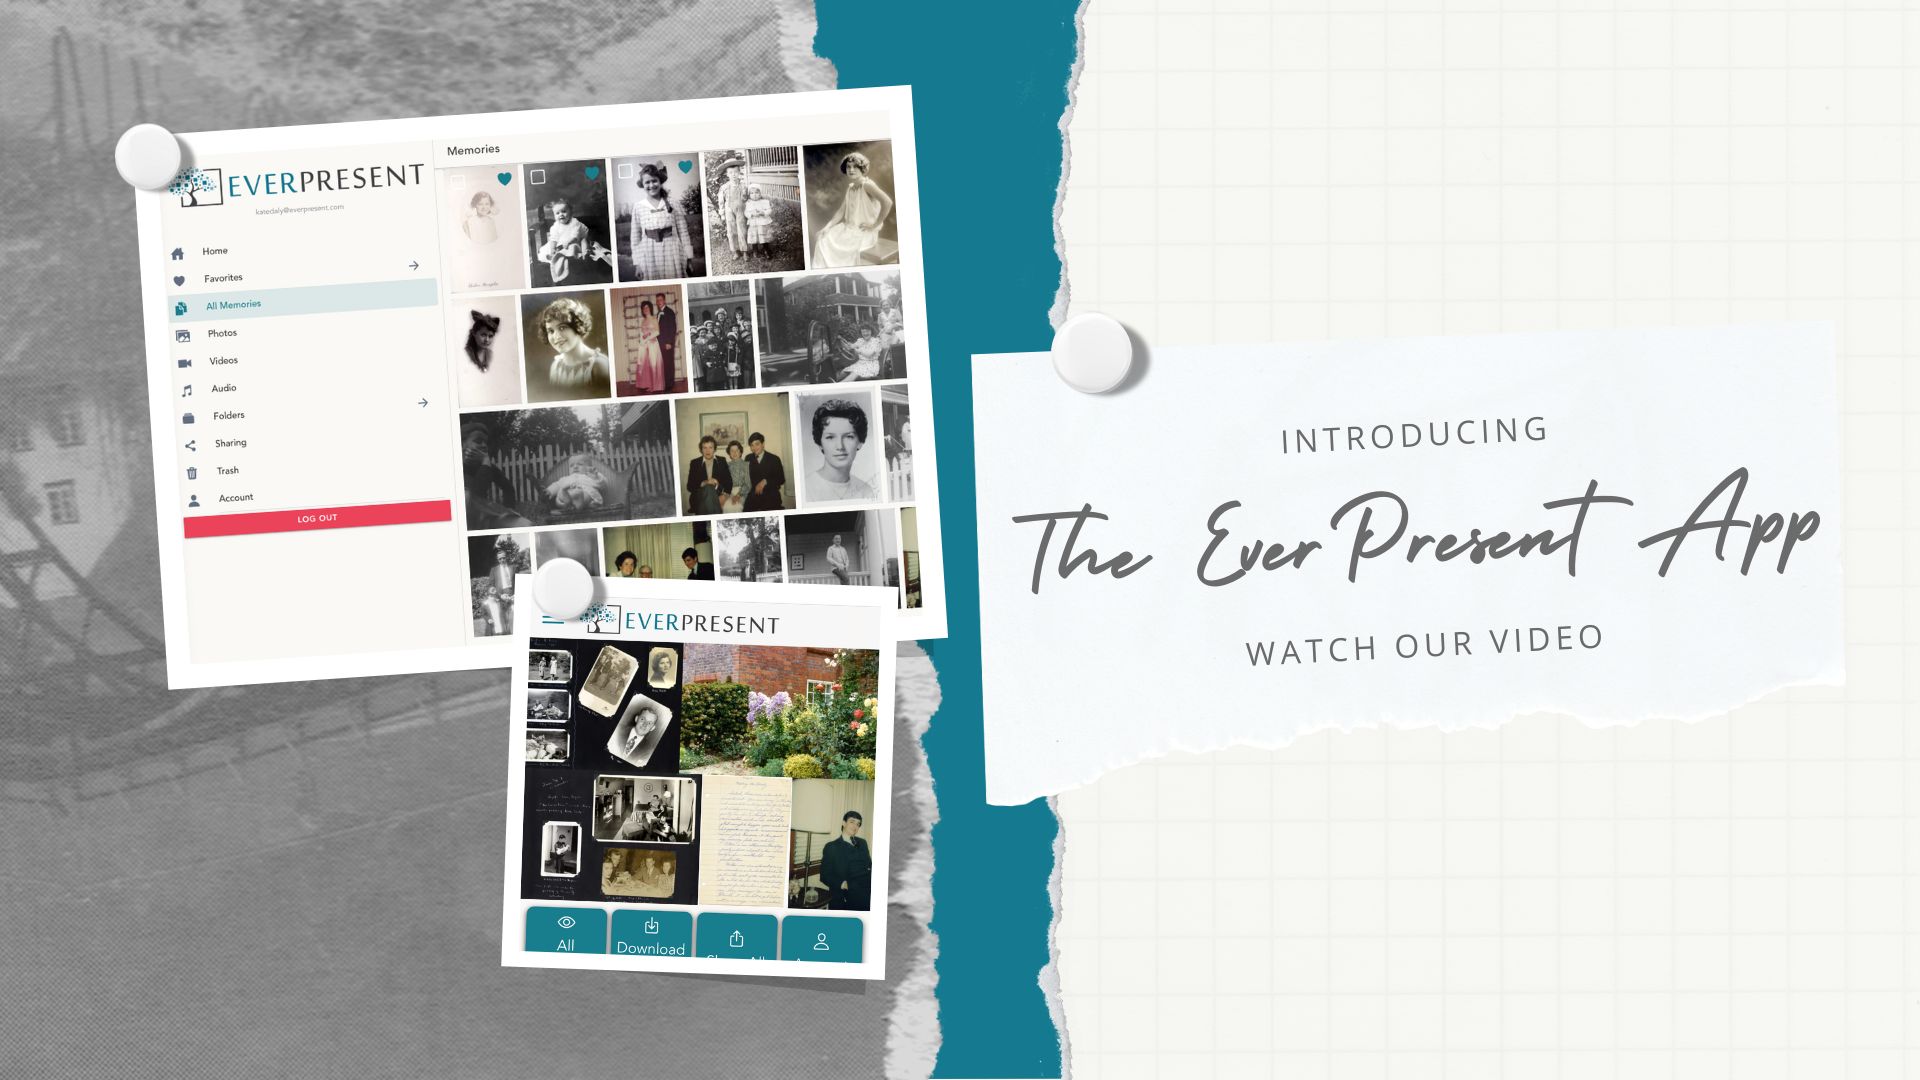
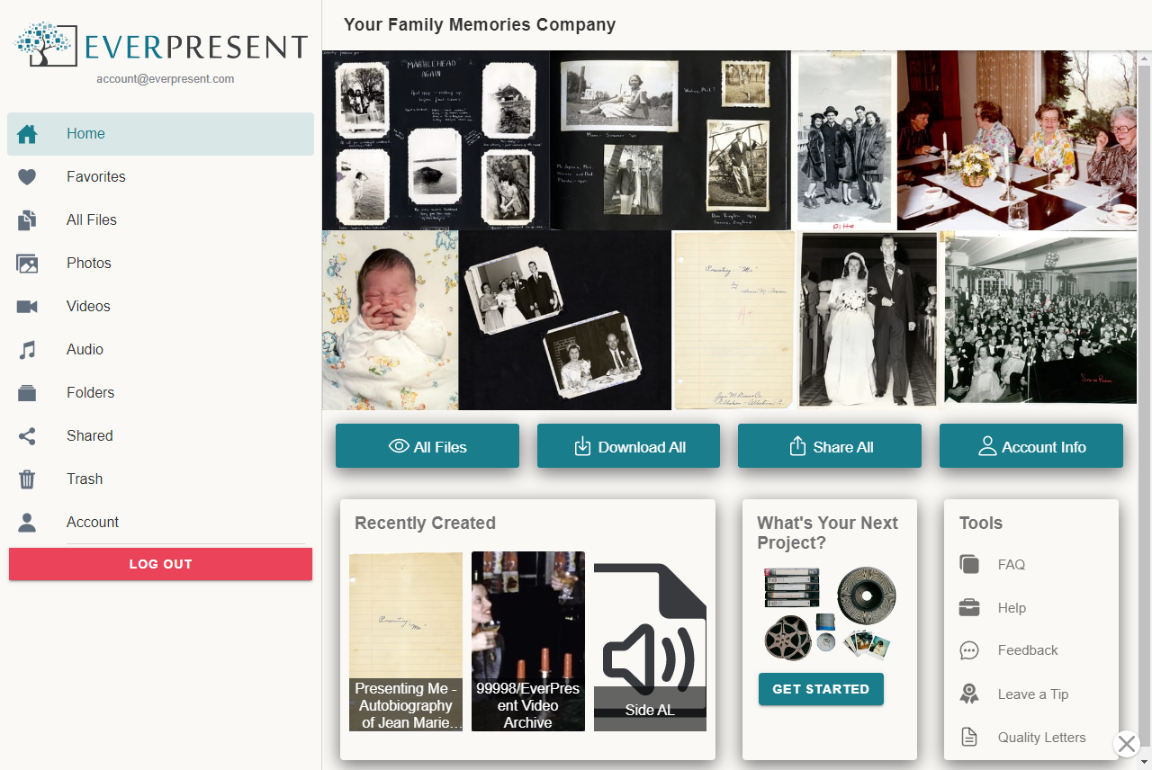
 The app homescreen is the overview of everything you can do in your app. The left hand menu is where you access your files, folders, favorites and more. The buttons on your homescreen give you quick access to download and share and the Toolbox is a one-stop shop for anything else you need from EverPresent while in the app.
While your project is being digitized you’ll receive an email invitation to the email address we have on file for your project. You can register and create your login. The EverPresent app is available on desktop, tablet and mobile for iOS and android so you have three easy ways to register. The process only takes a few minutes! Using the same email we invited, create a password, verify your email and you’re done. View our walkthrough on signing up here.
When your project is complete, we’ll let you know that your files are ready to view after you log in. The link to log in is the same to sign up if you’re on a computer, or you simply open the app you’ve downloaded on your phone or tablet. View our walkthrough on signing in here.
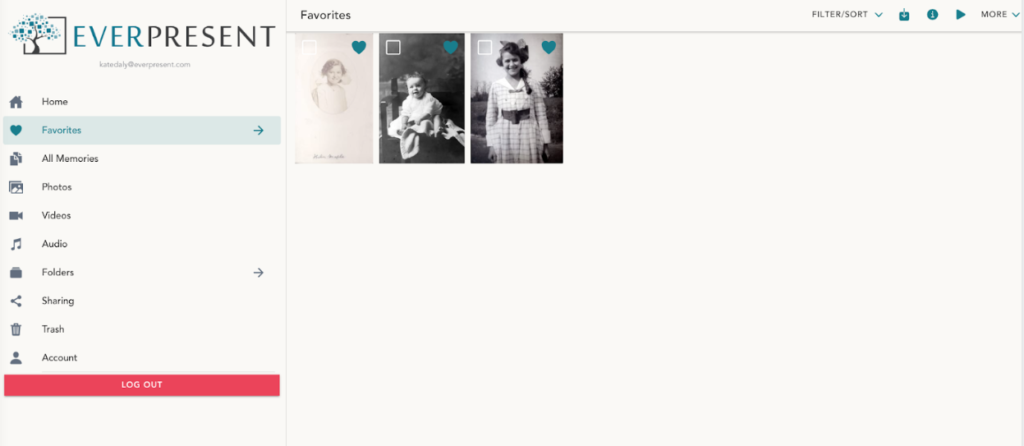
Our “Favorites” feature gives you a quick and easy way to highlight the memories you love the most so you can easily access them. When you select the heart icon in the top right corner of any file, it automatically adds it to a “Favorites” folder in your account. When you go to the Favorites link in your menu, you will only see all of the files you have ‘favorited’.
 There are two primary ways you can share files with the app, Invite Account User and Share Outside App.
- Invite Account User sharing means you are inviting someone to sign up with their own access to your archive on our app. You’ll provide their email address and whether or not you’d like them to be a “viewer” or an “editor”. Giving them editing privileges means they can change file names, create folders, favorite, etc in the same way you can. You can give direct access to your whole archive, or only certain folders. You can view a complete walkthrough of how to directly share your whole archive here.
- Share Outside App sharing means you are creating a publicly accessible link to your whole archive, a certain folder, or only a handful of photos. It depends on what you are deciding to share. Once the public link is created, anyone who has access to the link can view the files you’ve attached to it. You can view a complete walkthrough of how to publicly share your whole archive here.
- When you share via Share Outside App it will give you the option to share on Facebook instead of sending someone the link directly!
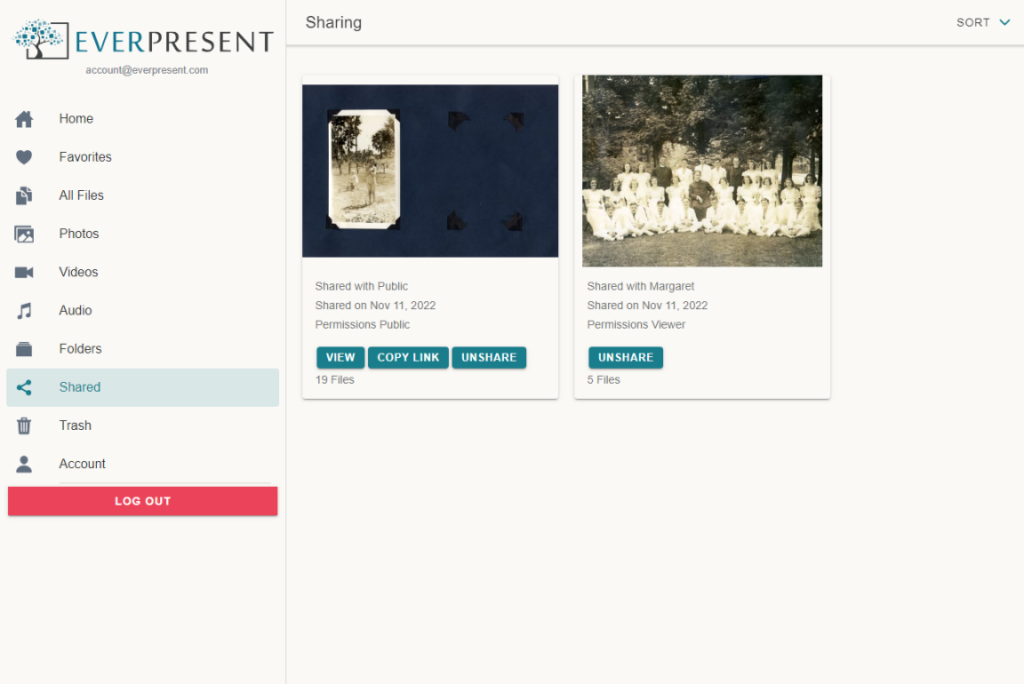
- You can unshare a public link at any time from your “Shared” tab of your menu. View a complete walkthrough of unsharing here.
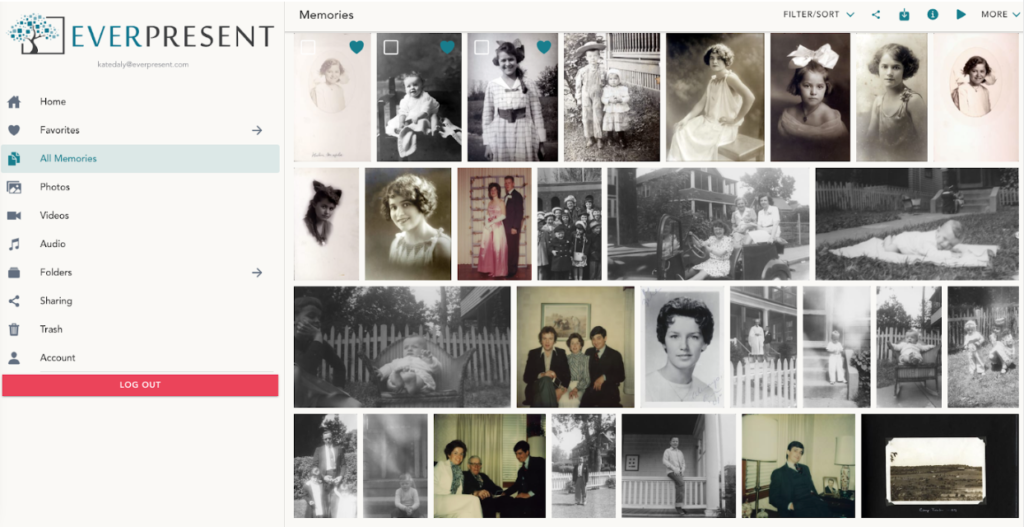
All Files is a view of everything in your archive as individual files. By default, your view will be sorted in alphabetical order by filename. This includes all the photos, videos and audio memories that you have.
In this view, there are many things you can do: share, download, edit filenames, edit descriptions and even play everything as a slideshow!
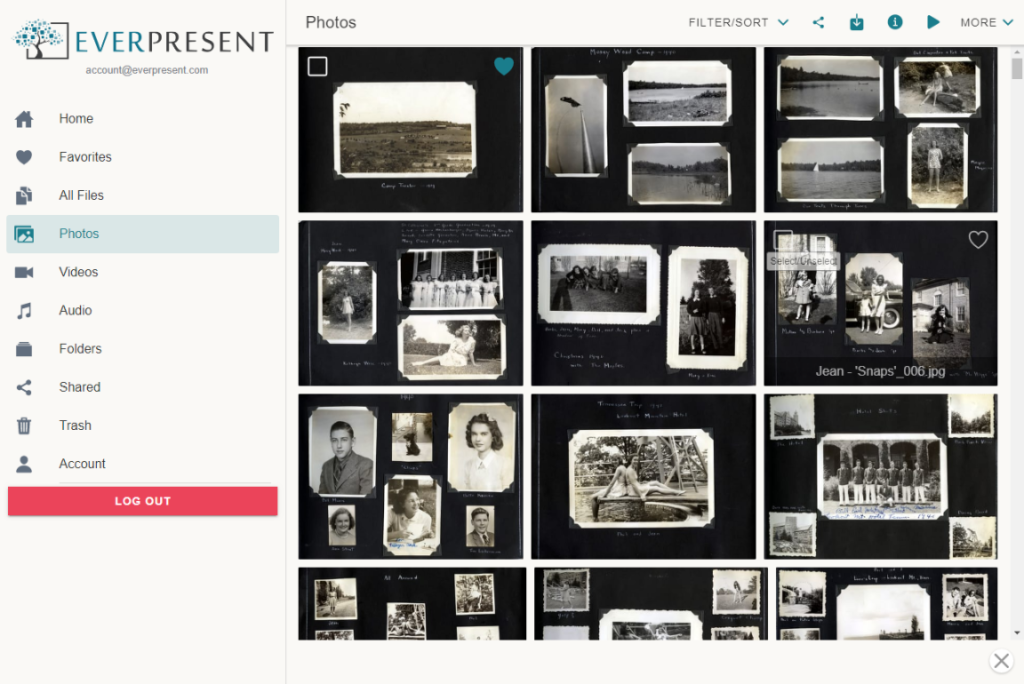 Photos is a compilation of all the image files in your archive. Printed photos, slides, negatives, photos in albums, etc, can all be found here. By default, your view will be sorted in alphabetical order by filename. If you have not done scanning with us there will be no files in this section.
In this view, there are many things you can do: share, download, edit filenames, edit descriptions and even play everything as a slideshow!
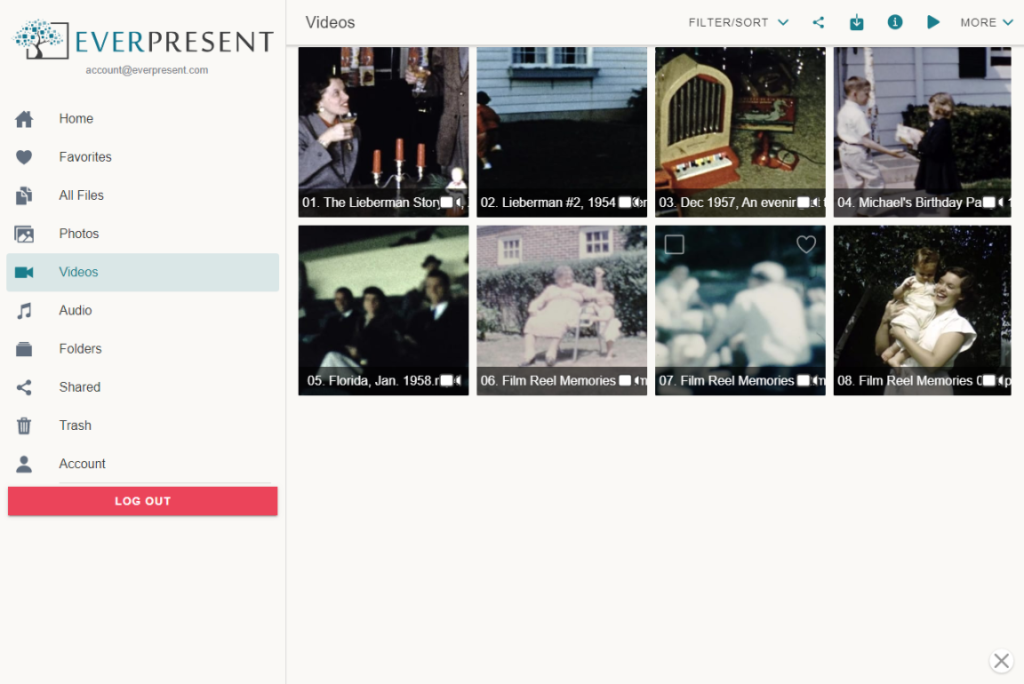 Videos is a compilation of all the .mp4 video files in your archive. Video tapes, film reels, DVD transfers, etc, can all be found here. By default, your view will be sorted in alphabetical order by filename. If you have not done home movie transfers with us this section will be empty.
In this view, there are many things you can do: share, download, edit filenames, edit descriptions and even play everything as a slideshow!
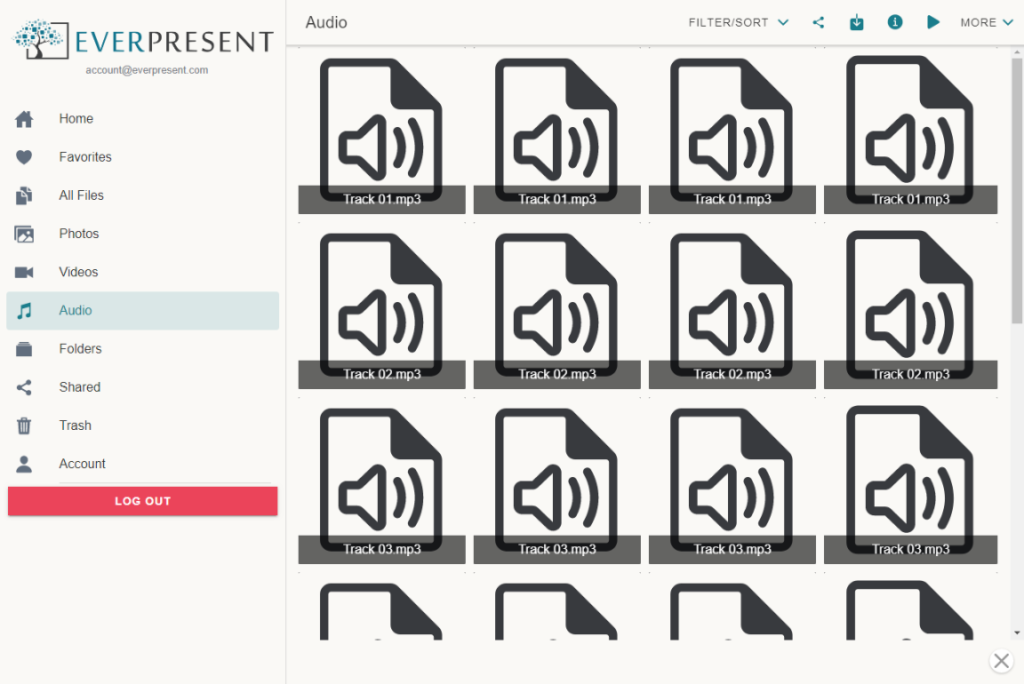 Audio is a compilation of all the .mp3 audio files in your archive. Audio cassettes, audio reels, vinyl records, etc, can all be found here. By default, your view will be sorted in alphabetical order by filename. If you have not done audio transfers with us this section will be empty.
In this view, there are many things you can do: share, download, edit filenames, edit descriptions and even play everything as a slideshow!
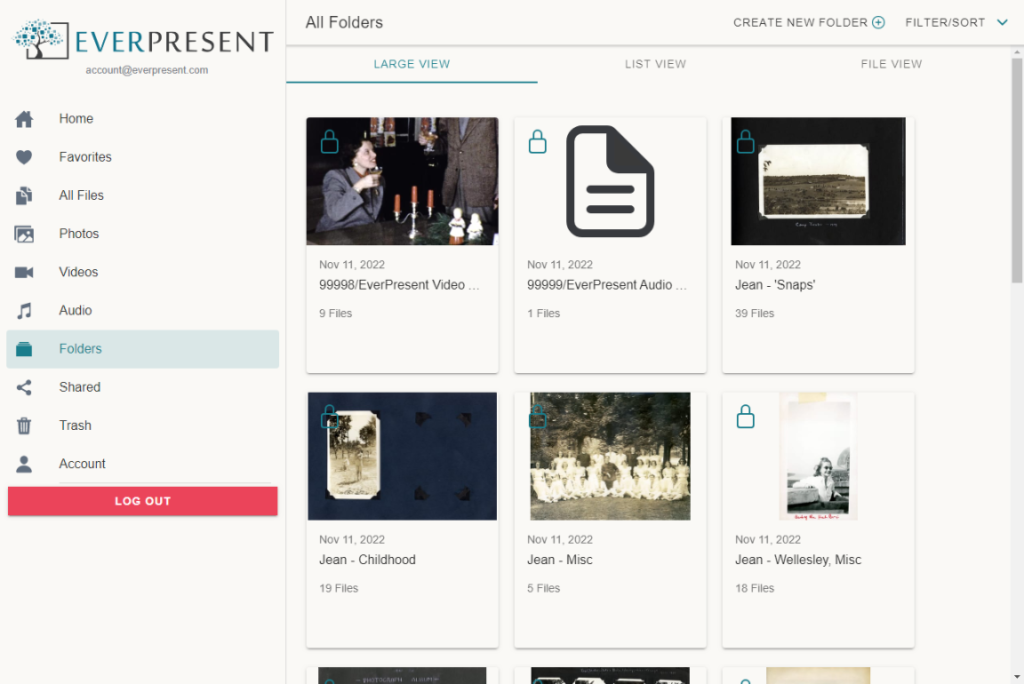 All of our archives are organized in folders. Your Folder view shows you every folder in your archive. You will either have one folder, or several, depending on how your items were organized when you gave them to us. By default, your view will be sorted in alphabetical order by folder name. You can click to open each folder and the files it contains.
In this view, there are many things you can do: create a new folder, favorite folders and view everything in each folder.
There are two easy ways to create folders. Create an empty folder in FOLDERS: If you know you plan to review your archive and look for certain photos, you can create a folder ahead of time that you can save photos into as you find them. View a complete walkthrough of creating an empty folder here.
Create a folder after selecting your files in ALL FILES / PHOTOS / VIDEOS or another file view: You can create a folder as needed when you have files selected by using the top right menu. View a complete walkthrough of creating a new folder with files selected here.
You can only delete folders that you have created. If you delete a folder, the files inside of it remain in your library where they were originally.
“Shared” is where you can see a record of what files you have shared with others via the app.
If you created a public link to share a folder on Facebook, or shared a folder privately with family – you’ll see both here!
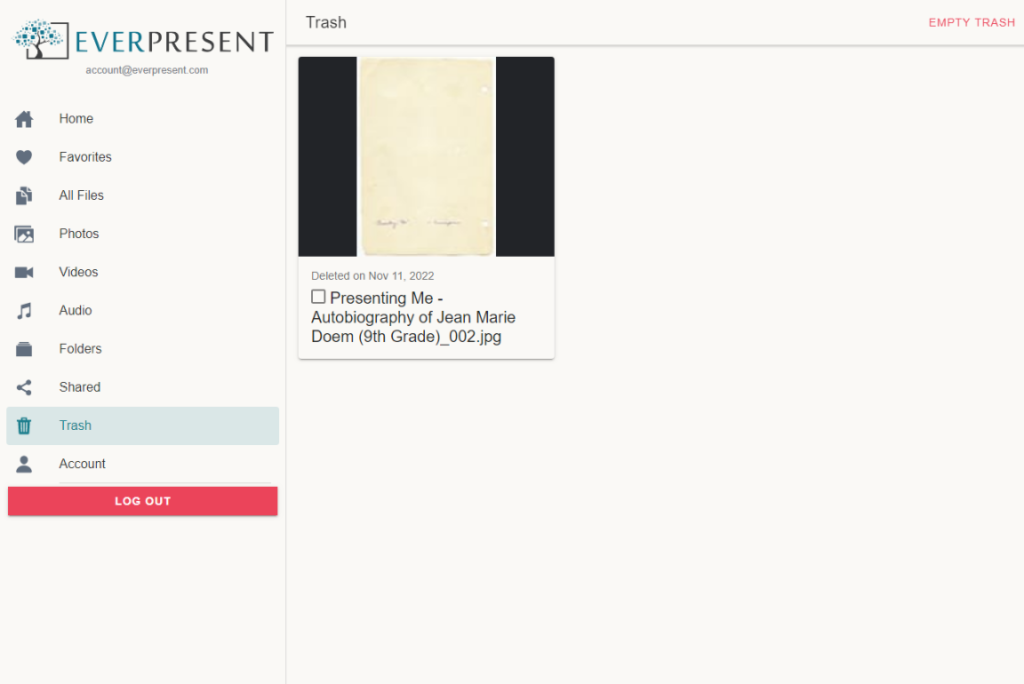
Trash is where all of your unwanted files live. If you decide you would like to remove files from your archive, you can select them and trash them. You are only deleting files from the app, not the original archive we have at EverPresent.Your files will also still remain on any USB or DVDs that you ordered!
If you accidentally trashed something, no need to worry! Nothing is permanently deleted until you delete them from the trash. Learn how to restore your files here.
Account is where all of your personal details live. The name and email address we have on file and connected to your unique customer number are listed here in addition to the expiration date of your access to the app. You can do two things in your account page with your personal information; update your personal information and change your password.
The email address associated with your account cannot be changed within the app because it is how we link your account to our system! If you’d like to change the email address we have on file for you, please fill out our support form.
You can download up to five images directly to your desktop, either one at a time or altogether. More than five files will be compiled into an email with ZIP file and direct download links, and be emailed to the address attached to your account. Videos are provided as direct download links. These links will all expire after 1 week. If you need to download the files again after 1 week, request the download from the app again and you will receive new links.
When you receive the email, download the zip folder to your computer. Most browsers default to the Downloads folder on your computer so that is the first place you should look to open the files! View our tutorial on expanding your zip folders here.
Please note that a zip folder cannot be downloaded to a mobile device. If you’re sharing to family members’ phones please send <5 files at a time. Any download requests for more than five files will send the zip folder to the email address on file to be forwarded.
Of course! The great thing about your archive is there’s no limit to how many people can access it or see all of the files you’ve shared with them. You can either share your username and password, share the archive with them directly so they can sign in with their own username and password, or send them a public link.
There may be a few reasons why you’re having issues with accessing your archive.
If the expiration date of the archive has passed, then the archive will no longer be visible to you or anyone you’ve shared with. You can renew your membership access by filling out our support form.
Another reason may be that our team hasn’t uploaded your archive yet. It takes some time for our team to digitize, do quality checks and upload to your archive.
If you continue to have issues that are not listed here, please send us a troubleshooting request.
Not at all! The great thing about our online archive is that anyone can access through their web browsers, on their phone, tablet or computer.
Written Instructions: When you are in the folder you want to share go to the “More” menu at the top right and select Share entire folder. Then choose the way you want to share and follow the steps.
Click the button to play a quick video on how to text files.
Written Instructions: Select the file you want to text by tapping on it until a small box appears in the top left corner and tap again to check the box, then select the word “Share” at the top of the screen. Select Share Outside the App and it will open the ability to share via text or on other apps on your phone. Select the text message app on your phone and add the person you want to text the file to. Please note, we do not recommend sharing more than a couple of files at once as they are quite large.
Click the button to play a quick video on how to download files.
Written Instructions: First select the All files button on the home screen. Then tap on the files you want to download and a small box will appear in the top left corner of that file. Tap again to check the box. When you’ve selected the files you want, tap on the icon at the top with the box and arrow to download your files.
Click the button to play a quick video on how to change your account name.
Written Instructions: Open Account info from the home screen. Select Rename account. Change your account name to the desired name.
Click the button to play a quick video on how to rename a folder. NOTE: YOU CAN ONLY RENAME A FOLDER THAT YOU CREATED, NOT ONE THAT WAS CREATED BY EVERPRESENT. This is in order to preserve the integrity of our database.
Written Instructions: When you are in the folder go to the “More” menu at the top right and select Relabel Folder. Type the new name for the folder. Please note this can only be done on folders you have created
Click the button to play a quick video on how to display and hide captions.
Written Instructions: When you viewing photo folders, files or favorites select the small “i” icon on the top and choose Show Captions or Hide Captions
Click the button to play a quick video on how to create a folder.
Written Instructions: First select the All files button on the home screen. Then tap on the files you want to download until a small box appear in the top left corner of that file and tap again to check the box. When you’ve selected the files you want in the folder, select the word “More” at the top and select “add selected to a folder.” Choose “Create a new folder” and type in your desired title. Then hit “Create Folder.” To see the folder that you created, select the menu or 3 lines at the top left and go to your folders view
Click the button to play a quick video on how to delete and restore files.
Written Instructions: Select the files you want to delete by tapping on them until a small box appears in the top left corner of the file and tap again to check the box. Then select the word “More” in the top right and select Trash. Confirm that you want to trash the selected files. To restore deleted files you will select the main menu in the top left, the 3 bars and go to your trash. You can restore files from your trash or permanently delete them there.
