

You should transfer digital photos to PC and Mac computers on a regular basis. Videos, too.
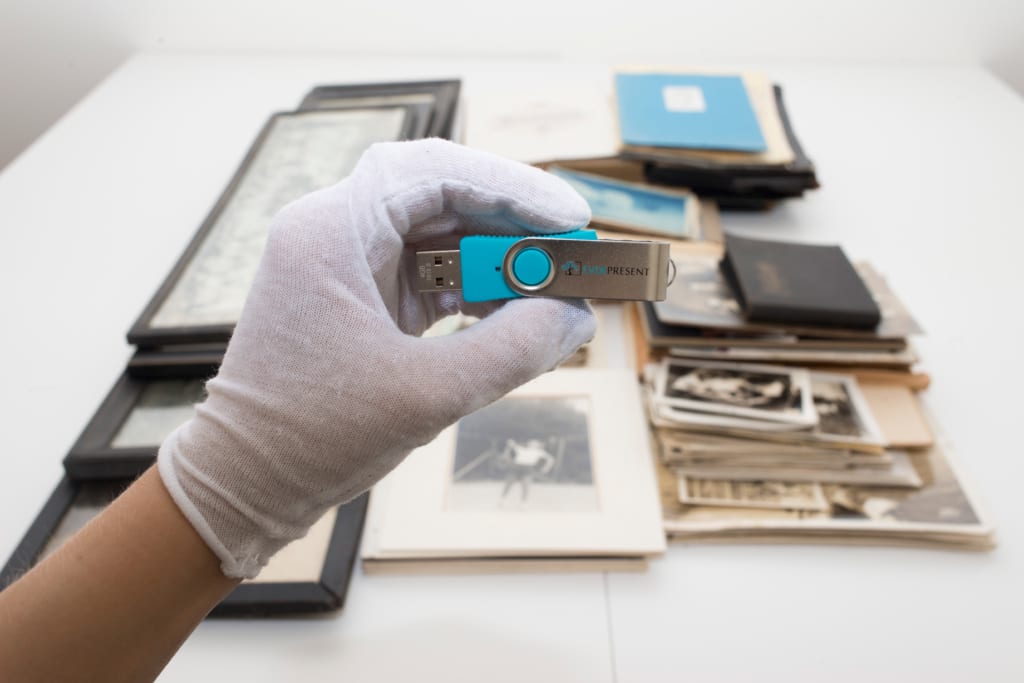
While DVDs and thumb drives are handy for storage, you can also back up digital photos to a computer for easy organizing. This post shows you how to open a USB flash drive and transfer digital photos to Mac and PC.
How to Open a USB Flash Drive
Before files can transfer from USB to Mac or PC, you’ll need to open the flash drive on your computer. Follow the steps below; they also work for DVDs and any connected SD card readers, smartphones, or digital cameras.
Connect USB Drive to PC
- Plug the thumb drive into a USB port on your computer (check the front, back, and sides of your computer for a USB slot)
- A window titled AutoPlay should pop up on your monitor
- If the AutoPlay window appears:
- Click Open Folder to View Files
- A new window should pop up to show all main folders and loose files on your thumb drive
- If the AutoPlay window does not appear:
- Click the Windows icon at the bottom left of your screen to open the Start menu
- Find and click Computer in the Start menu, and a new window should open
- Look under the section titled Devices with Removable Storage to find your USB drive
- Double-click on the icon for your USB drive to open it
- The window should now show all loose files and main folders on your flash drive
IMPORTANT: Eject your thumb drive before removing it!
Connect Thumb Drive to Mac
- Insert the flash drive in a USB slot on your laptop or desktop (check the front, back, and sides for a USB port)
- A new icon for the flash drive should appear on your screen
- If a new USB icon appears:
- Double-click the icon
- A new window with all the main folders on your flash drive will appear
- If a USB icon does not appear:
- Click the Finder icon near the bottom of your screen to open a new Finder window
- Find your USB drive from the Locations section of the left-hand panel
- Click the name of your thumb drive to view its contents in the right-hand panel
- The Finder window should display all the top-level folders and loose files on your memory stick
IMPORTANT: Eject your thumb drive before removing it!
How to Eject a USB Drive
You can ruin a thumb drive and lose the files it holds by removing it from your computer too early. Ejecting a memory stick from your computer stops all data transfers so nothing gets corrupted or scrambled when you physically disconnect them.
To Eject a Thumb Drive from Mac:
- Open a Finder window
- Locate your drive from the Locations section of the Finder window’s left-hand panel
- Click the Eject icon
- Wait for a notification that you can safely remove flash drives from Mac computers
To Eject a USB Flash Drive from PC:
- Open Windows Explorer
- Find your thumb drive listed under Computer in the left panel of the window
- Right-click on the name of your flash drive to see an options menu
- Find and click Eject from the options menu
- Wait for a notification that you can safely remove flash drives from PCs
Still can’t eject a thumb drive from your computer? Make sure you aren’t viewing or editing anything from that drive in another window. You might not be able to eject until those windows are closed.
Transfer Digital Photos to PC and Mac Computers

Once you’re plugged in and set up, you can transfer digital videos and photos to your computer. Get familiar with these file management best practices first:
- Transfer your files to a central, easy-to-find location on your computer (i.e. a folder on the Desktop or Home screen). Avoid burying files in an obscure folder or multiple locations where you won’t be able to quickly find them again.
- Copy files, but try not to Move them from the source or Overwrite anything in the destination at first. Keep the original files and backup copies until you’re sure you don’t need them anymore.
- Create a folder structure that you can keep adding new media to. It’s helpful to create folders for each year your photos are from, then making more specific folders for smaller groups of images that fit inside the broader year folders.
With these ideas in mind, let’s copy files from USB drives to PC and Mac:
- Open the thumb drive on your computer (the section above shows you how)
- Right-click on the folder or file you want to transfer to your computer
- Find and click Copy from the drop-down menu
- In a second Windows Explorer (for PC) or Finder (for Mac) window, navigate to the folder you want to copy digital photos to. The destination could be your Desktop or a new folder titled something like Media Library.
- Right-click on the destination folder
- Find and click Paste from the drop-down menu to start copying media to your computer
NOTE: The actual file transfer process might take a while if you have a lot of digital photos of long videos. If a status bar pops up mid-transfer, wait for it to finish.
Transfer Digital Photos to Computers Early and Often
Families spend years, decades, even generations planning to organize their photos and home movies. But life happens, and most families don’t get around to putting these plans into action. Try to copy new photos and videos to your Mac or PC as soon as possible.
Even if you haven’t digitized your aging media with us, it’s never too soon to transfer your digital photos to a computer. We can help with that, too – get in touch to find out how!