
How to Prepare for a Slideshow Project
Topic: What happens from start to finish with an EverPresent slideshow, from initial contact to premiering at an event.
Welcome! In this blog post we will show you how we prepare a slideshow project. Whether you’re planning a wedding or a birthday surprise, adding photo memories to your event is the perfect way to celebrate, reminisce, and tell a story for years to come.
1. Slideshow Project Preparation
The first and most important step of the slideshow process is to choose your photos! Before delivering your photos to EverPresent, it’s key to organize in the order you’d like them to appear in the final video. This is an important way to use the photo order to tell a story, and there are multiple organizational styles listed below to keep in mind as you sort. You’re more than welcome to contact EverPresent for an initial consultation and tailored advice before getting organized. Note that this can affect your turnaround time and may incur additional fees for multiple consultations.
Chronological
- EverPresent’s highly recommended method is to sort the photos in chronological order. This will help to create a seamless story arc, especially if you’re celebrating a timeline. We find chronological is usually the right foundation for wedding or anniversary slideshows. This is also ideal for slideshows with 150 or fewer photos.
- Popular systems for wedding slideshows to follow are:
- Bride childhood section/ groom childhood section/ bride & groom together section
- Alternate childhood photos (bride/groom/bride/groom) to show them growing up simultaneously. This is a great time to find matching photos of the couple doing the same activities during childhood to display on the same slide!
By Category
- If your subject matter is a bit more complex, you have lots of photos, or you see obvious themes emerge, creating distinct chapters is the best option. When commemorating a single subject like a birthday or memorial, combining similar topics is our top recommendation. Common categories include: childhood, family, siblings, love/marriage, friends, children, work, sports, hobbies, travel, school, college, pets.
Random
- If you’re not looking for a specific order, feel free to scatter photos randomly. This can be a helpful method if you have lots of unique photos and plan to play the slideshow looping in the background of your event, like throughout a wedding reception or during a memorial service. It’s a fun option to intersperse randomly if you’ve received a mix of photos from multiple sources. Guests can stop in and see different moments throughout the night. We generally don’t recommend this method for shorter slideshows, where a storyline tends to naturally form.
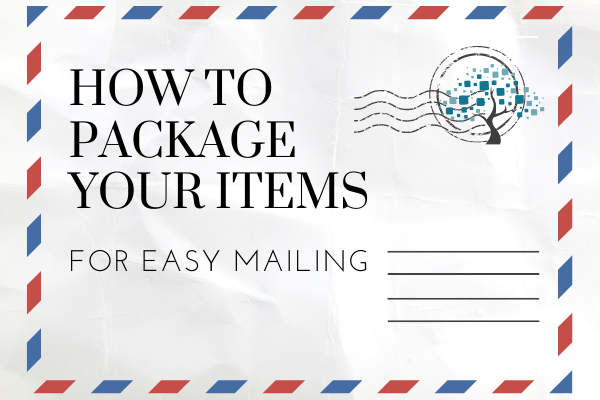
As you gather your photos, create a system that works best for you to relay the order to our team, such as writing a number (in pencil, not dark pen!) on the back of each photo or placing them in labeled plastic bags. If your photos are digital, caption the file names numerically: 001, 002, 003, etc. to resort.

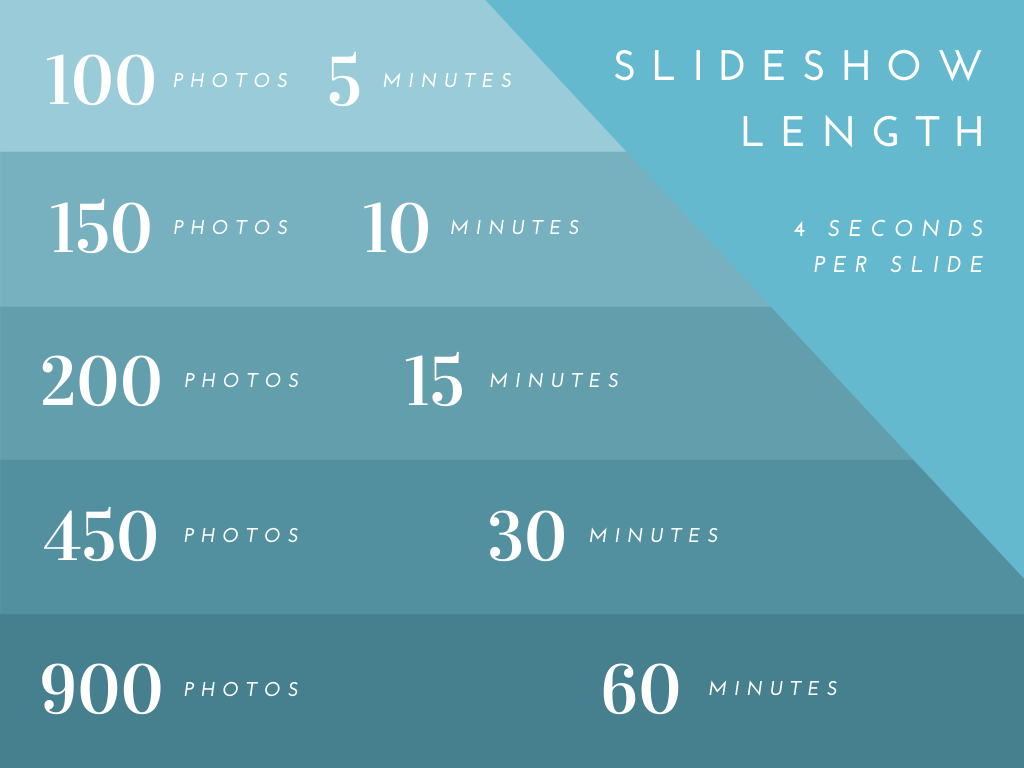
Having trouble narrowing down your photos? A helpful starting place is to plan how long you’d like your slideshow to last. We allow each photo to display for four seconds, and recommend a 5-10 minute slideshow, which will keep your audience engaged from start to finish.
Consider our design team’s guidelines when deciding between photos:
- Candid, action shots are better than posed portraits.
- Photos from the same event/holiday can be narrowed down.
- Low-light images will look as dark or darker when projected.
- Faded and grainy pictures are not ideal.
- Large group photos or long-distance shots can be hard to see.
- Photos of people are much better than scenery.
- Avoid hospital pictures. Opt for warm, friendly settings!
- Limit baby shots in general. It can be hard to tell who’s who.
- Horizontal photos fill the screen better than vertical ones
- Watch out for scanned matte photos– they might look hazy or snowy because of their texture.
- Just say no to school photos!
Add videos!
An even more personal story can be told through a slideshow with video. The three best ways to incorporate video content are from:
- Your phone’s digital video archive
- Family DVDs or video tape collection
- Film reels
EverPresent will digitize your collection, and you’ll have the opportunity to review the transferred footage to select specific clips. This is also a great time to digitize all of your analog 8mm film and camcorder tapes for safekeeping. Record new video messages to send warm wishes to a recent grad, give advice to the newlyweds, or send off a retiring colleague (remember to hold the phone horizontally!). We will edit together all of the clips you’ve collected to create a sentimental video montage among the photo slides.
2. Contact EverPresent
When reaching out to EverPresent to start your photo montage project, it’s helpful for us to learn the basics:
- What’s the occasion? Let us know what or who we’re commemorating.
- When is the event? Slideshows take a minimum of three weeks to create, and it’s never too early to get started. The more time to prepare, the better!
- What is the current state of your photos? If you have prints, albums, or slides, how will they be digitized? EverPresent has in-house professional scanning technicians to help with this step. We offer high resolution, TIF files, and image enhancement services to prepare your scans for display. Let us know if you’ll be scanning with a different method to better understand your timeline. You can also gather digital photos onto a USB or digital folder on your device. Let us know approximately how many photos you plan to use.
- How will you be displaying your slideshow? Your delivery method can potentially affect the deadline. Do you need multiple copies of DVDs, USBs, or a digital link only?
Our team will provide general pricing based upon the information above, and we’ll connect you with a personal design consultant. Reach us here!
3. Meet with Your Design Consultant
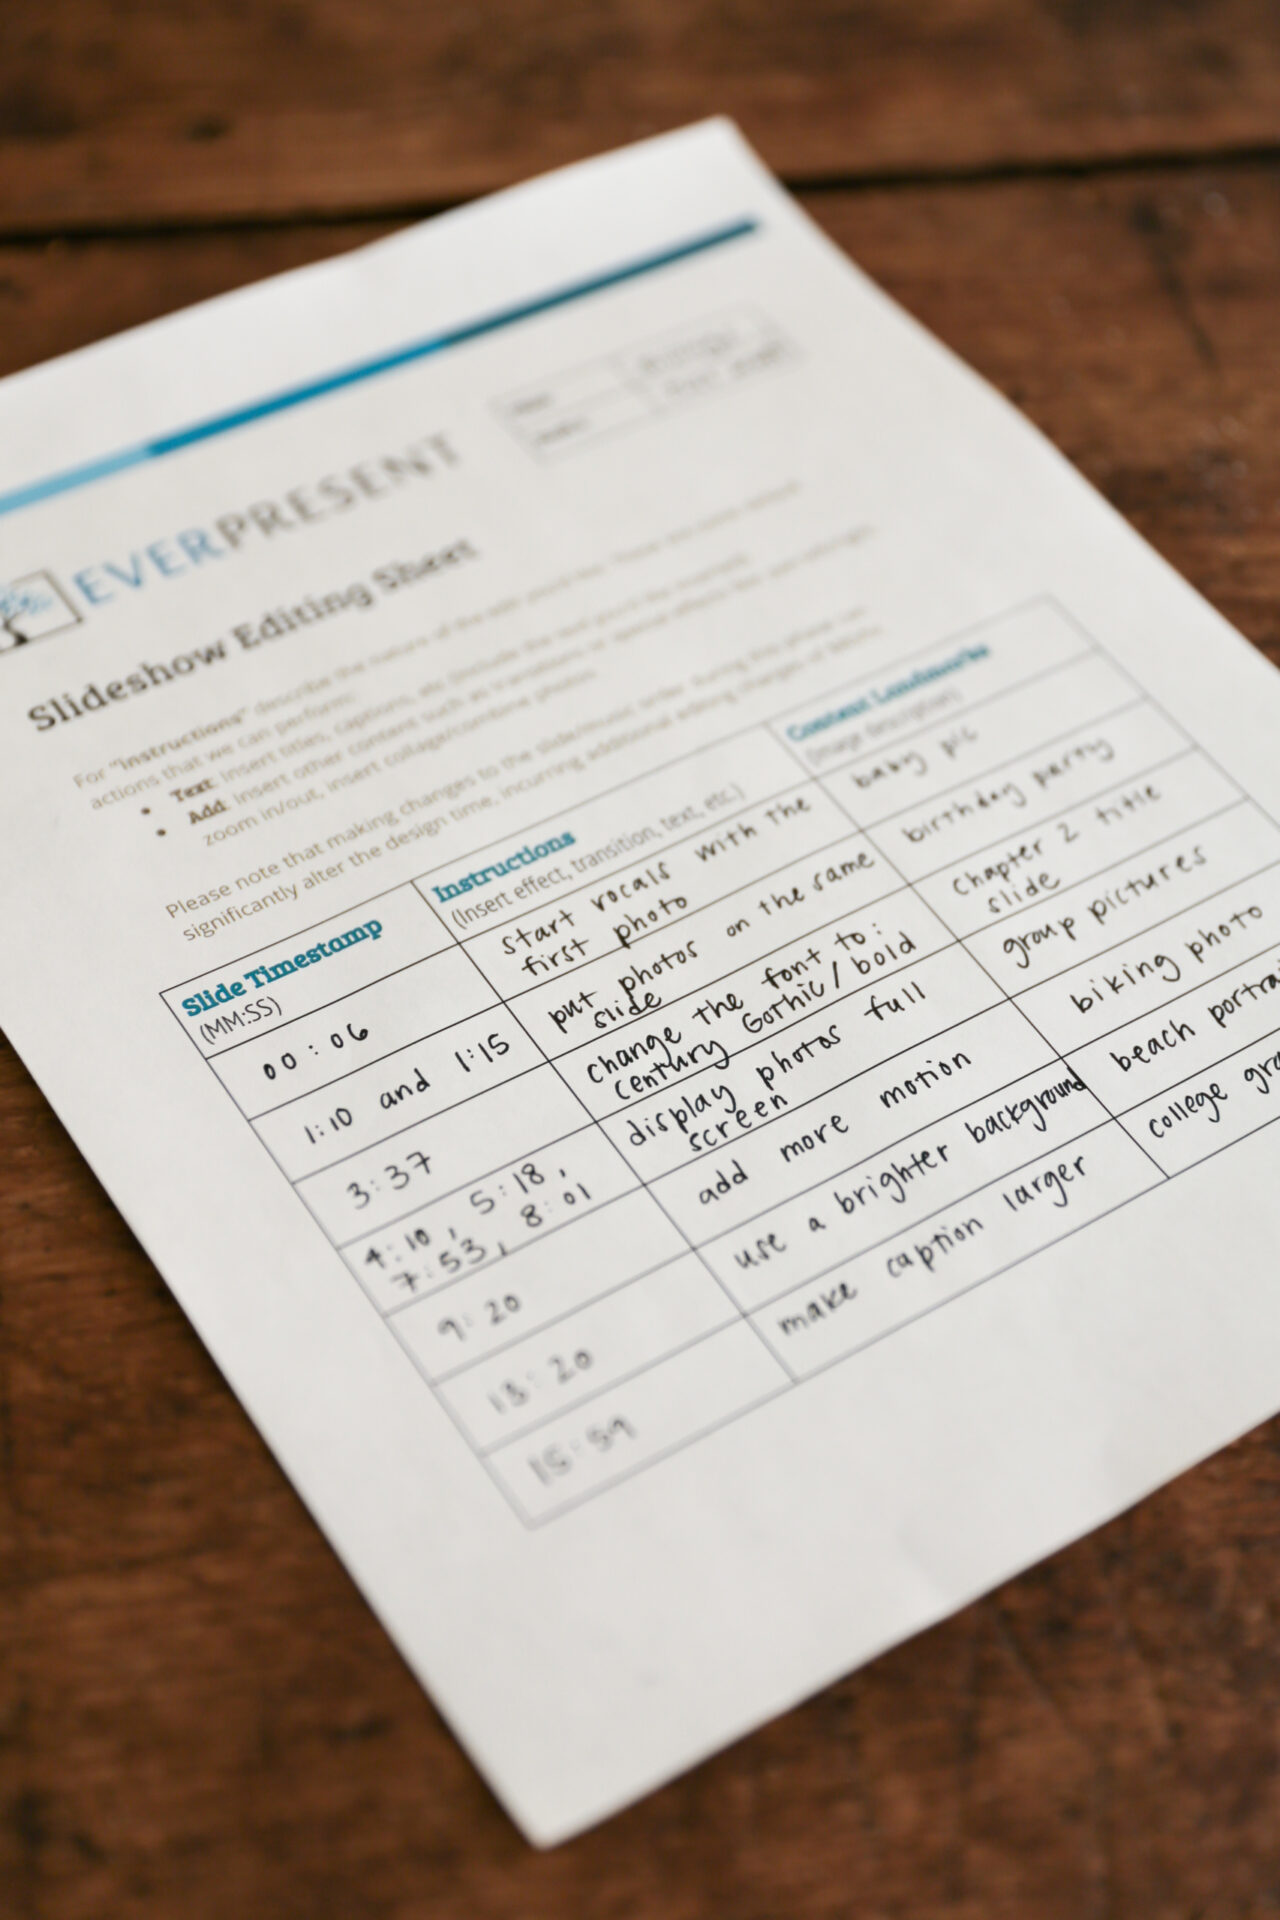
Your dedicated consultant will reach out to schedule a consultation in person or over the phone to discuss all of the details of your project. In advance of the meeting, you’ll receive a Slideshow Checklist to be sure we have everything we need to get started. Our designers will add as much creativity to the slideshow as possible, but we’ll need to get to learn the story from you first! To make the video authentic to your family, the event, or the guest of honor, this checklist will relay your ideas to our design team.
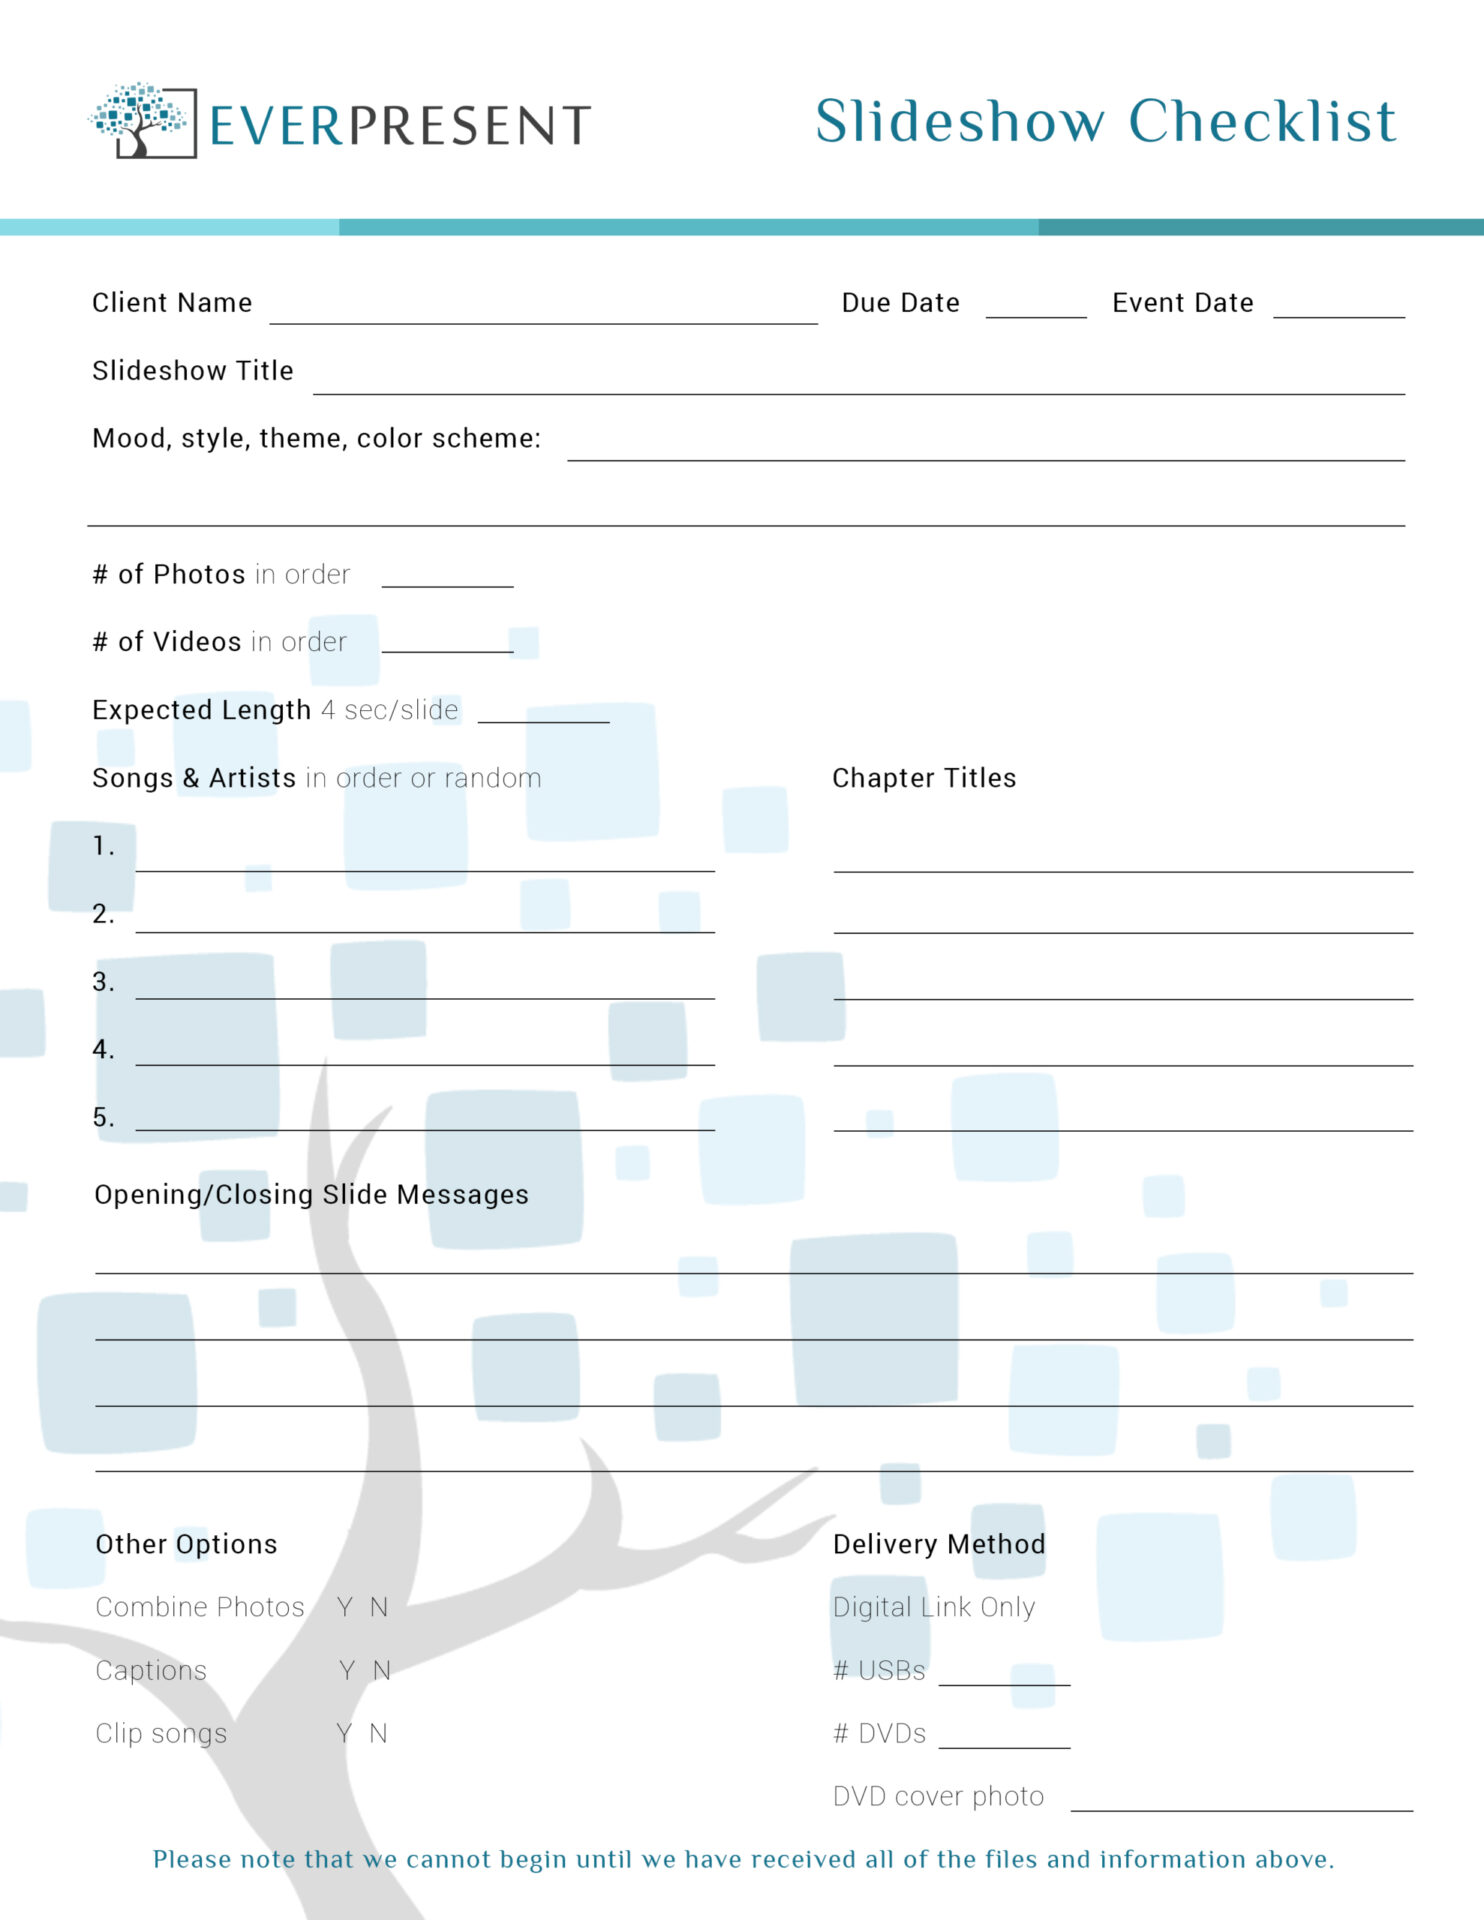
Here are helpful tips for filling in your checklist:
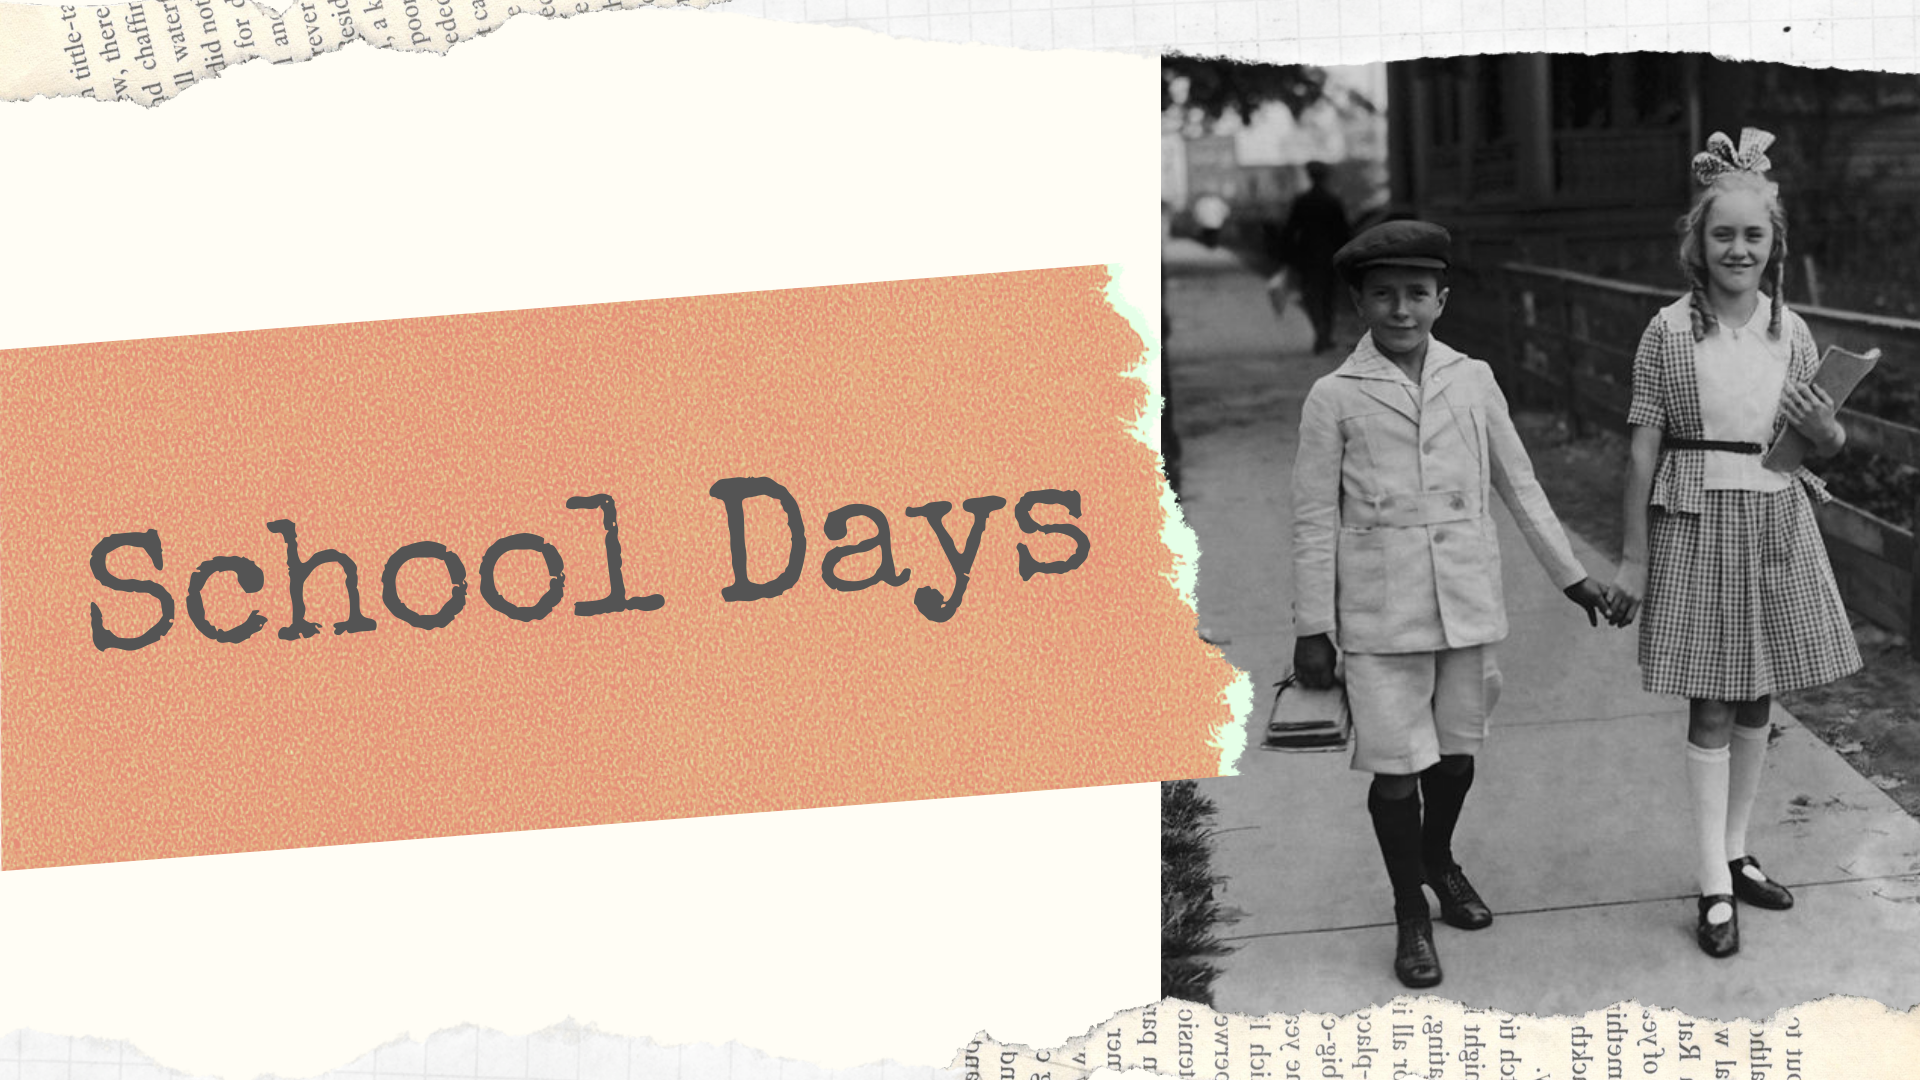
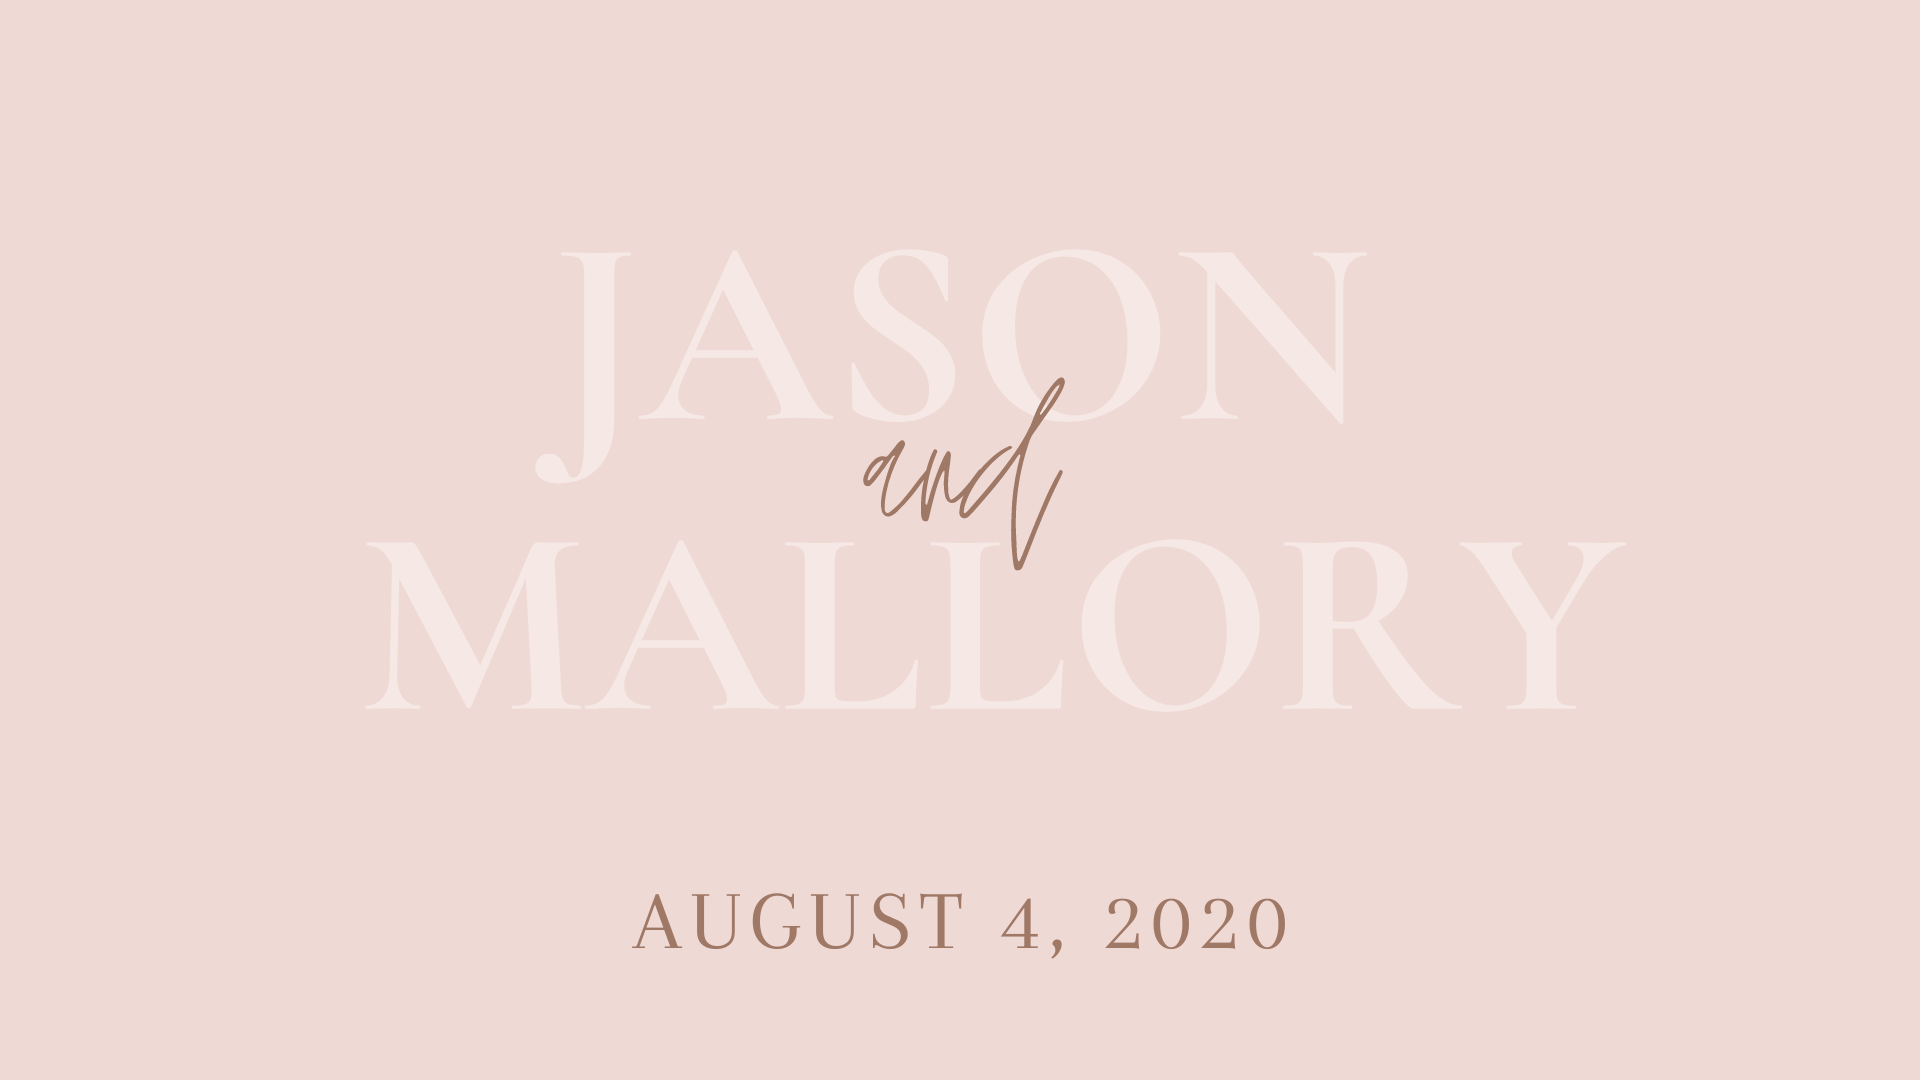
Slideshow Project Theme
- Note the theme, color scheme, or mood you’re hoping to achieve. It’s important to know your audience; for example, have a fun, upbeat mood with a bat mitzvah slideshow, but keep a wedding slideshow elegant and formal. Try to make the slideshow timeless; what’s popular today might seem outdated years from now! We have multiple background styles to choose from, and you can preview the options below. We’d love to incorporate any personal design elements like the wedding website or company logos.
Looking for something specific?
Slideshow Project Music
- Music transforms a simple montage into an emotional mini-documentary. Be sure to choose timeless music that your honored subject would approve of, or ask for their favorite songs! It’s great to align each section with a themed song, for example, the sports section with “Eye of the Tiger” or the childhood section with “Forever Young”. List specific songs and artists on your checklist and make sure there are enough tracks to match your photo length (refer to the timing chart above). We have compiled a list of our favorite songs to inspire your slideshow with music for all occasions:
Download our Wedding Song List (.pdf)
Check out sample playlists on Spotify:
[su_row]
[su_column size=”1/2″]
[/su_column][su_column size=”1/2″]
[/su_column][/su_row]
Special Messages
- Add text to emphasize special messages to the audience. Commonly, an introductory and closing slide are great places to introduce the occasion and conclude the story. Develop a caption list if you’d like to note names, dates, places, or even jokes with specific photos, and it’s best if this list is typed digitally so that we can copy and paste your spelling. We also encourage elaborating on section titles by utilizing song names or adding quotes. The childhood slide can read “Forever Young” or “Always keep the simple and loving heart of your childhood. – Lewis Carroll.” You can also add more personal words through recorded voiceovers or videos.


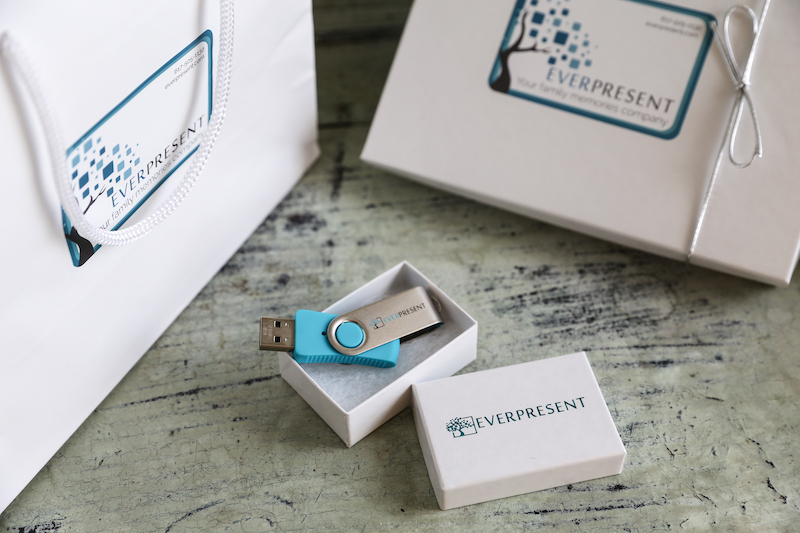
Delivery Method
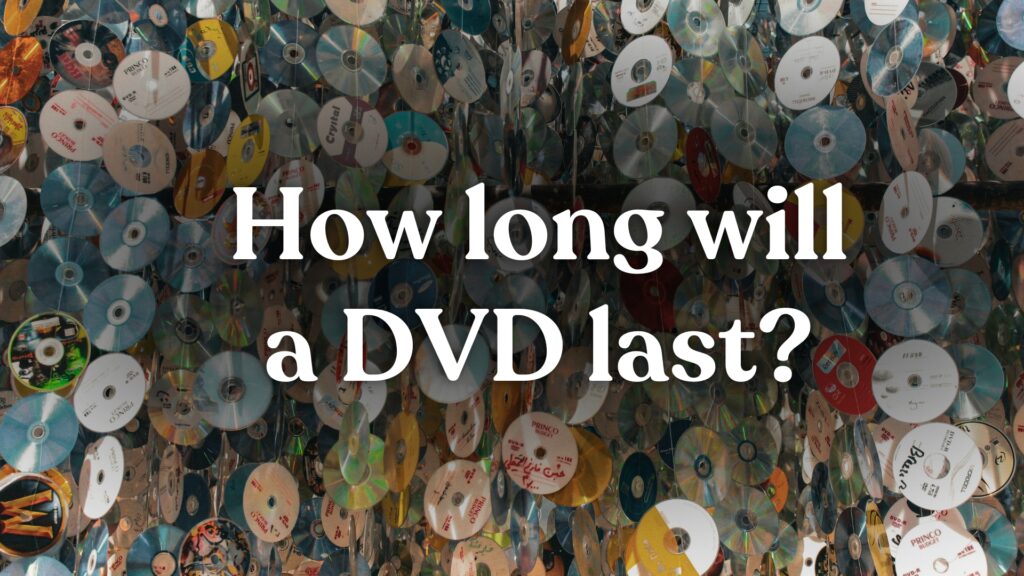
- Decide on the delivery method, whether you choose to transfer your slideshow to DVD, USB, or both. The benefits to DVDs are that you can add a custom photograph to the cover and certain venues can only accept DVDs if working with older TV models. However, newer TVs and projectors have USB ports. USBs allow for a higher resolution, larger file sizes, and are outliving the technology of DVDs. We usually recommend ordering one of each if you’re not sure what your venue will require.
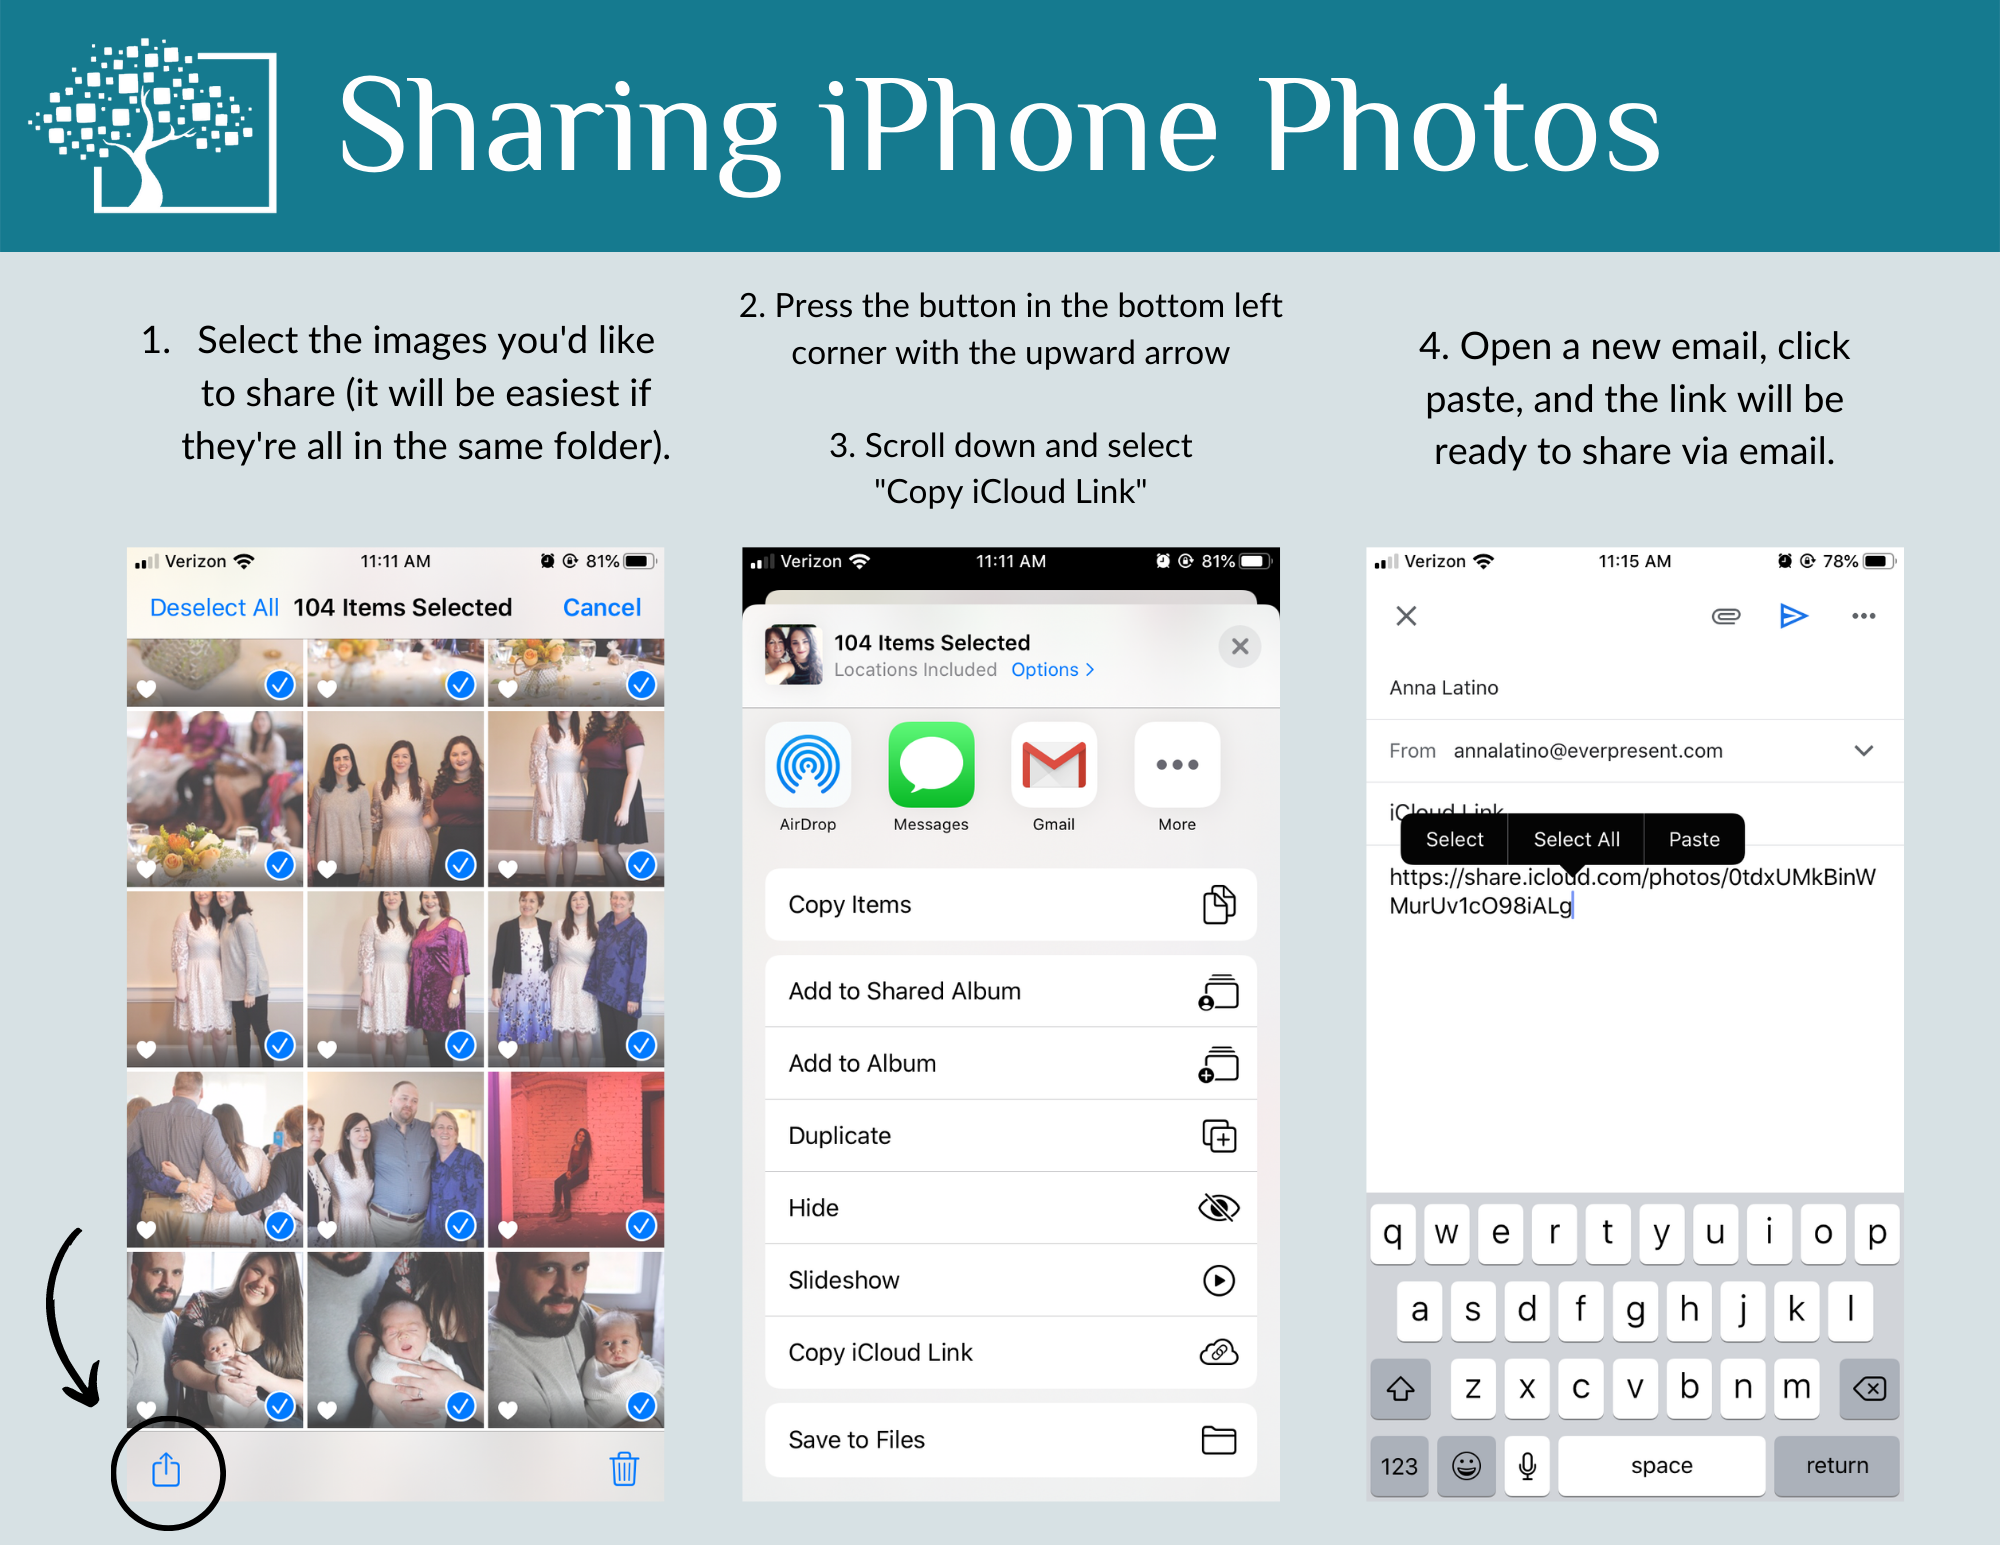
Prepare the checklist ahead of time, or discuss it all during the consultation if you’re looking for creative guidance. Your consultant will review the photos, and help make any selection choices. EverPresent’s expert technicians will scan your images in order. If you have digital photos to add, here are helpful tips for creating and sharing folders with your consultant:
Your consultant will develop a project scope calendar to ensure we meet your deadline. This timeline will note both our design team’s responsibilities as well as responses needed from you to stay on track. Once we provide an estimate and take a 50% deposit, the slideshow can begin!
4. Slide Project Organization
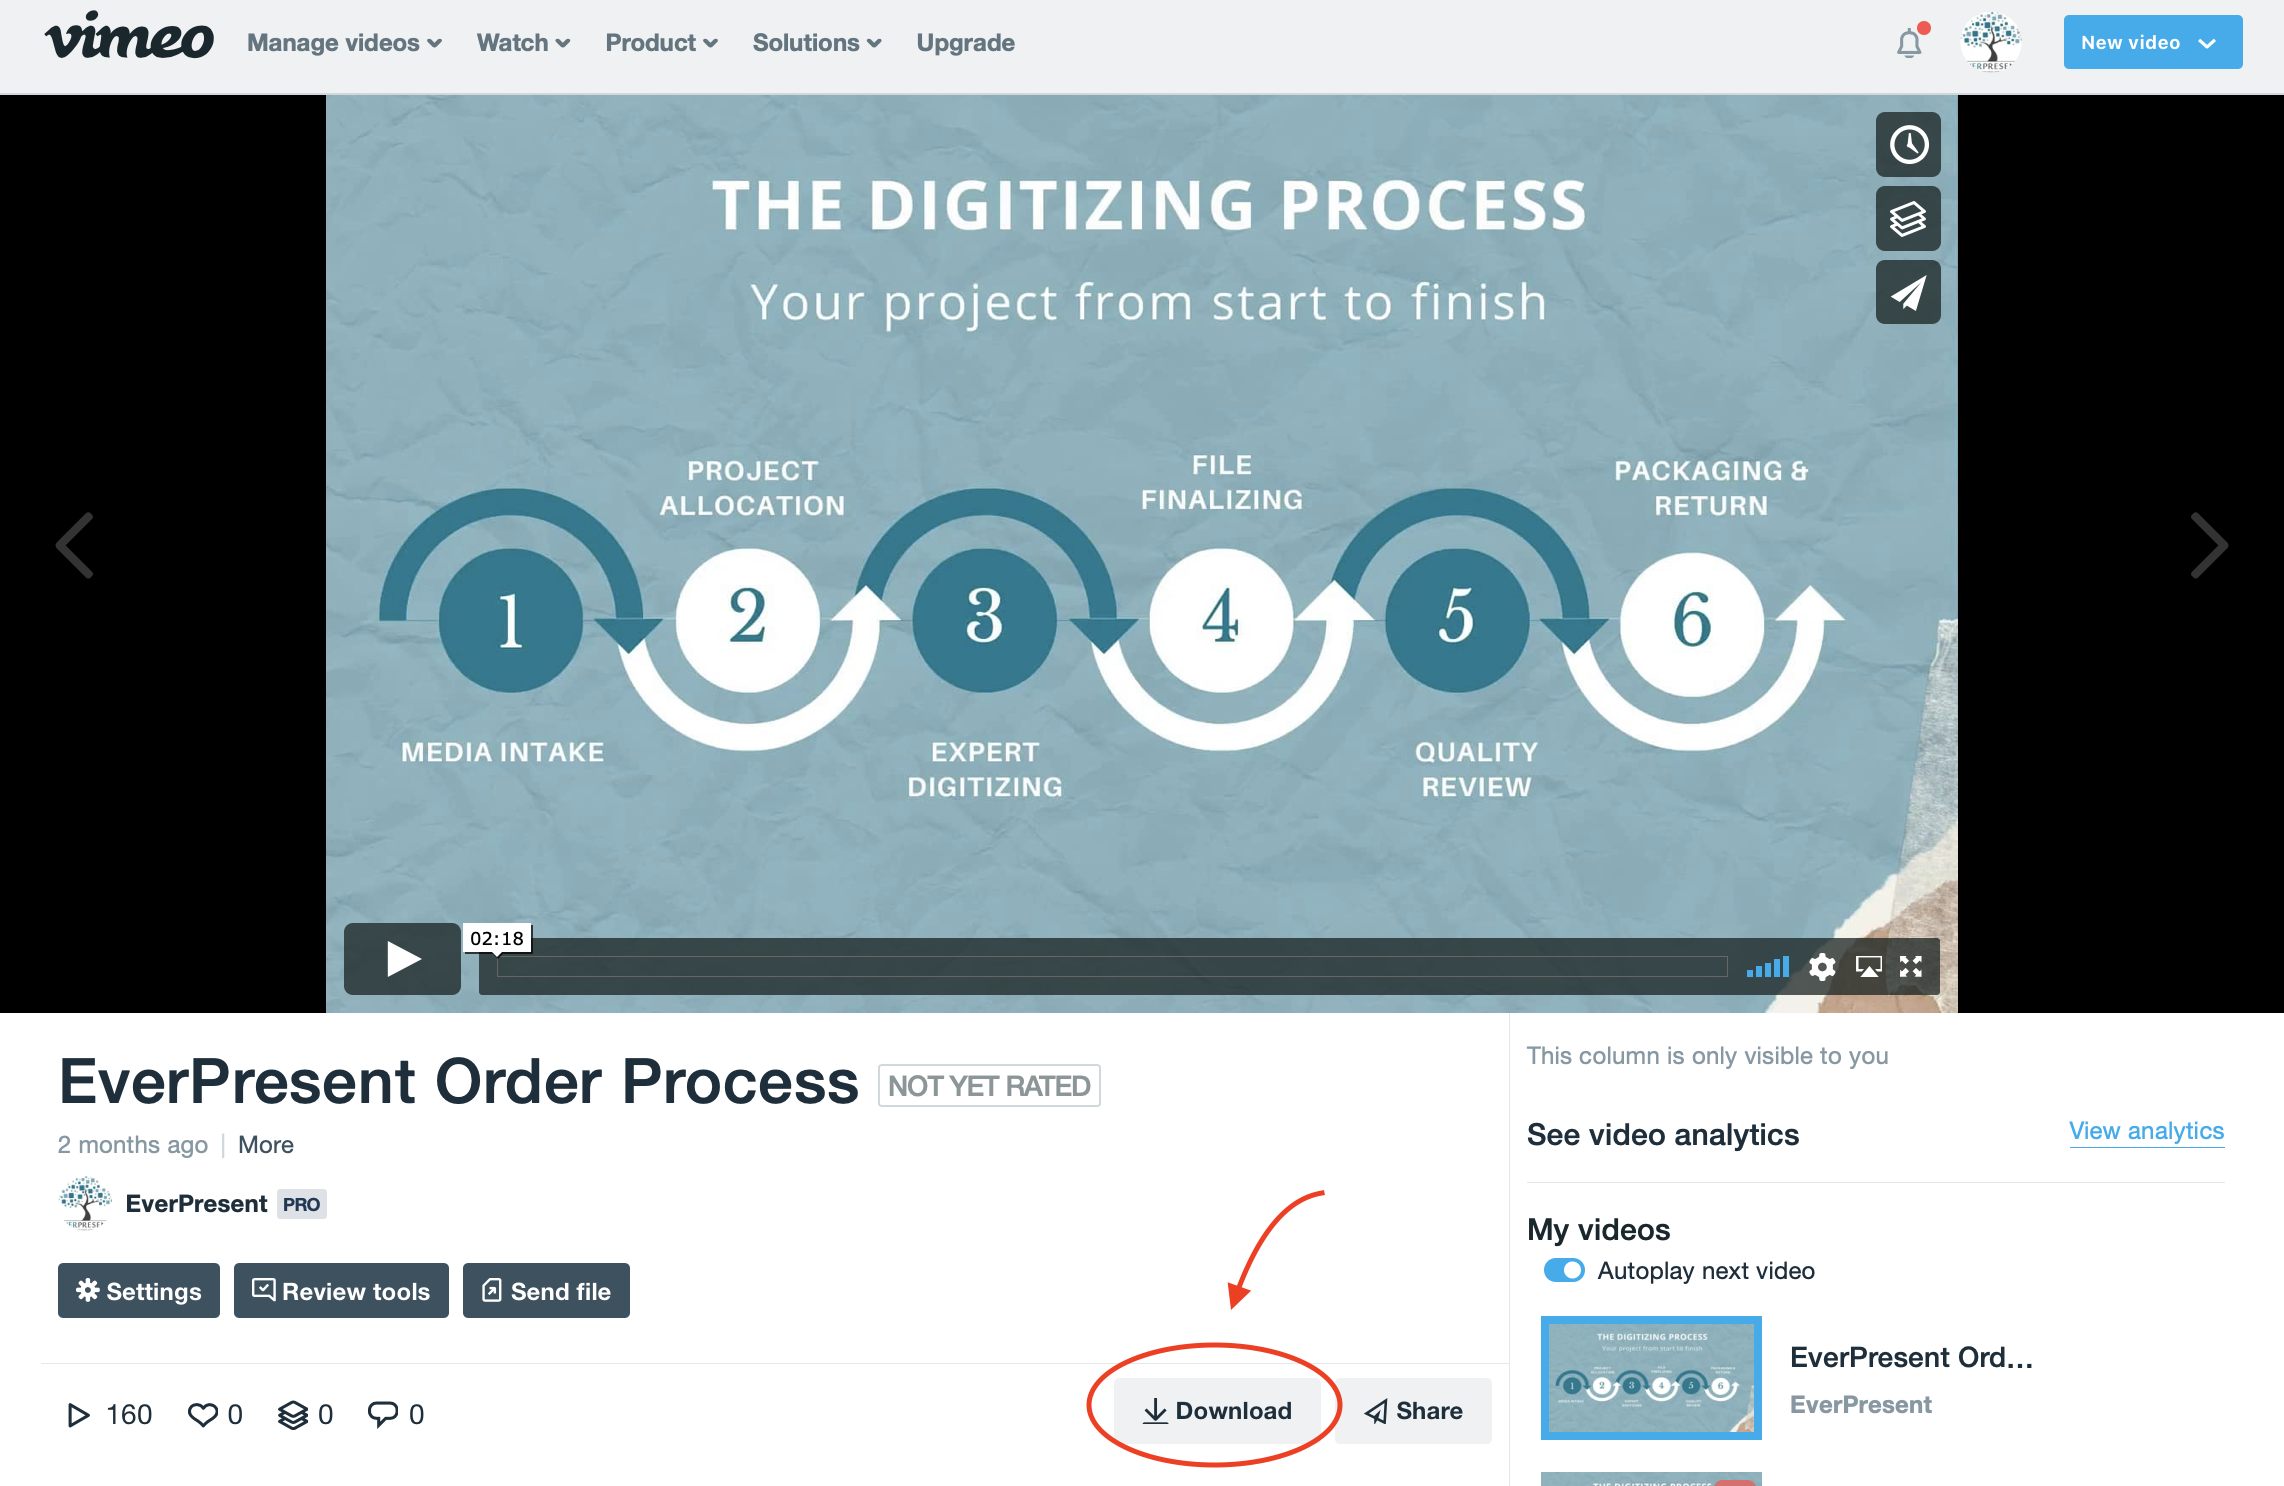
Once your photos are scanned or received digitally, we will create and email a storyboard to confirm the placement of your files. This digital outline displays photo thumbnails and music as they will align in the live video. You’ll have the chance to submit one round of edits to add, move, and remove files. Once you’ve confirmed the final order, we’ll begin editing the live slideshow. It’s crucial to make all order choices during this stage. When we begin editing the slideshow with our design software, we sync the photos to specific songs, therefore moving even one photo can result in a domino effect for the rest of the slideshow’s timing.
Download Our Sample Storyboard

5. Slideshow First & Final Drafts
The fun begins when our designers are able to take all of your preparation and create a multimedia video with our professional editing program. We select appropriate fonts, add dynamic transitions, and customize backgrounds for every slide to suit the theme. We’ll time the music precisely for each section and tailor the movement of each photo. This first draft is quality checked against your specifications by a senior technician before it’s uploaded for you to view at home!
Like the storyboard, you’ll have an opportunity to submit your feedback in one round of comprehensive edits to tailor the slideshow to your liking. During this stage, we can make any stylistic changes to fonts, colors, movement, etc. Your edits will be implemented and you’ll see the final draft before the slideshow is finalized. You’re welcome to continue submitting more edits and additional rates would apply.
6. Final Presentation
Congratulations! You’re ready to share your creation with your friends and family! You will receive the slideshow on a customized DVD or USB to display at your event. The slideshow will also be uploaded at the highest resolution to a password protected website, which will allow unlimited downloading. We always recommend storing a copy of your files onto an external hard drive or cloud storage if possible. Always test your slideshow in advance! Be sure you have all the cords required, speakers turned on, and back up copy handy so you’re not troubleshooting in front of your guests on the big day. We want you to be able to enjoy the slideshow, too- with all of this preparation, you’ve earned it!