
Downloading photos from social platforms won’t bring back your full-quality images or make them easy to organize. But if you lose the originals, saving social media archives might be the only way to salvage what’s left.
This post wraps a three-part series on your family photos and social media. Our digital photo organizers kicked off with the risks your photos face online and how to avoid them. Then we shared actionable advice to protect and share your best photos to social platforms.
Last but not least: how to save photos from social media sites and archive them with the rest of your digital memories. Let’s dive in.
JUMP TO:
How to Download Data from Facebook, Instagram, Tweets, and Snaps
The photos you keep on social media are cheap copies of the real deal, and these platforms could trim their quality even more in the future. Here’s how to download your photos and videos from social media sites as soon as possible.

Facebook is a prime offender for compressing your files and stripping the metadata. Some tips to prepare your Facebook media before you download anything:
- Add years and captions to your current Facebook albums. Your media will stay in these albums when you save everything.
- Sort your Timeline and Mobile Uploads photos into dated or titled albums so you’re not stuck sorting through hundreds of undated photos later on
- The Facebook app tracks your photos’ upload and post dates. Use this info to title your albums before downloading, but watch out for nostalgic TBT photos that you may have posted or re-shared years after they were taken!
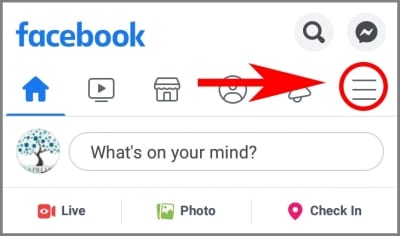
Once you’ve sorted everything into albums, you can save Facebook albums one-at-a-time or get everything all at once. Find the desktop instructions here, or follow these steps for the Facebook mobile app:
Tap the Menu icon.
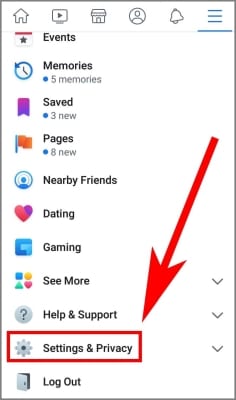
Tap Settings & Privacy near the bottom of the menu.
Tap Settings.
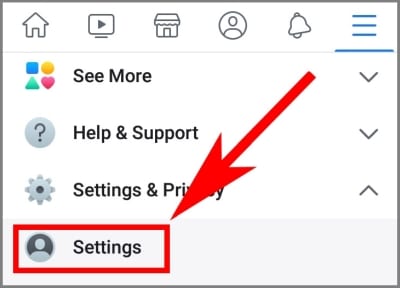
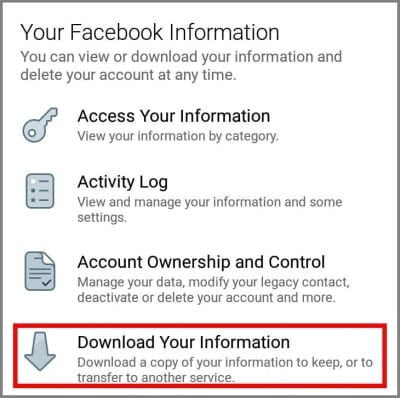
Scroll down to Your Facebook Information and tap Download Your Information.
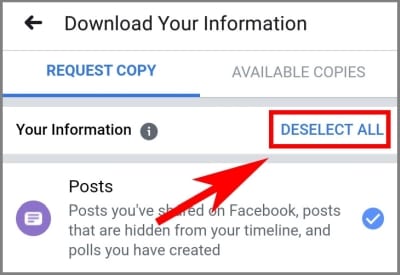
To request your data:
Tap DESELECT ALL.
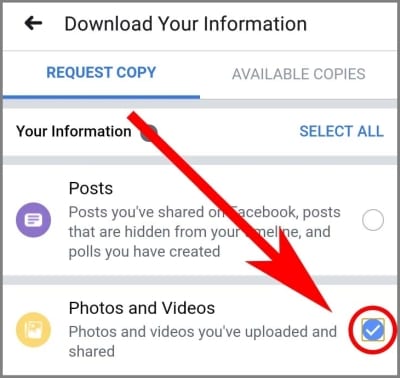
Find Photos and Videos from the menu and re-select it.
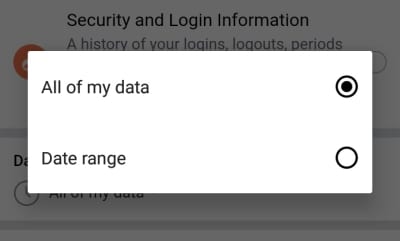
Scroll down to the Date Range option.
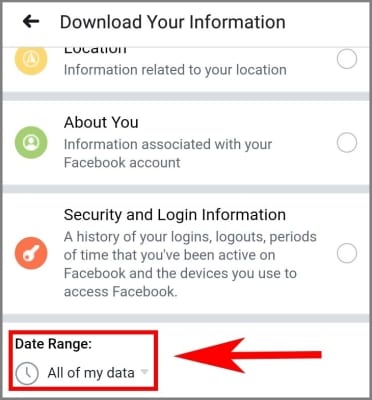
Keep All of my data selected, or pick a Date range for the photos you want to download.
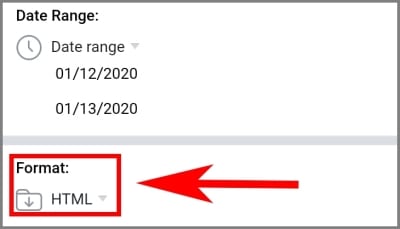
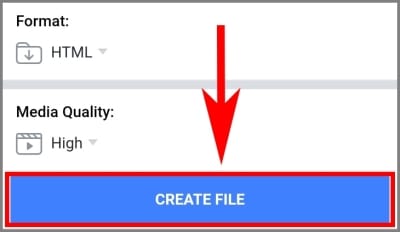
Keep Format set to HTML.
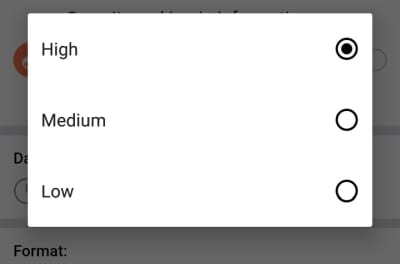
Set Media Quality…
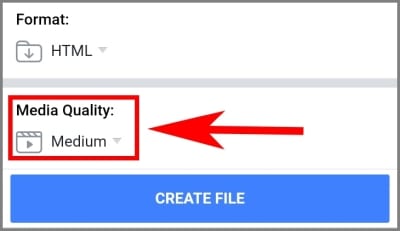
…to High.
Tap the CREATE FILE button.
Wait for an alert that says Your Facebook information file is ready to download. It could take a few minutes or several days, depending on how many photos you have.
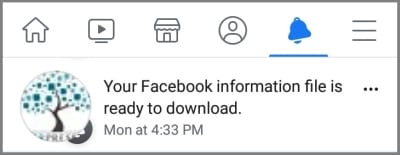
To download your data:
Tap the notification to return to the Download Your Information screen.
Under the AVAILABLE COPIES option, tap Download.
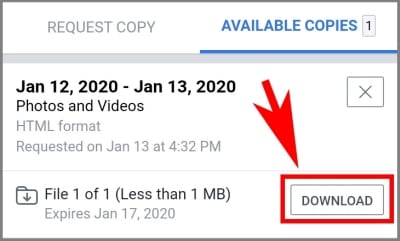
A ZIP file with your Facebook data will save to your device.
Once the ZIP file is on your device, you’ll need to open and extract it to access your full-sized media files. Mac and PC devices come with built-in extraction software. Here are some options for mobile users – and desktop alternatives if you don’t like the default ZIP programs.
- iPhone apps that extract ZIP files
- Android apps that unzip ZIP files
- ZIP extractors for PC
- Mac apps to extract ZIP files
Most of these apps have a free version, but some will only provide full-quality files if you spring for the paid option!
BACK TO TOP
[su_spacer=”35″]

Instagram has a bulk save tool like Facebook’s to save all of your photos at the same time. It’s a quick and easy way to download your photos from Instagram.
How to download all of your Instagram photos on a computer:
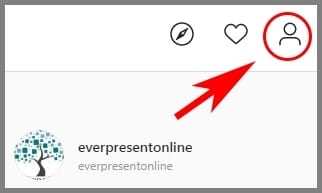
Log on to Instagram and click the Profile icon near the top right.
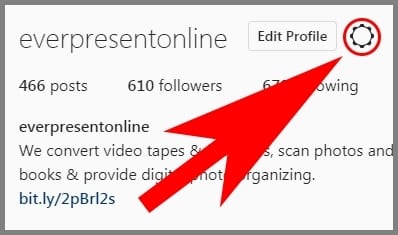
Click the Settings icon next to the Edit Profile button.
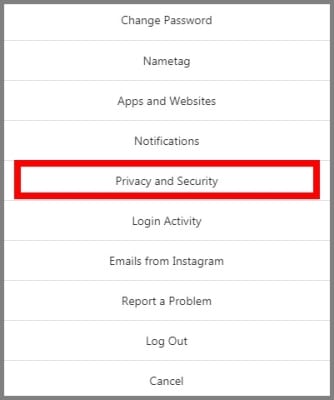
Click Privacy and Security.
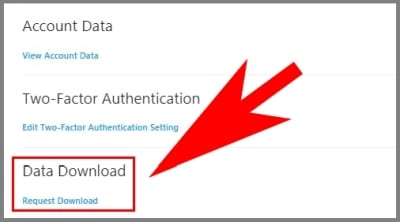
Scroll down to Data Download and click Request Download.
Enter your email address and click Next.

Instagram will send your data to the email address you entered.
To save all of your photos from the Instagram mobile app:
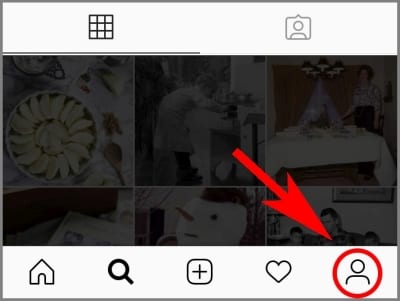
Tap the Profile icon.
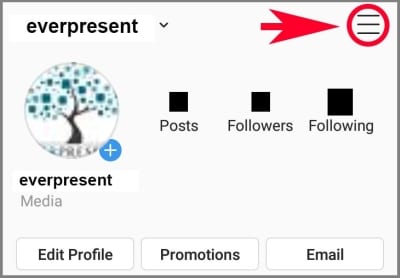
Tap the Menu icon.
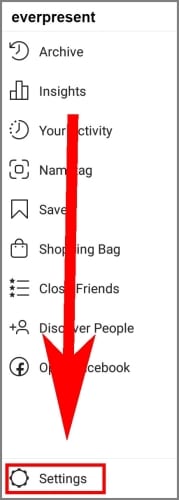
Tap Settings at the bottom of the menu.
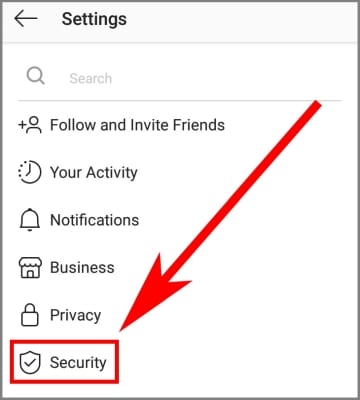
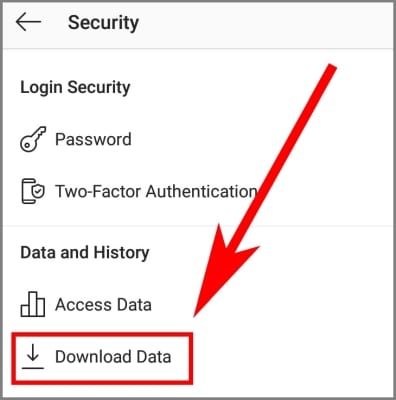
Tap Security.
Tap Download Data.
Enter your email address and tap the Request Download button.

Instagram will send your data to the email address you entered.
While screenshots are fine for low-quality reference images, it’s a bit trickier to download individual photos from Instagram. The platform is designed that way for copyright protection.
You can find an image’s web address or use a third-party tool to save a single Instagram image, but use extreme caution. You might accidentally get a virus or break the law if you don’t know what you’re doing.
BACK TO TOP
[su_spacer=”35″]

WebTrickz founder Mayur Agarwal writes that although Twitter does compress the photos you upload, there is a way to save the best-possible images from this platform.
Don’t bother using the Twitter Archive tool to bulk download all of your Twitter data. You can save photos from your Twitter Archive, but unless you already know how to speak computer, you might be better off saving images one-at-a-time.
For mobile:
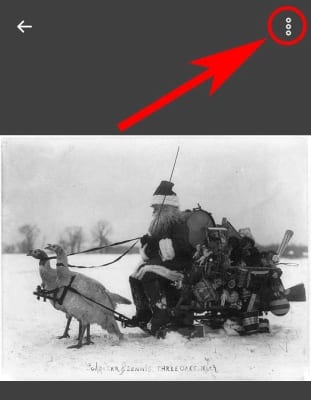
Open the Tweet containing the image you want to save.

Tap the image to view it, then tap the Ellipsis icon above the image.
Tap Save.
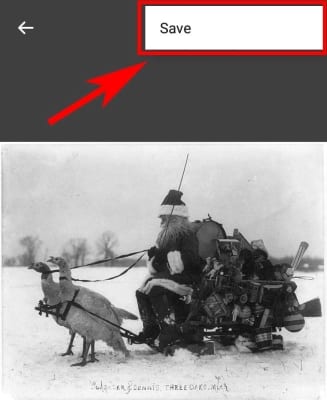
The image will download from social to your device.
For Desktop:
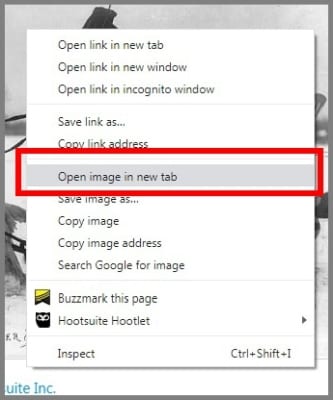
Open the Tweet with the desired image.

Right-click on the photo, then click Open image in new tab.
Find the image URL in the address bar near the top of your browser.

At the very end of the URL, replace small with orig.
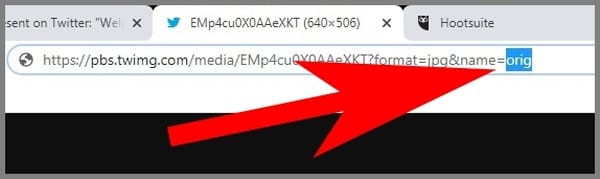
Press the Enter key (for PC) or the Return key (for Mac) to reload the full-sized image.
Right-click on the full-sized image, then click Save image as…
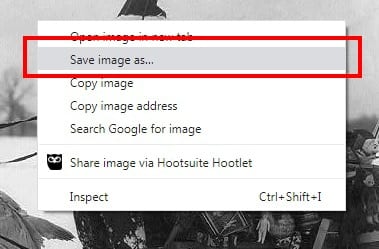
Pick a destination folder and click Save.
If you want to save video from Twitter, it’s a lot like trying to save a single photo from Instagram. You’ll need a third-party app to get the job done, and the risk of inadvertently downloading a virus is real.
BACK TO TOP
[su_spacer=”35″]
Snapchat

Besides changing the app settings to save your own Snaps in advance, saving a Snap kind of defeats the whole point of the platform. Part of Snapchat’s appeal is that it deletes your posts so users can worry less about things staying online forever.
The easiest workaround to this feature is to take a screenshot of any save-worthy Snaps before they disappear. But be warned: if you screenshot a Snap from someone else, they’ll get a notification about it. Don’t try to be sneaky!
Consolidate and Organize Your Digital Photos

Once you’ve secured your social media files, round up the rest of your digital photos to prevent any further damage or clutter. Then copy all of your files to one device and sort them into folders to preserve their context and quality.
To consolidate devices and social media archives:
- Pick a device (ideally an external hard drive) to store your master archive
- Make a new master folder called “(Your Name) Archive” on the hard drive
- Round up all your old phones, flash drives, laptops, and photos from social media
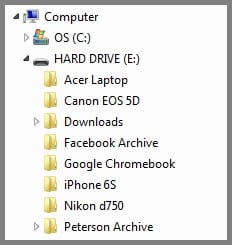
- Make new “source” folders on your external hard drive for each source (ex: iPhone 6, Acer Laptop, Facebook Archive, etc.)
- Transfer files from each device to their respective folders using compatible USB cords or memory card readers
To organize digital photos on your storage device:
- Connect your external hard drive to a computer
- Open the master archive folder on the external drive
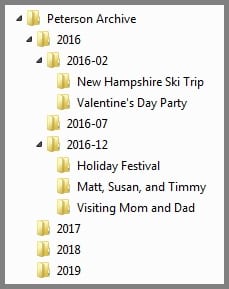
- In the master folder, create new folders and name them for each year your photos and videos were taken (or start with the last few years and add more as needed)
- Open the “device” folders you made while consolidating
- COPY (don’t move or cut) the files from each “device” folder into the appropriate “year” folders inside of your master archive.
- Use the dates in filenames and metadata to figure out where these memories belong.
- In each “year” folder, create subfolders with more specific criteria (ex: month or location) based on the filenames, metadata, and content of your pictures and videos
- If you make folders for each month, name them in YYYY-MM format (ex: 2012-01) to keep them in chronological order
- SORT the files inside each “year” folder into the appropriate subfolders
- Use Bulk Rename Utility to add context, labels, and sequence numbers to the filenames inside each folder
Back Up Your Photos
Regardless of what you post to social media, keep your originals on an external hard drive and a cloud storage service like Dropbox. Even some cloud solutions compress your photos, though, so be careful.
While Google and Amazon offer compression-free storage, you’ll have to pay extra. On the bright side, these platforms give you the option to automatically sync with your Camera Roll. This feature is a big plus if you don’t trust yourself to back things up regularly.
[su_spacer=”35″]
Digital Organizing for a Better Online Legacy
We‘ve now covered a ton of risks, tips, and tutorials for protecting your photos and videos from social media. Yes, it’s a lot of work – but since we tend to only share the best parts of our lives online, most of your social content is worth saving.
Have a specific concern that we didn’t cover here? Our expert organizers fix these social media mishaps every day. Take two minutes to fill out a contact form, and we’ll help you take the next step.