
We’ve been hearing from many families that this time at home has provided them the opportunity to finally tackle a project they’ve been putting off for a long time — preserving their aging photos and home movies to digital.
A client emailed us last week to thank us for speaking with her and she told us, “..in this scary new world, memories of the old world are even more precious.”
We recognize everyone’s experience during the time of COVID-19 is different, and regardless of your circumstances, we’re here to help. Generally families that reach out to us fall into one of two categories:
Do it for me: I am finally ready to have my memories transferred to digital and preserved. My items are in boxes, bins or bags and I am eager to get them out of my house for digitizing.
For this group, there are a few companies like ours that will provide different levels of service and quality for digitizing photos and videos without any home organizing on your end. If you would like an estimate on your project you can give us a call or snap a few pictures of your items and shoot us an email at [email protected].
Do it myself: I want to be involved in organizing my collection of photos and videos before digitizing, including the possibility of getting feedback from my family members, but I need advice on how to sort and organize, build a budget and use technology to help me prepare for photo organizing and digitizing.
This comprehensive guide has everything a DIYer needs to help guide you in your journey to preserve your family history, build a reasonable budget for professional services or equipment purchases, and make the end result better.. We even have tips on how to involve the whole family in the project. And if you want our help at all throughout the process, we’re only a phone call or email away.
We hope that taking control of your family memories in a time when everything else feels beyond it may help bring you some peace and comfort.
Best photo organizing structures
(and choosing your favorite photos):
We’re going to walk you through all the ins and outs of the photo and video formats you have at home, but first, we want to give you best practices for choosing the photos you actually want to scan, regardless of format.
Amy, the Director of our Photo & Digital Organizing departments, is all about the story and we couldn’t agree more. “If the client has the time, they should weed out photos of “nothing…emove the 10 blurry photos of the new puppy and just keep the 3 sharp images that show how adorable it was. Take out the photos where the kids stole the disposable camera and took photos of the carpet.”
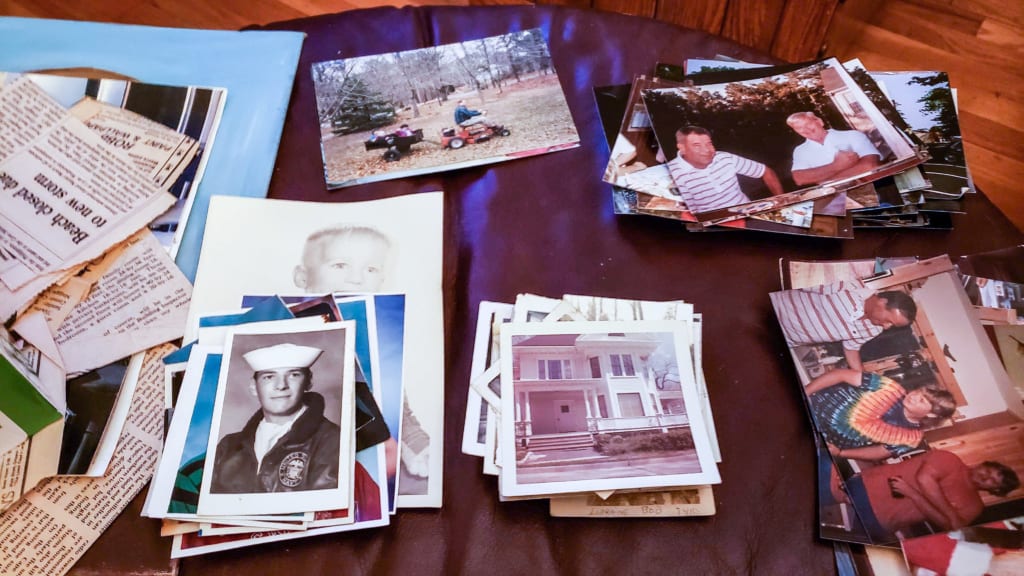
There are plenty of methods for organizing printed photos but we continue to recommend the three-pile method when you don’t know where to begin.
Make an initial first pass through your archive and go with your instincts to create a “yes” pile, “no” pile and “maybe” pile. The most important photos like wedding portraits are going to stand out immediately, but so will the ones you don’t need, like a blurry landscape. Organizing printed photos is arguably the easiest to tackle and will get you motivated to sort through harder formats, like your albums.
- Here are some things you and your family can consider when deciding what to keep or what to get rid of from your collection
- Is everyone looking at the camera?
- Are they having a good time? Is anybody making a bad face?
- Pick the photo(s) that best represents the whole experience.
- When a photo makes you pause, or triggers an emotional response, it should go in your “yes” pile
- You can find a place for any photo. If you keep coming back to the same photo that isn’t that great, but you really like it – keep it!
- Are you catching a moment? Sometimes it’s the truly random, unconventionally good photos that mean the most to you, so don’t dismiss them too quickly.
We know it’s hard, but trust us, it’s ok to not keep some of your photos. For a more in-depth look at our best criteria for your yes, no and maybe piles, visit our blog post, It’s All Relative. Photo Organizing Tips.
PHOTO ORGANIZING AT A HIGHER LEVEL
You can absolutely take your “yes” photos and bring them to be digitized as one large batch. We’re happy to do it that way for you if that’s what you prefer, but we don’t recommend it. You’re only going to do this project once. Why not do it right?
Hilary, one of our senior consultants says,
“I always love seeing a job with bags of loose photos, with 200+ photos in each bag, labeled with a date first and then the topic, i.e. “1989 Melissa in Europe”. I love when people number or clearly label their albums too, especially when the stickies are taped on instead of just stuck on (because they fall off).”
Why is foldering important?
A lot of people ask us, “What is the best folder structure for photos?”, and it can depend entirely on the family. One thing is for certain, it is better to have some structure than none at all. For an archive that will eventually be digitized or even then digitally organized, one of the most useful things you can do is separate by year or rough decade/timespan. For instance:
- Make a box for 1970s and before (parents & ancestors)
- A box for 1980s (siblings start appearing)
- 1990s
- 2000s

All of the home organizing work you do with your photos will be maintained as we digitize your photos. The plastic bags you’ve neatly labeled with years and captions will look that way on your final USB drive. For example:
- EverPresent Photo Archive
- 1950’s Richard and Patricia
- Wedding and Early Marriage
- Kristen through 1980
- And more…
[su_note note_color=”#f4f5ab” text_color=”ffffff” class=”align: center”]TIP from our Digital Organizing Team: “Don’t waste time getting more detailed than this. Drilling down into events and vacations is better suited to be done digitally after everything is scanned and easily moved around. Then you can search for whole folders and begin tagging or categorizing them that way. Our team can help guide you on how to search file names and captions in either Windows Explorer or a photo management software like Apple Photos. We’re also able to organize by date taken into folders, tag recurring events, locations and faces to make it even easier to navigate through your collection.”[/su_note]
Captions & Enhancements for Digitizing
Hopefully you’re putting the work into this project because you have digitizing as your ultimate goal, and a digitizing service in mind. Before you get started, be aware of the services they do and do not offer before you get started. It will help you make decisions along the way. At EverPresent, we offer a variety of services other mail-in box services do not offer and you can choose how you want to handle these as you organize.
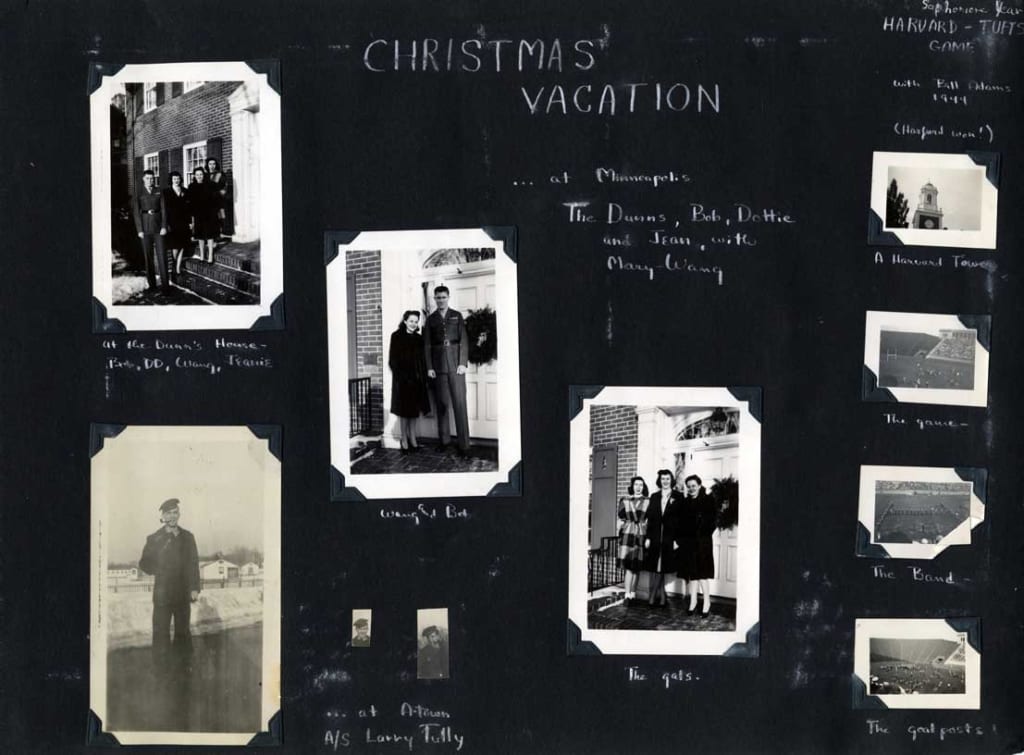
Captions are some of the best parts of organizing your family photos. You’ll learn things you didn’t know and an entire history will begin to piece itself together visually. We find captions all over everything. Scribbled onto the back of a photo, written in tiny cramped handwriting on the front of a 35mm slide and even beautifully written in script on the pages of a black paper scrapbook.
We handle these four basic ways and for a more in-depth look at how we handle each of these, visit our post, 4 Ways to Preserve Captions While Scanning a Photo
-
-
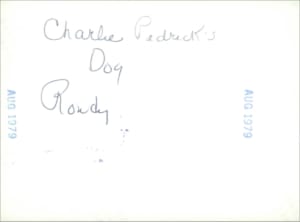
- Scan backs: A common occurrence for older photos is the writing on the back. They can be as simple as a date and a name, or a more elaborate description of the photo. We often scan backs of photos to preserve the handwriting and our clients (or our digital organizing team) will use them to identify the photos after scanning.

Scan the backs of photos with handwriting -
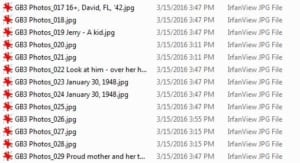
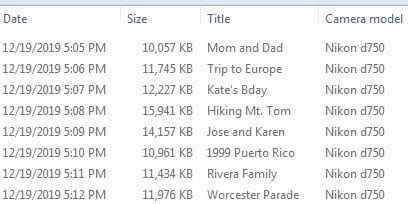
- File names: This makes your photos as easy to consume as possible. If you have a folder labeled “Summer 1945”, all of the images contained within it will be labeled numerically starting with “Summer 1945_001”. If one of these photos has a caption, it will look like “Summer 1945_029_Lake Eerie with the Howards”

Transcribe captions into the filename -
- Metadata: Captions done this way are not readily viewable and need to be brought into a photo program, but it also makes your archive searchable in a whole new way. We wrote a piece for Ancestry.com all about metadata.

- Crop to keep the caption: This is most relevant for old scrapbooks and albums. We’ll do a full-page scan and crop the photo to include the caption because people like to preserve handwriting.
-
[su_note note_color=”#f4f5ab” text_color=”ffffff” class=”align: center”]TIP from our Digital Organizing Team: “It’s helpful to have the caption in the filename, but I’d recommend metadata captioning if you tend to have very long descriptions, since there’s a limited number of characters you can put in a filename. It’s also easier to see the metadata captions than the filename in programs like Apple Photos.“[/su_note]
Enhancements are the difference between a good photo and a great photo, especially when done by experienced technicians in a professional setting. Even the best-preserved photos can use a little extra TLC. These are some of our most popular extras:
-
- White Border Cropping: For the older photos with this trim, it depends on the client whether or not they want to retain that border in their scan for authenticity or remove it completely. Your original photos will keep the white border, but we are happy to crop it out of the digital file during finalizing.
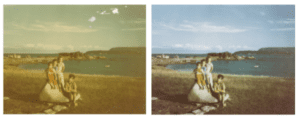
- Image Enhancement: Improve the photos with the use of
color correction, level adjustments, moderate dust removal, and other small edits such as red eye.
-
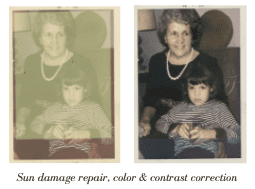
- Advanced Image Restoration: Extensive corrections for photographs that are damaged due to discoloration, tears, scratches, mold, and other advanced editing tasks.
This level of opportunity for your family archive is why we will continue to recommend outsourcing your project to a professional when you’re ready to digitize. It may seem like an easy undertaking while you’re at home with apps like Google PhotoScan, (which we review in detail here) but we promise that you are ultimately doing yourself a disservice unless you have an unusually simple collection.
Once you’ve gotten a handle on choosing your favorite photos and how you plan to get your home organizing project started, you’ll have your family memories ready for digitizing in no time. In part two of this series we’ll be helping you get answers to questions you come across while sorting, (like who are these people??) by virtually involving your family. In part three, we’ll give you our best tips for sorting and counting ANY format you have in your collection because we’ve seen them all.